V
6.
7. GoBidet™ se mueve mucho cuando se lo manipula al usarlo:
8. ¡GoBidet™ mojo la cara de alguien o el techo de mi casa!
“¡Error del operador!” ¡Debe apuntar mejor!
ii.
iii.
i.
ii.
i.
ii.
iii.
i.
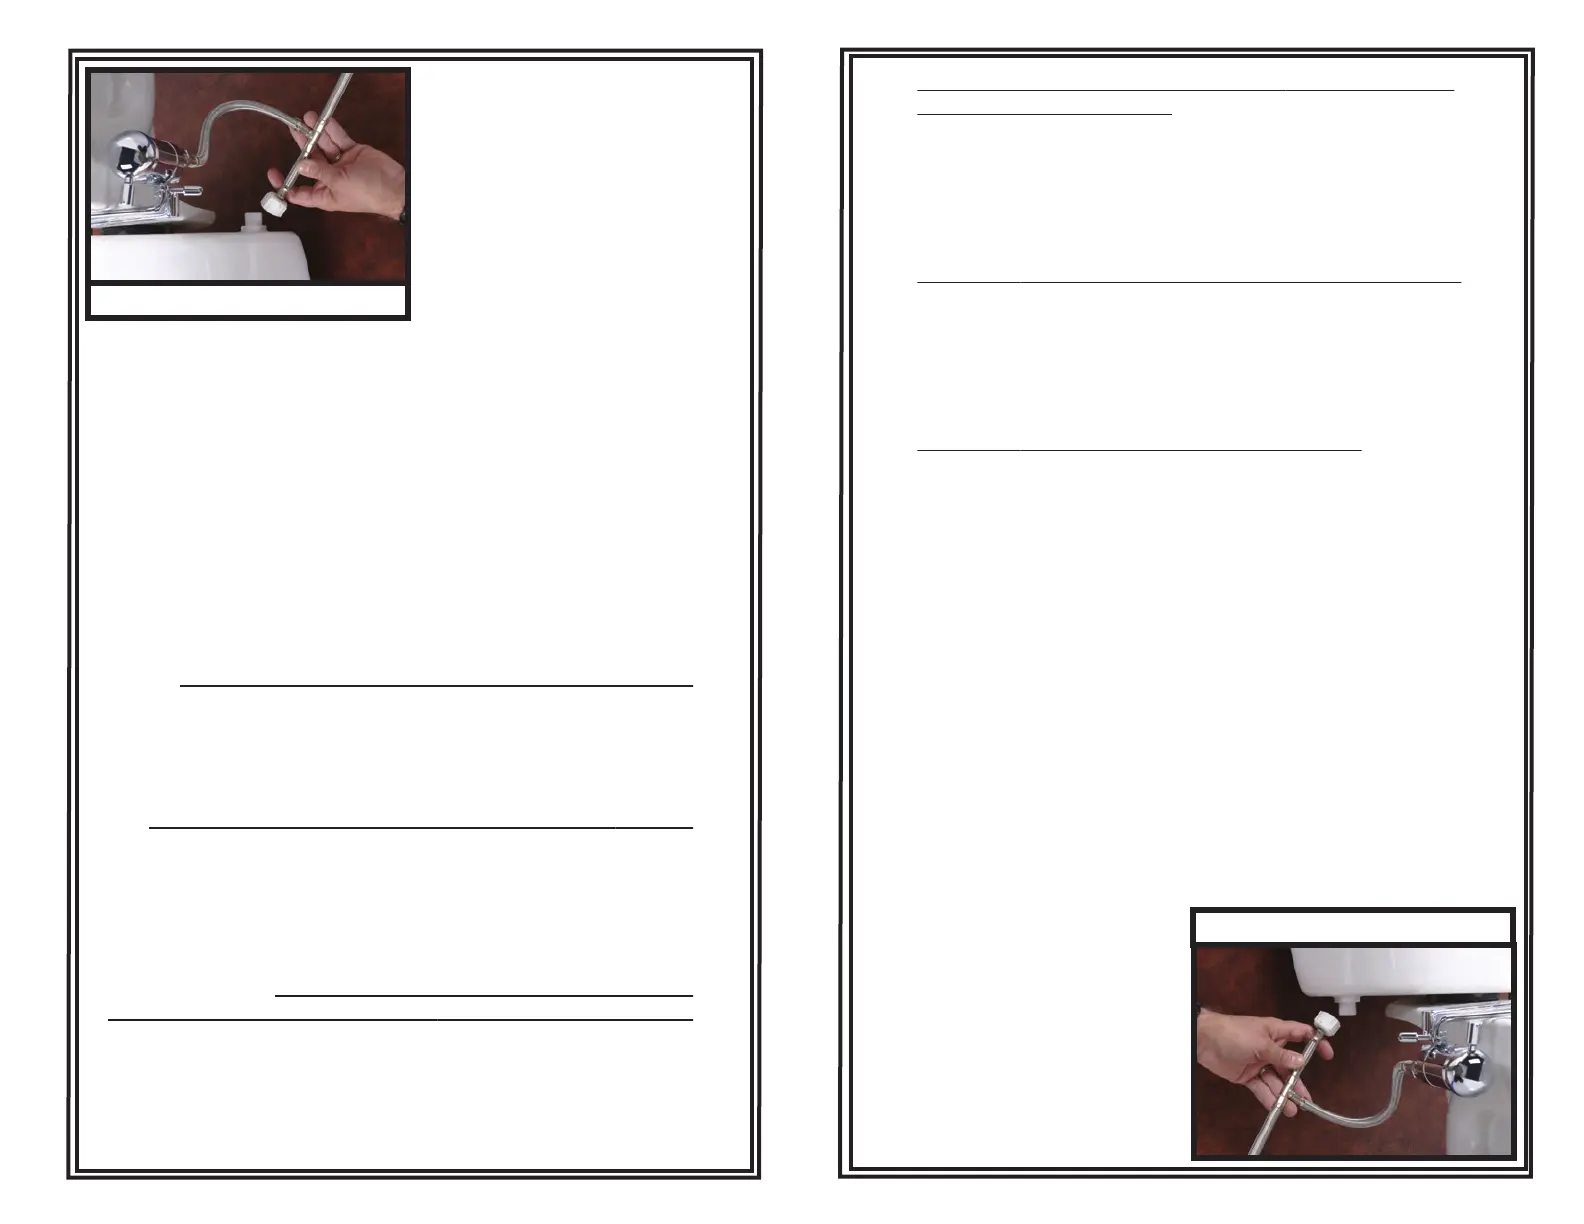
Coloque la tuerca 3/8” ciega de compresión (No de Parte.
2003.38) provista con sello de goma en el terminal macho de
3/8” donde el GoBidet™ estaba conectado.
Abra nuevamente la llave de paso y use su toilet normal-
mente.
Conjunto de ducha (No.de Parte 2003.01) no se mueve cuando
alguien está sentado sobre el asiento del toilet:
¿Usó el separador (No. de Parte 2003.01) provisto en la caja
en el hueco opuesto al de montaje del GoBidet™? Revea
punto “D.2”. Llámenos si necesita más separadores.
Si no puede adquirir apoyos (“bumpers”) adhesivos más
altos, tal vez sea necesario conseguir un asiento nuevo con
apoyos más altos y/o menor curvatura (“contour”).
Ajuste firmemente el buje roscado (punto “B.4”).
Apriete bien la tuerca cubierta en cromo que sostiene/une al
GoBidet™ con el brazo-soporte (No. de Parte 2003.09).
Para algunos casos se recomienda usar cinta adhesiva
doble faz entre la base del brazo-soporte y la tasa del toilet.
i.
ii.
i.
ii.
iii.
i.
6. Shower head assembly (Part no. 2003.01) will not move with
someone sitting on the toilet:
7. GoBidet™ moves too much when manipulating the controls:
8. GoBidet™ sprayed someone’s face or the ceiling:
Did you use the included spacer (Part no. 2003.11) on the
side of seat without the GoBidet™ (Step “D.2”)? Call us at
1.888.GOBIDET for more spacers.
If you cannot find taller, attachable bumpers, you may need
a new toilet seat with taller bumpers or one with less seat
contour.
Snugly tighten threaded bushing (Step “B.4”).
Firmly tighten chrome nut holding GoBidet™ to mounting
bracket (Part no. 2003.09).
In some cases, you may need to also use a strong double
sided tape between the mounting bracket and the bowl
We recommend 3M industrial, double-sided tape.
“Operator error!” Must have a different target above shower
head!
¹Usualmente se puede sacar el asiento del toilet abriendo las coberturas de los
tornillos que se encuentran detrás del asiento usando un destornillador y destor-
nillando los
tornillos. Sin embargo, en caso que los tornillos sean de metal y
no de plástico, puede ser difícil sacarlos usando un destornillador común, aun si
se usa un lubricante. En este caso, tendrá que usar un cortador de pernos para cortar
los tornillos del toilet. Asegúrese de proteger al toilet
antes de hacer está operación.
Regular Water Connection
Conexion de Agua Fria
5
¹Removal of toilet seat is usually easily accomplished by popping open the plastic
screw covers behind the seat using a flathead screwdriver and unscrewing the
screws. However, in the event that the screws are corroded metal and not plastic,
they may be difficult to remove using a traditional screwdriver, even when using a
lubricant. In this case you should utilize a hacksaw blade or bolt cutter to cut the
screws from the toilet. Be sure to protect your toilet from abrasion if a hacksaw is
used.
 Loading...