PAGE 34 46210/46220-0998 <90-00036>
SUBASSEMBLY REPLACEMENT
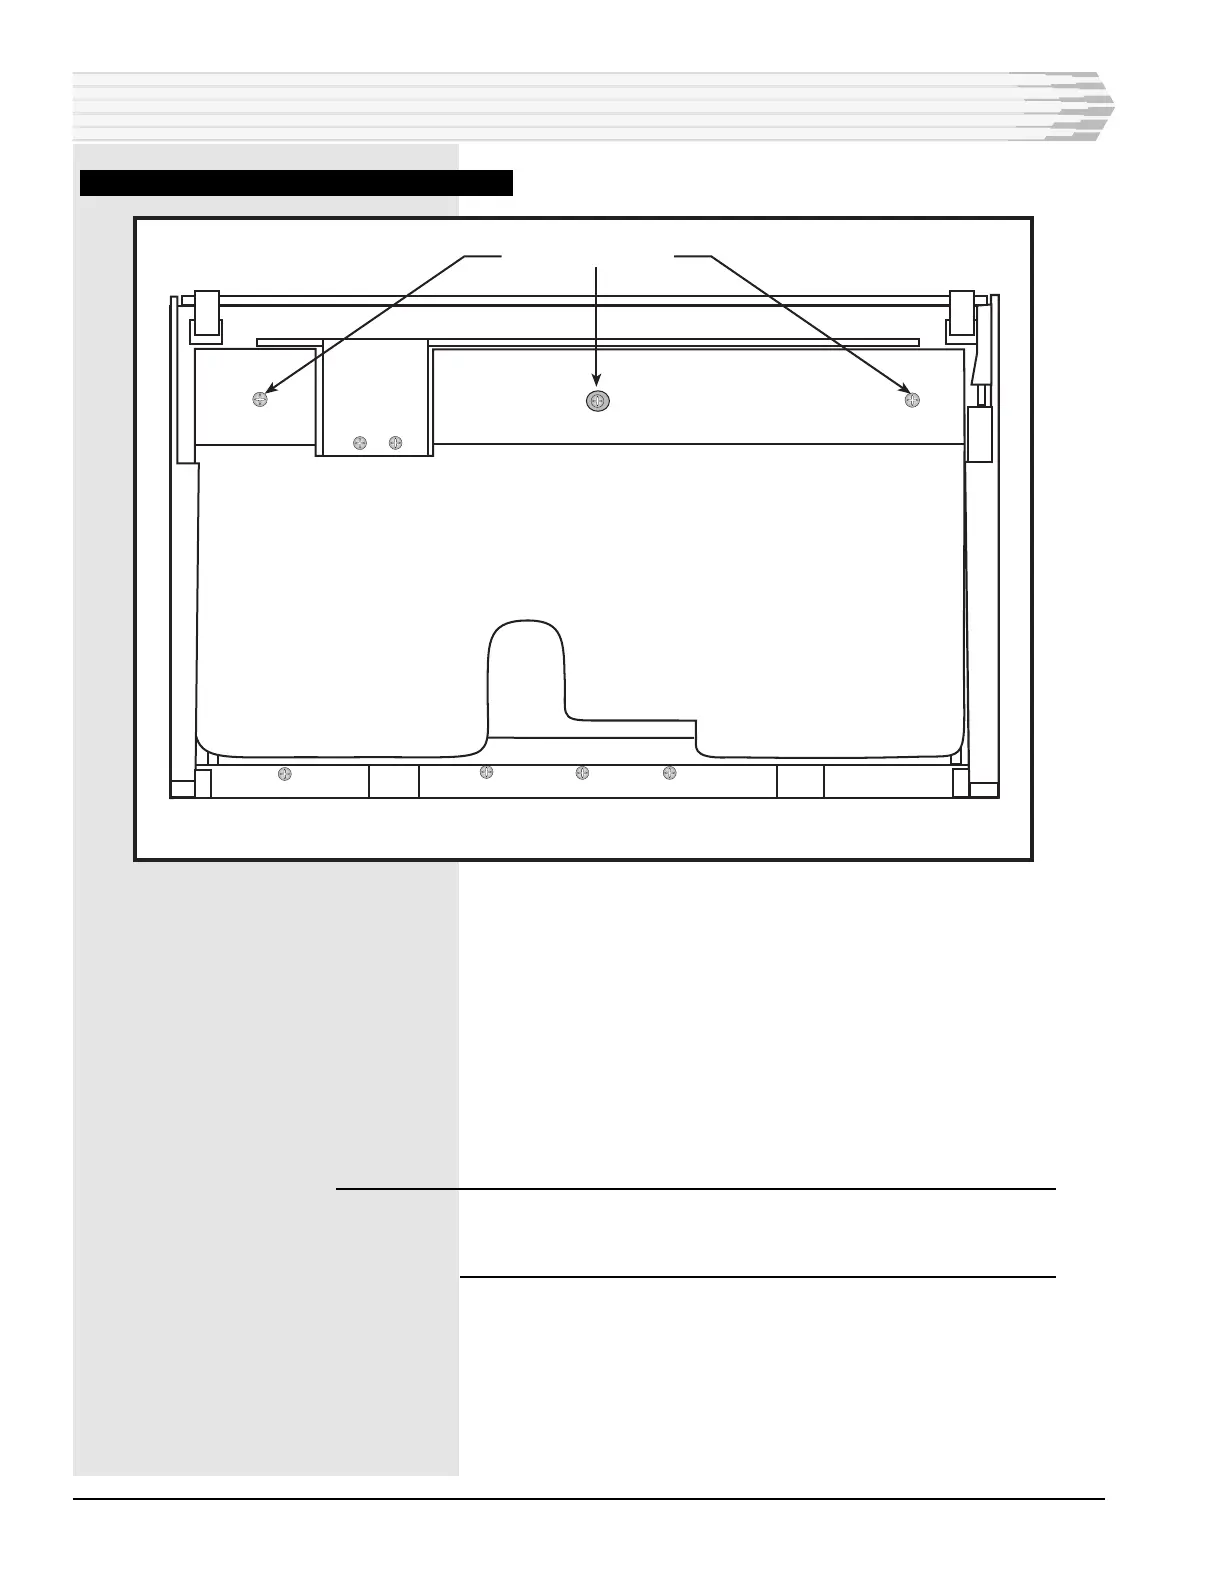
FIG. 27 - CONTROL INTERFACE BOARD REMOVAL
7. Pull the bottom panel out of the connectors that go to the Control
Interface subassemblies.
8. Remove the subassembly from the unit.
9. Install the replacement subassembly.
10. Reinstall the bottom panel.
11. Reconnect the ribbon cables to the power supply and CPU boards.
12. Reinstall the fuse.
WARNING: Do not reconnect the power connector at TB1 with the fuse
installed. This may damage the unit. Reinstall the power
connector at TB1 first, then reinstall the fuse.
13. Push the power supply and CPU boards into place.
14. Close the unit.
15. Verify proper operation of the controls by the replacement subas-
sembly.
16. Control Interface replacement complete.
REMOVE SCREWS (3 PLCS)
BOTTOM OF UNIT