The HCV7 unit utilizes an USB-B connection, for updating the units firmware, by up-
loading a firmware file onto the units internal storage, where after it will be loaded and
activated upon the next reboot of the unit
Make sure the unit is in normal running condition, and it’s easy to disconnect/connect
the 230V power supply.
The following tools is necessary for updating the HCV7 unit firmware
Computer (PC) with any MS Windows installed, and free USB slot available.
USB cable- USB_A to USB_B plugs (printer cable)
Firmware file (filename.BIN)
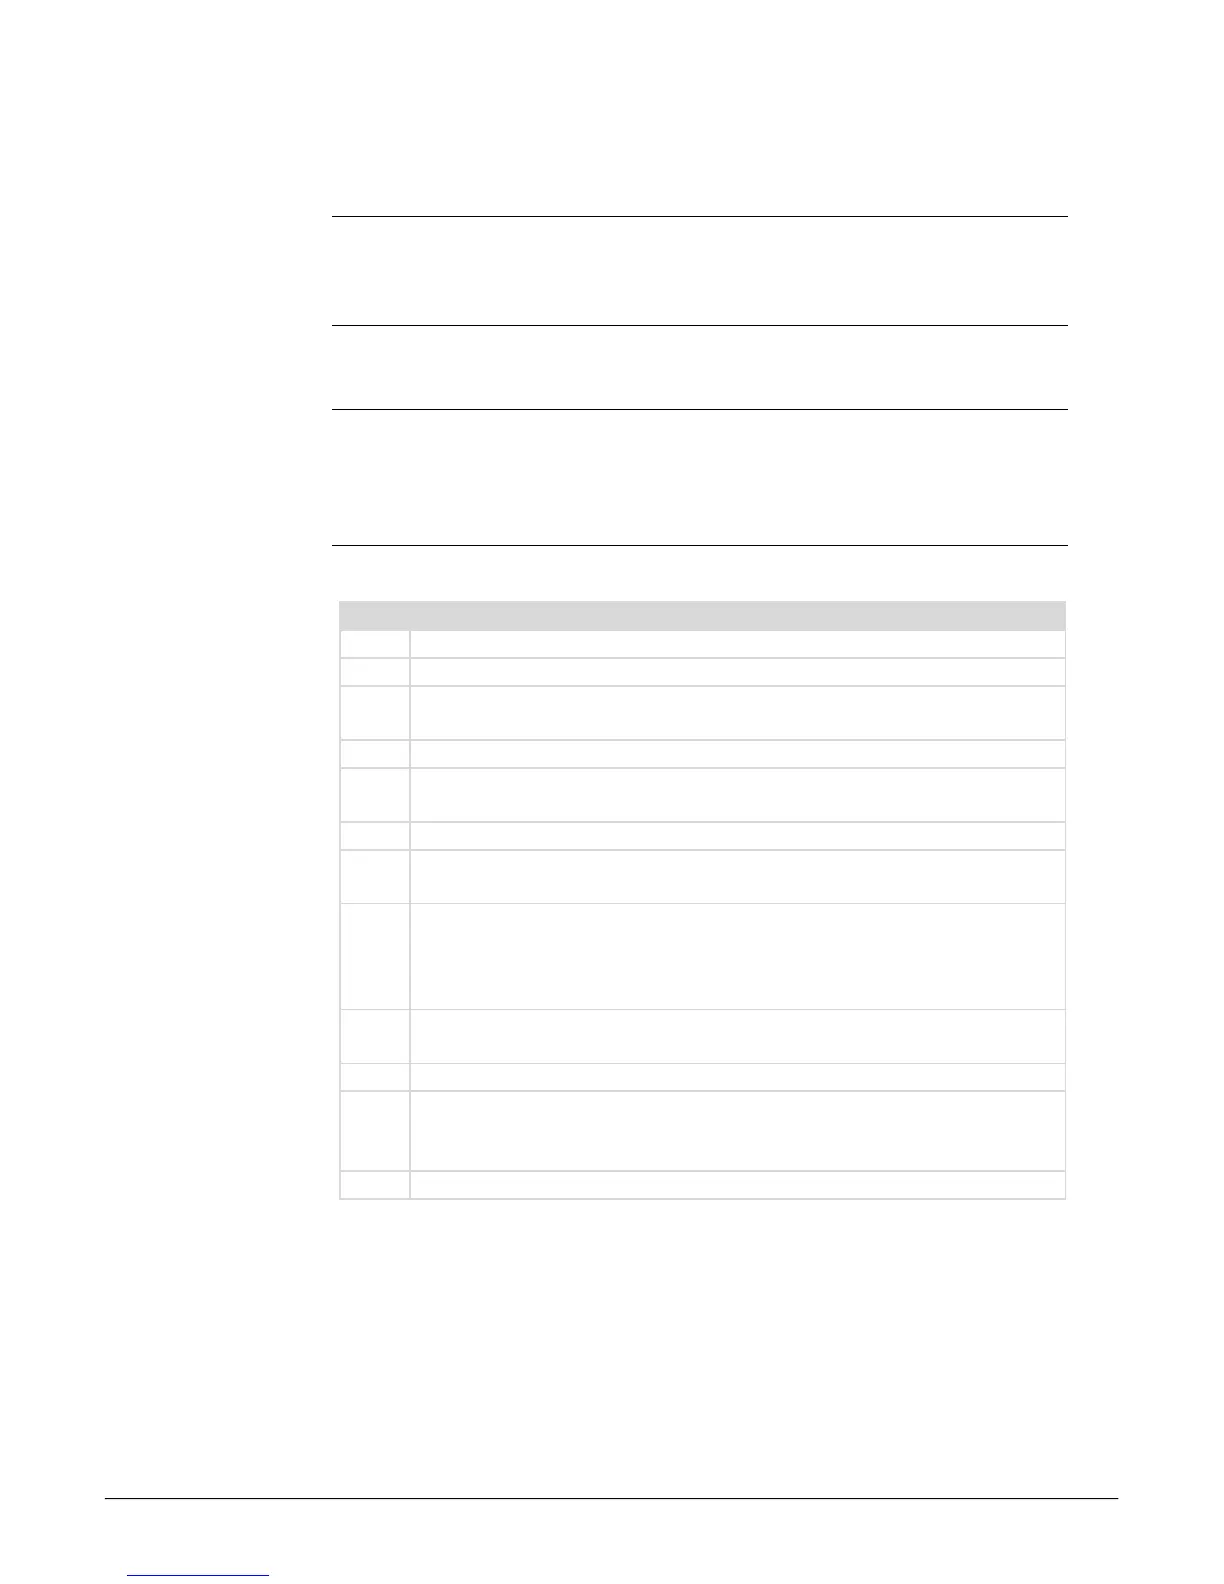
Follow these steps to update the firmware:
Switch off the HCV7 unit if on
Switch on the PC, and wait until its ready
Connect the USB cable to the PC and to the HCV7 unit (plug located behind
the upper front cover)
If connected correct, the PC will now find the USB connection, and automati-
cally install the correct USB driver (DAH-UVC)
Open Windows file explorer, and locate the HCV7 unit with its own drive letter
The HCV7 unit drive will contain minimum one file, BOOT_LOG.TXT and if
previously firmware updated, also the present firmware, renamed to *.OLD
Locate the new firmware file with extension *.BIN on the PC, copy this file to
clipboard. Navigate back to the HCV7 unit drive, and paste the file from clip-
board into the HCV7 unit drive. Now the file is placed next to BOOT_LOG.TXT.
This copy process must not exceed 60 seconds
Safely disconnect USB, using the MS Windows function: Safely Remove Hard-
ware, and disconnect the USB cable when prompted for it.
Switch of the HCV7 unit, wait 30 seconds
Switch on the HCV7 unit, and wait while it loads the new firmware into the
controller. This process must not exceed 120 seconds. The recent uploaded
*BIN file is renamed to *.OLD, and stored for future roll backs if needed.
 Loading...