Additional Information 15
Wireless Configuration Example #1
I. Setting up the Datamax Printer on a Wireless network, no security and DHCP (Discovery) enabled.
1. Starting with the printer in the default configuration. To reset the printer’s communication settings:
;
Note: Non-display printer users should skip this reset procedure and proceed to Step 2.
a. Turn on the printer and press the MENU BUTTON.
b. Using the DOWN BUTTON scroll to ‘COMMMUNICATIONS’ and press the ENTER KEY.
c. Using the DOWN BUTTON scroll to ‘NIC ADAPTER’ and press the ENTER KEY.
d. Using the DOWN BUTTON scroll to ‘SET FACTORY DEFAULTS’ and press the ENTER KEY. When prompted press the
YES KEY. The printer with then reset and return to Ready Mode.
2. Using DMXConfig program connect to the printer. Download the latest version from the Datamax FTP site at:
ftp://ftp.datamaxcorp.com/dmxConfig/
Once you have downloaded and installed the DMXConfig utility:
1. Connect the host to the printer with a serial or
parallel cable.
2. Turn on the printer.
3. Launch the DMXConfig utility.
4. Query the printer by using the Query Printer
toolbar button (top-left). This will connect to the
printer and get the current printer settings.
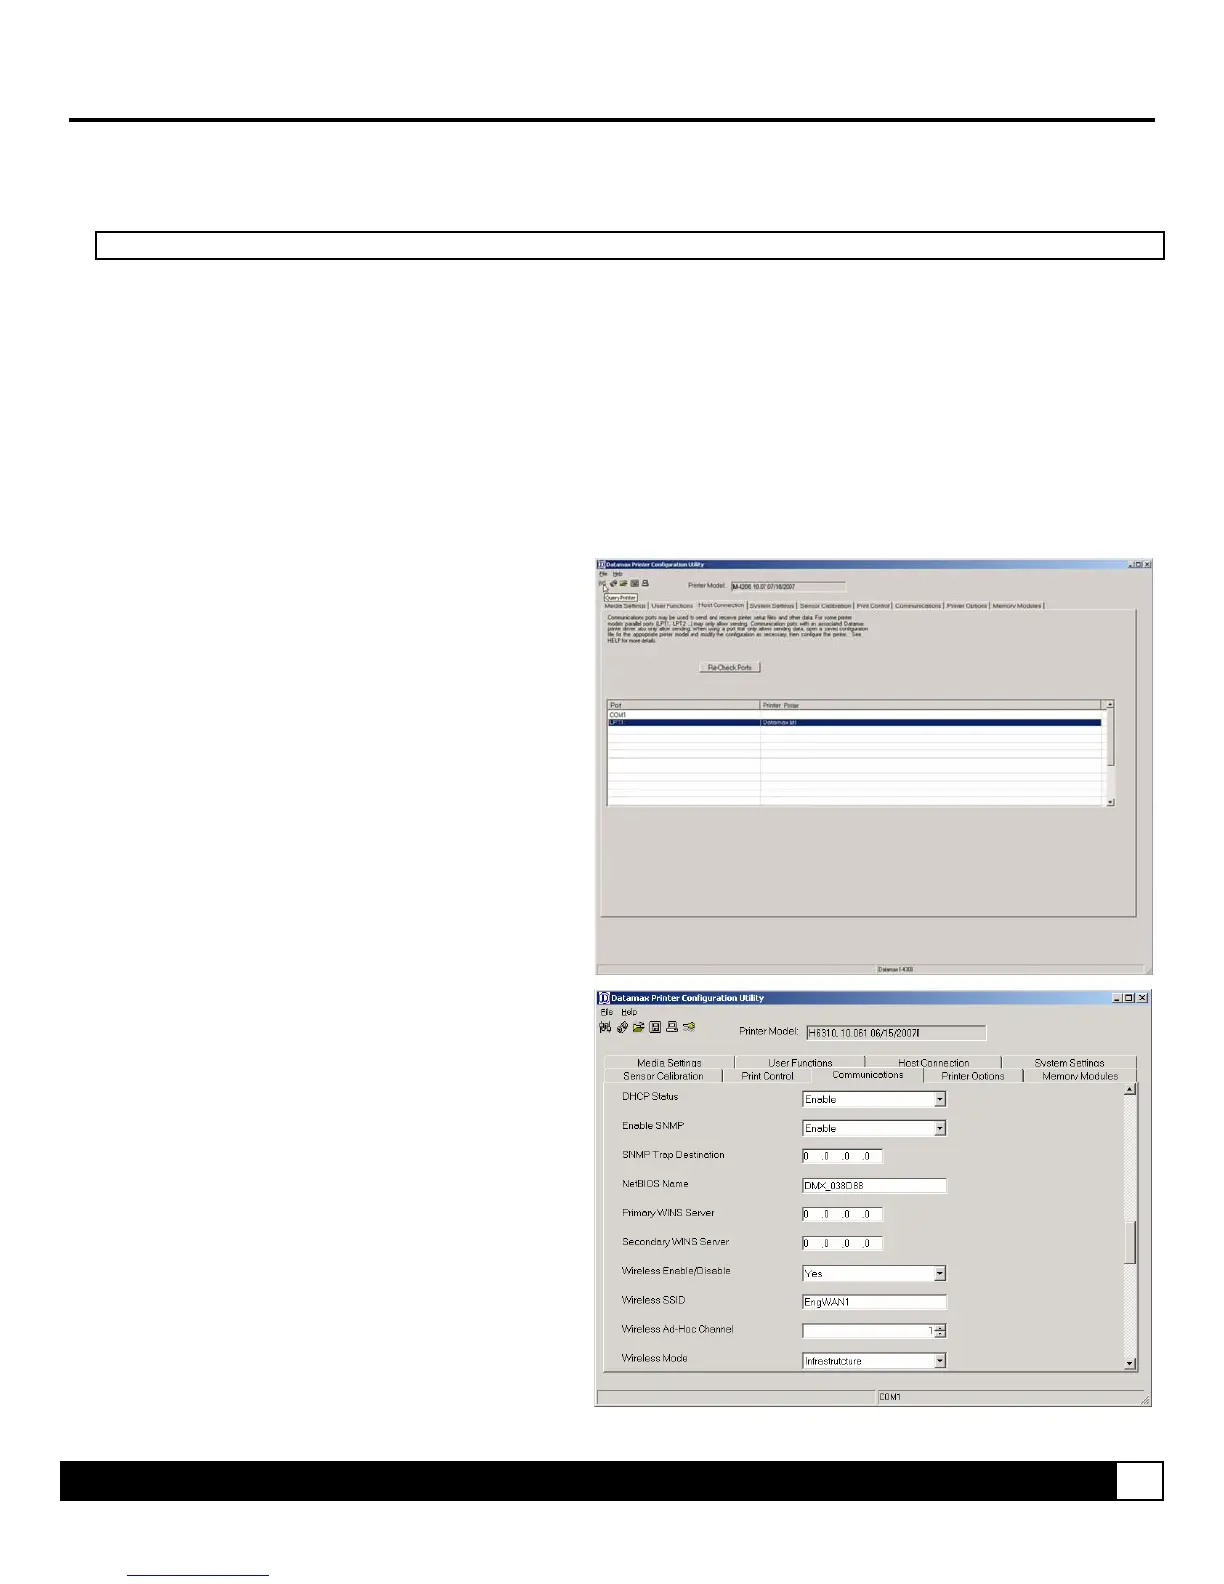
5. Next select the Communications tab, scroll
down to the network parameters and modify the
following settings:
DHCP Status = ENABLED
Wireless SSID = (Your Access Point’s SSID)
Wireless Mode = Infrastructure
6. Send the settings to the printer using the
Configure Printer toolbar button.
7. The printer will reset and will connect to the
networks DHCP server and retrieve an IP
address. Allow up to 90 seconds for the printer
to retrieve the IP address.
 Loading...

