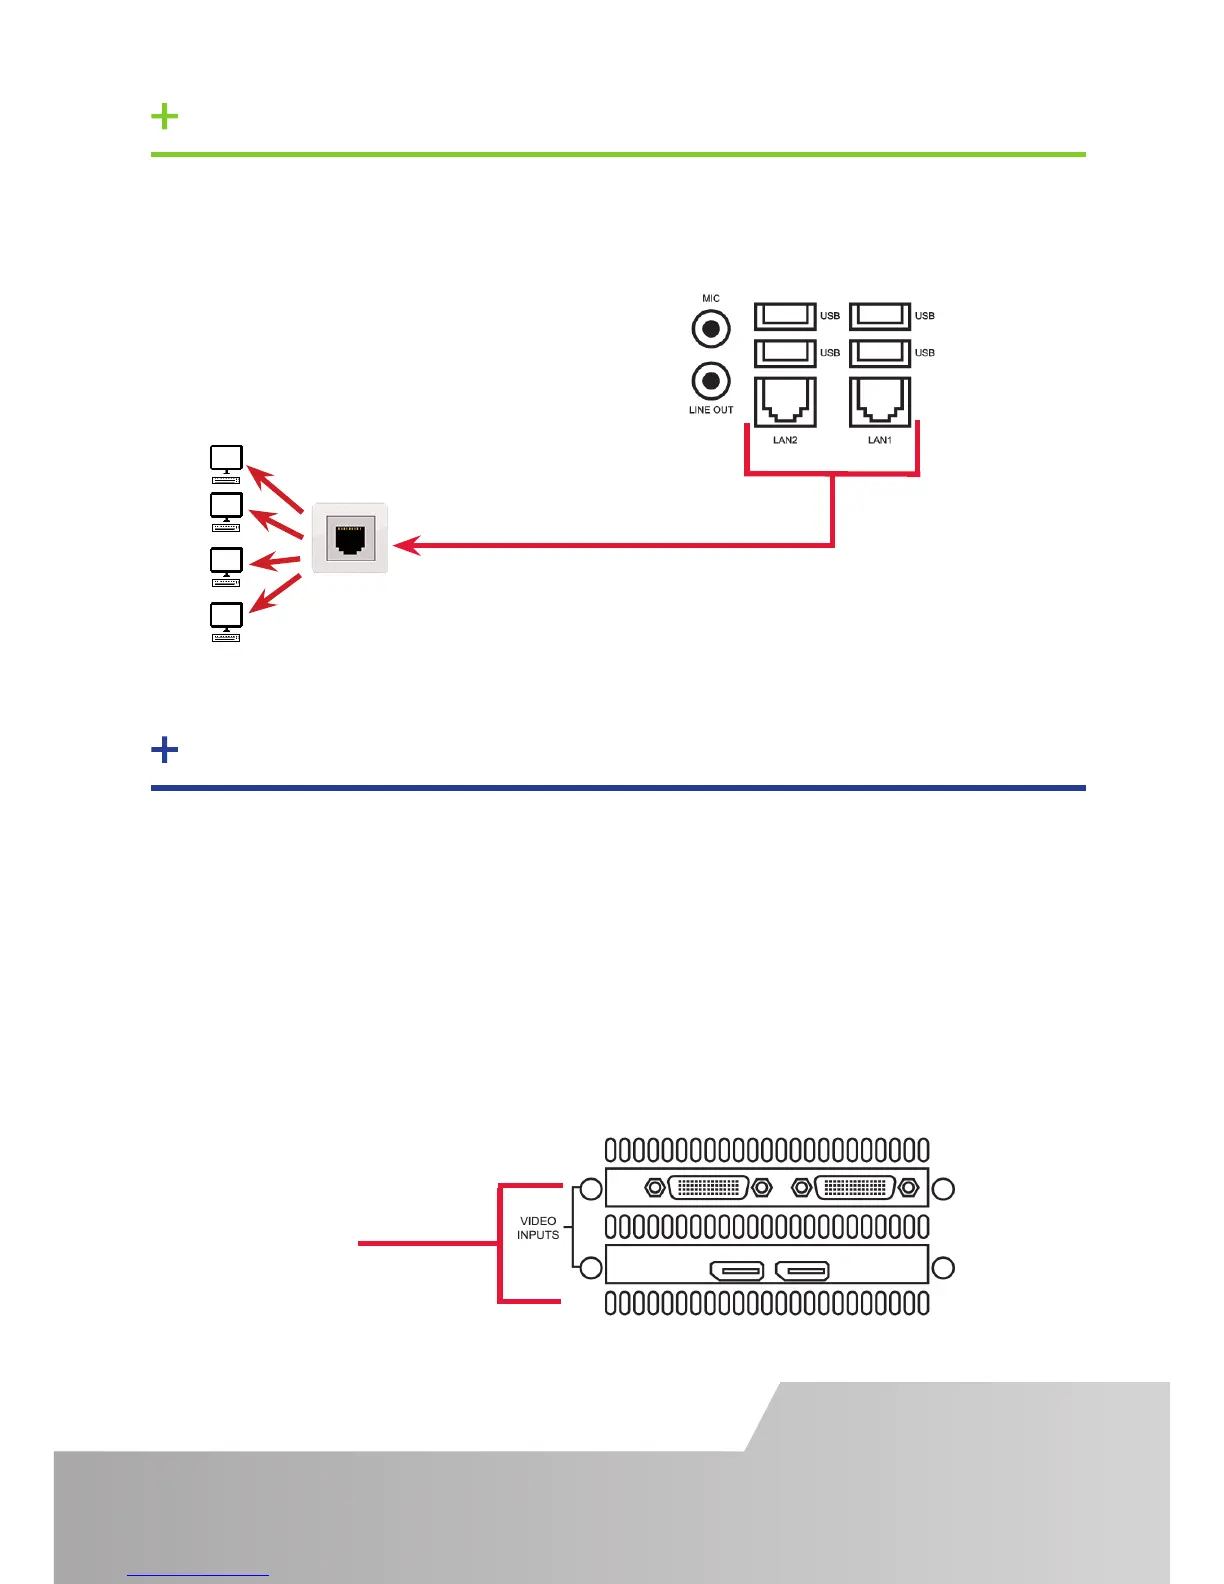
STEP 3 CONNECT VIDEO INPUT SOURCES
Page 3
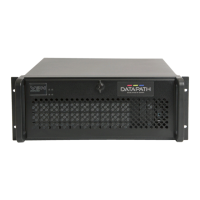
Input Connectors
As each iolite 12i is custom built, the number and type of video inputs will dier
from system to system. If you have purchased an iolite 12i with video inputs, the
input connectors are located on the rear panel as shown below.
The printed diagram shipped with the iolite 12i shows the types of input and
connectors built into your specic system.
Connect the input sources to the relevant input connectors, cables may be supplied
for some inputs. See content list for details.
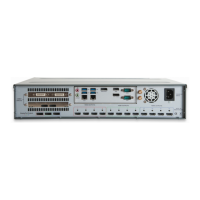
If the iolite 12i is to be used over a network, connect the iolite 12i to a network
point (cables not supplied) using one of the LAN connectors on the rear panel.
STEP 2 CONNECT TO A NETWORK (OPTIONAL)