10
Note: The PTC/PTR and SELECT/ENTER dials can also be
used to manually adjust R and B levels of the white
balance settings. See White Balance Mode Select for
more details.
CAM OSD
Press the CAM OSD button to display device status of
the camcorder (Sony Z280) mounted on PTR-10/10T
MAKR II.
Hold down the CAM OSD button for about 2 seconds to
open the OSD menu of the camcorder (Sony Z280)
mounted on PTR-10/10T MAKR II then rotate the
SELECT/ENTER dial to browse the menu and push to
make a selection.
Note: The device status and OSD menu opens on the
monitor display connected to the camcorder. This
button is designed for the camcorder mounted on PTR-
10/10T MARK II; do not confuse this button with the
PTC/PTR dial.
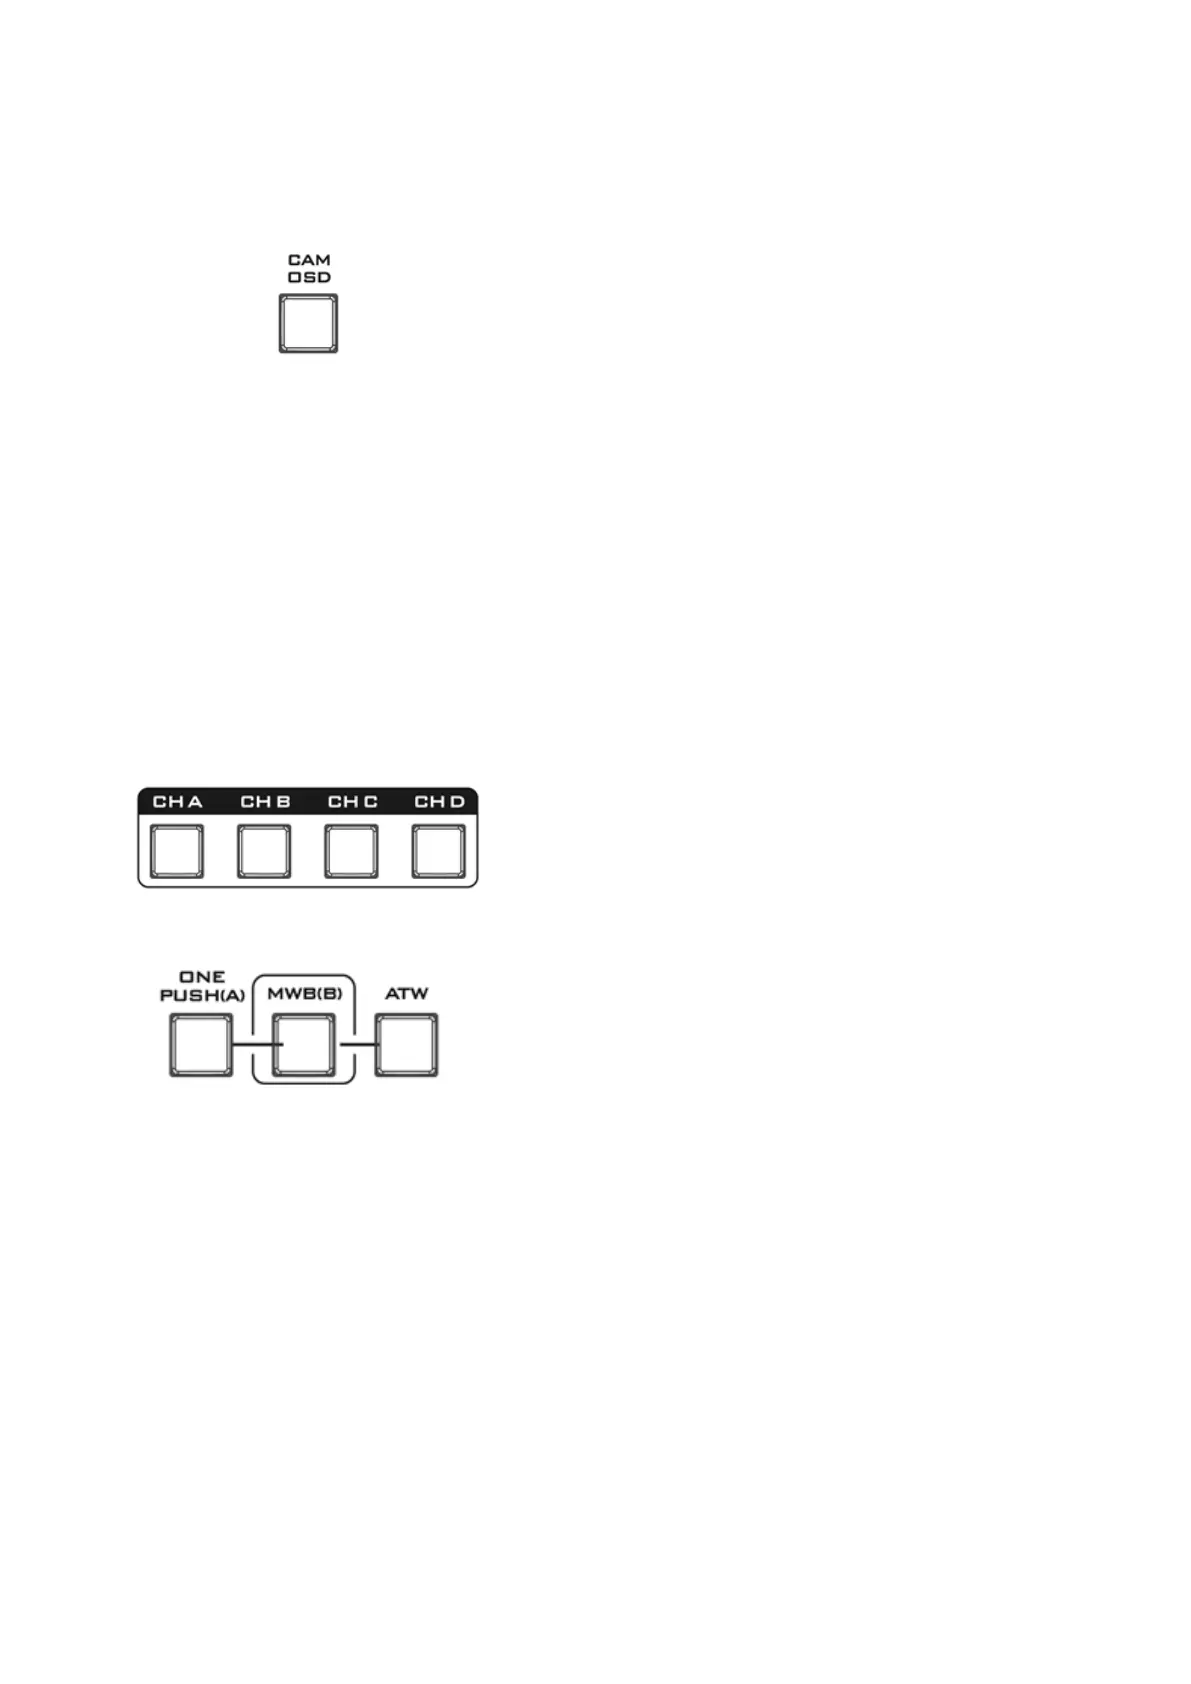
Channel A, B, C, D Buttons
To control or set up a connected camera, first select it by
pressing its corresponding channel button. The selected
channel button will be turned ON.
White Balance Mode Select
One Push (A) – One Push Auto Mode
The One Push White Balance mode is a fixed white
balance mode that is automatically adjusted at the
user’s request. To enable this mode, hold down the
button for about 3 seconds until it illuminates red.
The One Push White Balance data is lost when the
power is turned off, in other words, turning off the
device power resets the One Push White Balance
setting.
The One Push White Balance mode can also be used for
white balance calibration. Zoom in the camera lens on a
white piece of paper which basically serves as a
reference for what is white, then press the ONE PUSH
(A) button to balance other colors accordingly.
 Loading...