Do you have a question about the DaVinci MDB Series and is the answer not in the manual?
Lists major furniture components like rails, legs, and dresser sections for identification.
Details all necessary screws, bolts, and fasteners required for the assembly process.
Provides step-by-step guidance for inserting and securing barrel nuts with bolts.
Instructions for preparing the crib, removing parts, and attaching the footboard.
Guidance on attaching the front legs to the footboard using specified hardware.
Details on connecting various parts using hardware like H2, H3, and H4 bolts.
Instructions for using H1 wood screws to attach components to the frame.
Steps to attach conversion rails using H5 bolts and H6 barrel nuts.
Information on the maximum weight capacity for the conversion rails.
Instructions for attaching the dresser section using specific bolts and washers.
Steps for completing the assembly by securing components with bolts and washers.
Critical safety warning about furniture tipover and the necessity of the anti-tip kit.
Lists the hardware components included for the anti-tip restraint system.
Instructions for attaching the anti-tip kit to drywall when a wood stud is available.
Instructions for attaching the anti-tip kit to drywall without a wood stud, using anchors.
Guidance on fastening the strap to the back of the dresser unit.
Steps for marking the wall and drilling pilot holes for the anti-tip kit.
Instructions for screwing the strap or bracket into the wall anchor or stud.
Confirmation that the anti-tip installation is complete after securing the strap.
Reminder to read all instructions before use and keep them for future reference.
Importance of regularly checking fasteners for tightness to ensure safety.
Information about warranty coverage, what is included, and what is excluded.
Guidelines for storing the furniture properly and cleaning it to maintain its finish.
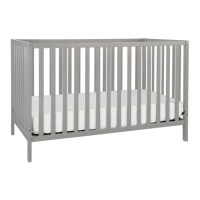
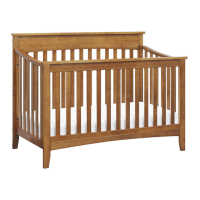
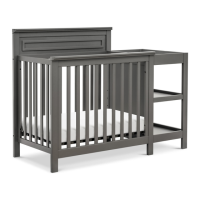
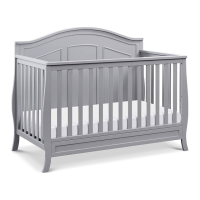
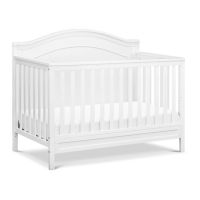
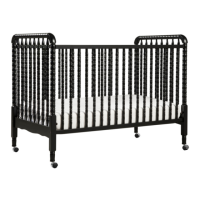
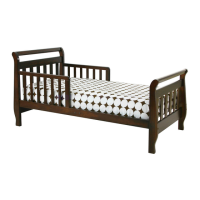
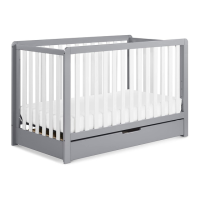
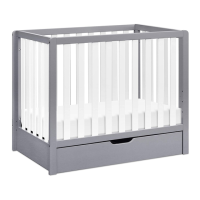
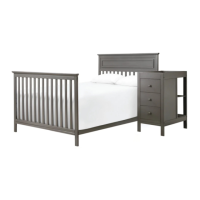
| Type | Convertible Crib |
|---|---|
| Adjustable Mattress Height Positions | 4 |
| Product Type | Crib |
| Convertible | Yes |
| JPMA Certified | Yes |
| Greenguard Gold Certified | Yes |
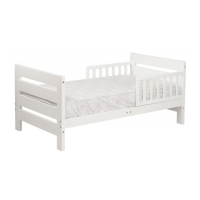
| Converts to | Toddler Bed, Daybed, Full-Size Bed |
| Material | Solid Wood |
| Finish | Multiple finishes available |
| Color | Multiple colors available |