HARDWARE INSTALLATION
Connecting Original Weather Stations
9
7. A small switch on the data logger near the cables controls the baud rate. The
default setting is 2400 baud. If you need to run at 1200 baud, change the set-
ting before connecting the data logger to the console.
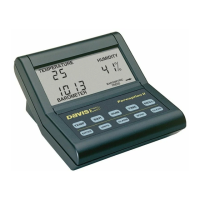
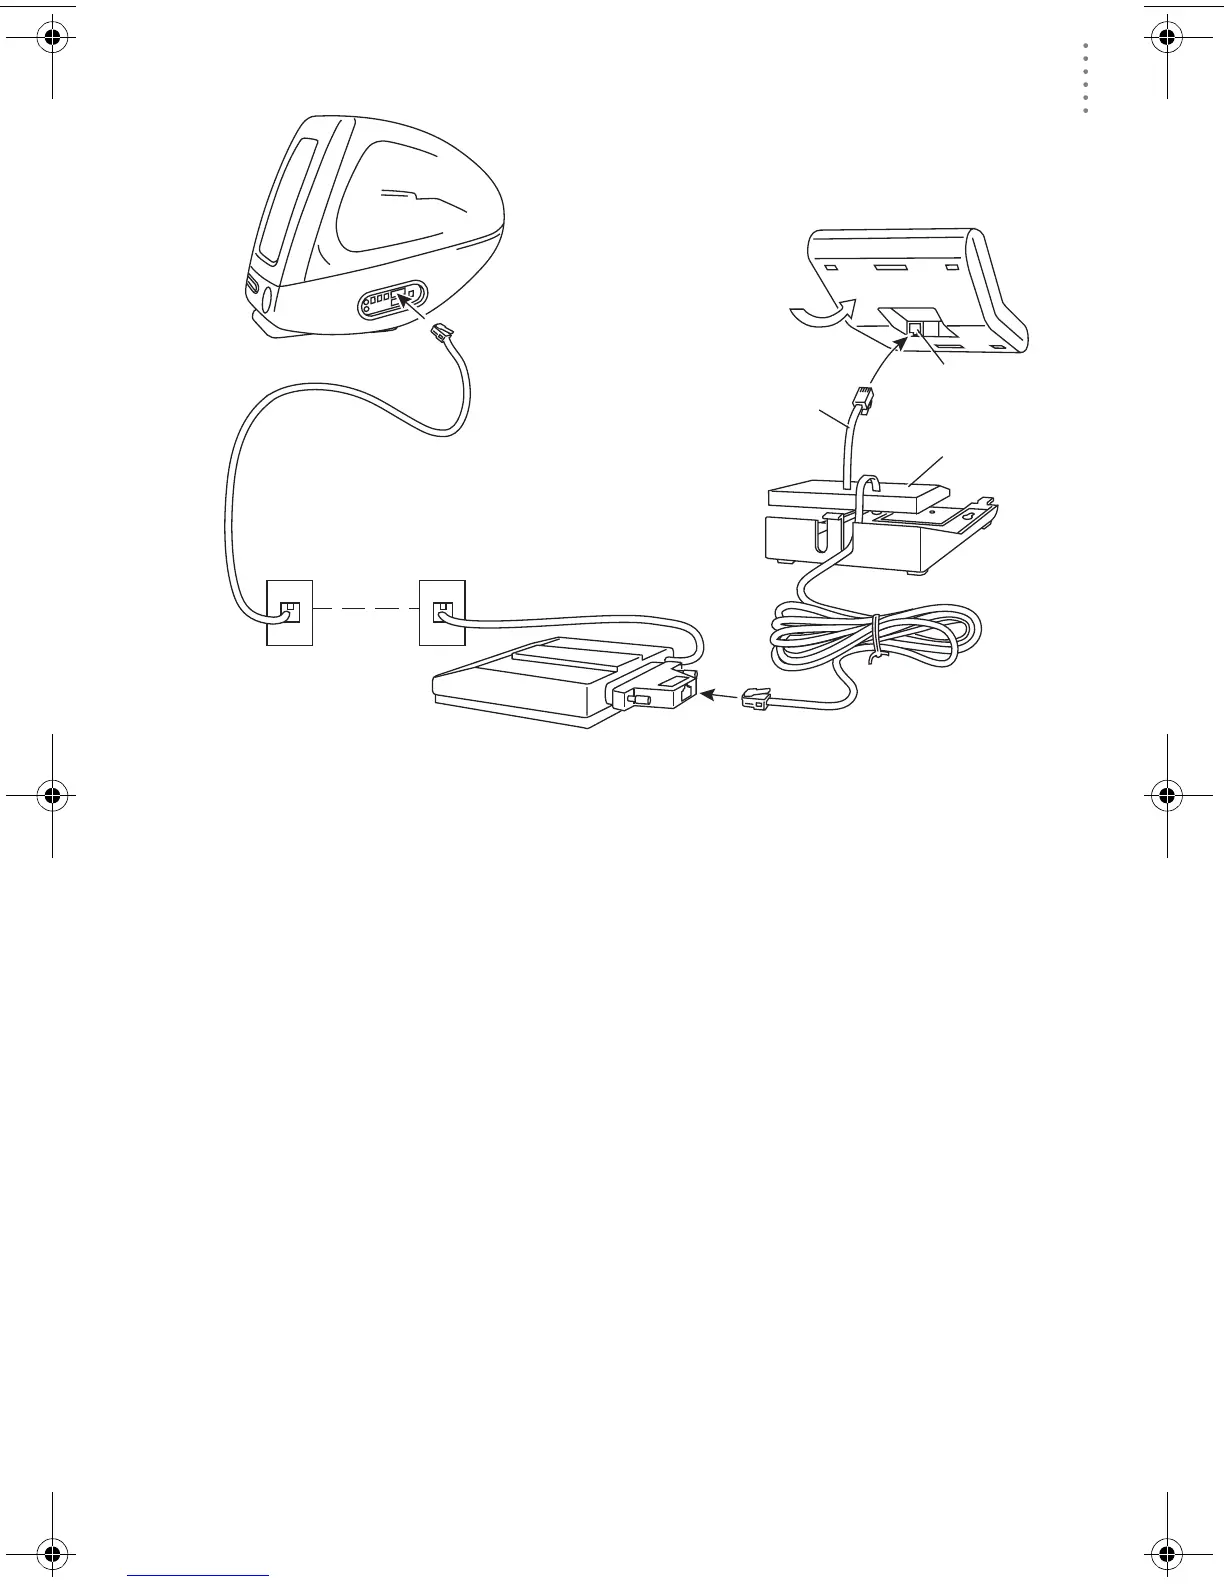
8. Connect the short data logger cable to the cable jack marked “WeatherLink”
on the bottom of your weather station console.
9. Connect the Telephone Modem Adapter to the external modem.
The Telephone Modem Adapter (#7870) is required to use the data logger with
a modem. A standard DB25 connector with a gender changer will not work.
10. Connect the long data logger cable to the Telephone Modem Adapter.
11. Turn the modem on.
Note: It is very important to follow the order of these instructions. The modem must be
connected and turned on before you apply power to the weather station console.
12. Restore power to the weather station console by reattaching the power
adapter and battery backup.
The weather station should beep three times. The third beep, which should
occur within 30 seconds, indicates that the WeatherLink is operating correctly.
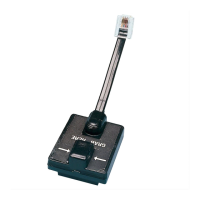
13. Place the data logger inside the mounting base.
14. Reattach the mounting base to the weather station.
As you do so, guide all the cables through the slots on the mounting base.
8 feet (2.5 m)
of cable
(standard)
Console
Base
WeatherLink
4 inches
(10 cm)
of cable
WeatherLink Jack
Underside
of instrument
Weather Station
Console
External Modem
Telephone
Modem Adapter
(25 pint)
Macintosh
Computer
Modem
port
Phone
Cable
Typical Remote Installation for Original Weather Stations
WL OSX GSG D015.fm Page 9 Monday, August 19, 2002 9:51 AM