HARDWARE INSTALLATION
Connecting Vantage Pro Weather Stations
6
6. Remove the battery cover from the console back and remove all power by
removing the batteries and AC-power adapter, if present.
CAUTION: Failure to remove power to the console before installing the data logger may
cause damage to the data logger or console.
7. Carefully insert the data logger into the large receptacle jack marked
EXPANSION inside the battery compartment
Guide the short data logger cable through the square slot below the data log-
ger receptacle.
CAUTION: Make sure that whenever you connect or disconnect the data logger from the
console that the console is NOT powered up. Plugging or unplugging the
data logger while power is applied can damage the data logger.
8. Connect the data logger extension cable to the data logger.
The included expansion cable for the data logger is 8’ (2.4 m) long. You can use
up to a 40’ (12 m) standard 4-conductor extension cable if needed. Do not
attempt to use more than 40’ of extension cable or the data logger may have
difficulty communicating with the modem.
9. Connect the other end of the data logger extension cable to the Telephone
Modem Adapter.
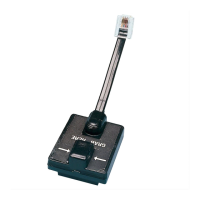
10. Connect the Telephone Modem Adapter (#6533) to the external modem.
Note: Do not use a DB25 (not included) adapter with a gender changer to attach
the logger to a modem because it will not work. Do not use the older Davis
telephone modem adapter (#7870), either, as it will not work with the Van-
tage Pro.
11. Turn the modem on.
12. Restore power to the weather station by reinstalling the batteries and re-
attaching the power adapter, if used.
The console should beep three times and enter set-up mode.
13. Replace the battery cover ensuring that the data logger cable exits through
the square slot.
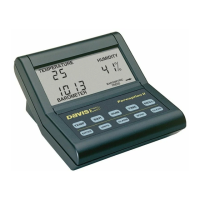
14. Set the Baud rate on the Vantage Pro console.
Note: The Baud Rate setup screen only appears if you have installed the data
logger.
• Use the [BAR] and [DONE] keys to scroll through the setup screens until
you reach the BAUD RATE setup screen.
Note: You can enter Setup Mode on the console at any time by pressing and
holding the [DONE] key, then pressing the [-] key.
• Use the [+] and [-] keys to set the desired Baud rate.
Use the fastest Baud rate your modem can handle. 19200 is the fastest
Baud rate available and is the default setting on the console.
• Press and hold the [DONE] key when you see the correct Baud rate on the
console screen.
Pressing the [DONE] key in this screen sends the initialization string to the
modem, so you don’t have to turn the console on and off again. Holding
the [DONE] key will exit the console from Setup Mode.
WL OSX GSG D015.fm Page 6 Monday, August 19, 2002 9:51 AM