1
SENSOR TRANSMITTERS
SOLAR-POWERED AND AC-POWERED
The Sensor Transmitter enables you to create a customized wireless sensor station that
can communicate directly with your Vantage Pro2 console, Vantage Connect, or
WeatherLink Live. Each transmitter can support up to five different sensors. It comes in
two versions: Solar-powered or AC-powered for indoor installations.
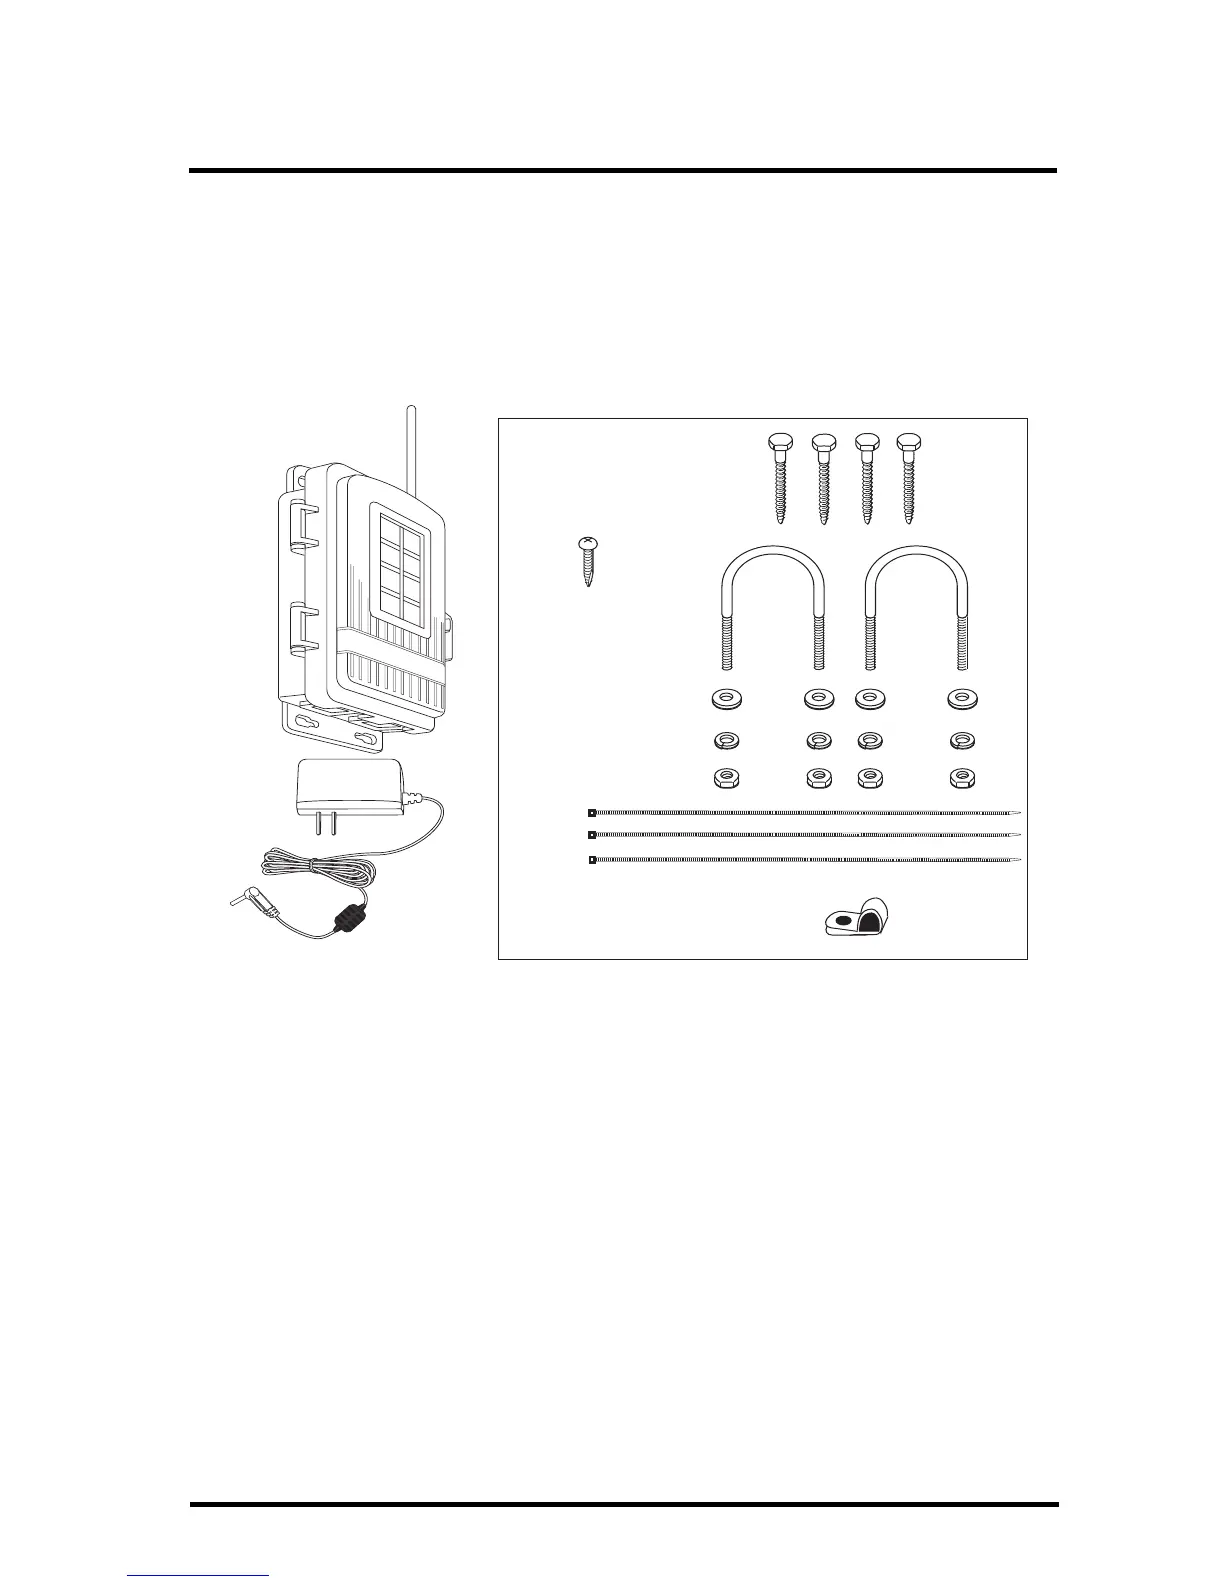
Components
The Sensor Transmitter includes the following components and mounting hardware:
Tools for Setup
In addition to the kit, you will need some or all of the following materials:
• Adjustable wrench or 7/16" wrench
• Compass or local area map
• Ballpoint pen or paper clip (small pointed object of some kind)
• Drill and 3/16" (5 mm) drill bit (if mounting on a vertical surface)
• Carpenter’s level (if mounting on a vertical surface)
Steps in installing your Sensor Transmitter
• Prepare the Sensor Transmitter and plug in the sensor(s)
• Set the transmitter ID using DIP switches
• Choose a location for the Sensor Transmitter
• Install sensors and test transmission from the proposed mounting location
• Mount the Sensor Transmitter