STAGE 2: START
PUTTING TOGETHER
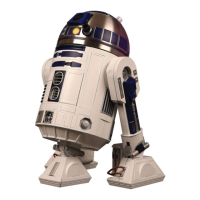
ROBI’S HEAD
Usin the screws provided, assemble the framework for
Robi’s head before fittin his eyes and face, after which
Robi’s characteristic features will start to take shape.
It is not dicult to put the head
toether, but note that the two side
frames look similar, so make sure you
don’t et them confused. Use the
specially desined screwdriver
provided with this stae, holdin it as
shown in the ‘Close-Up’ box below. To
complete the assembly you will need
the two eyes that you put toether in
Stae 1, so have these to hand, and
make sure you tape them neatly at
Steps 12-14.
ASSEMBLY GUIDE
1
2
3
4
4
5
6
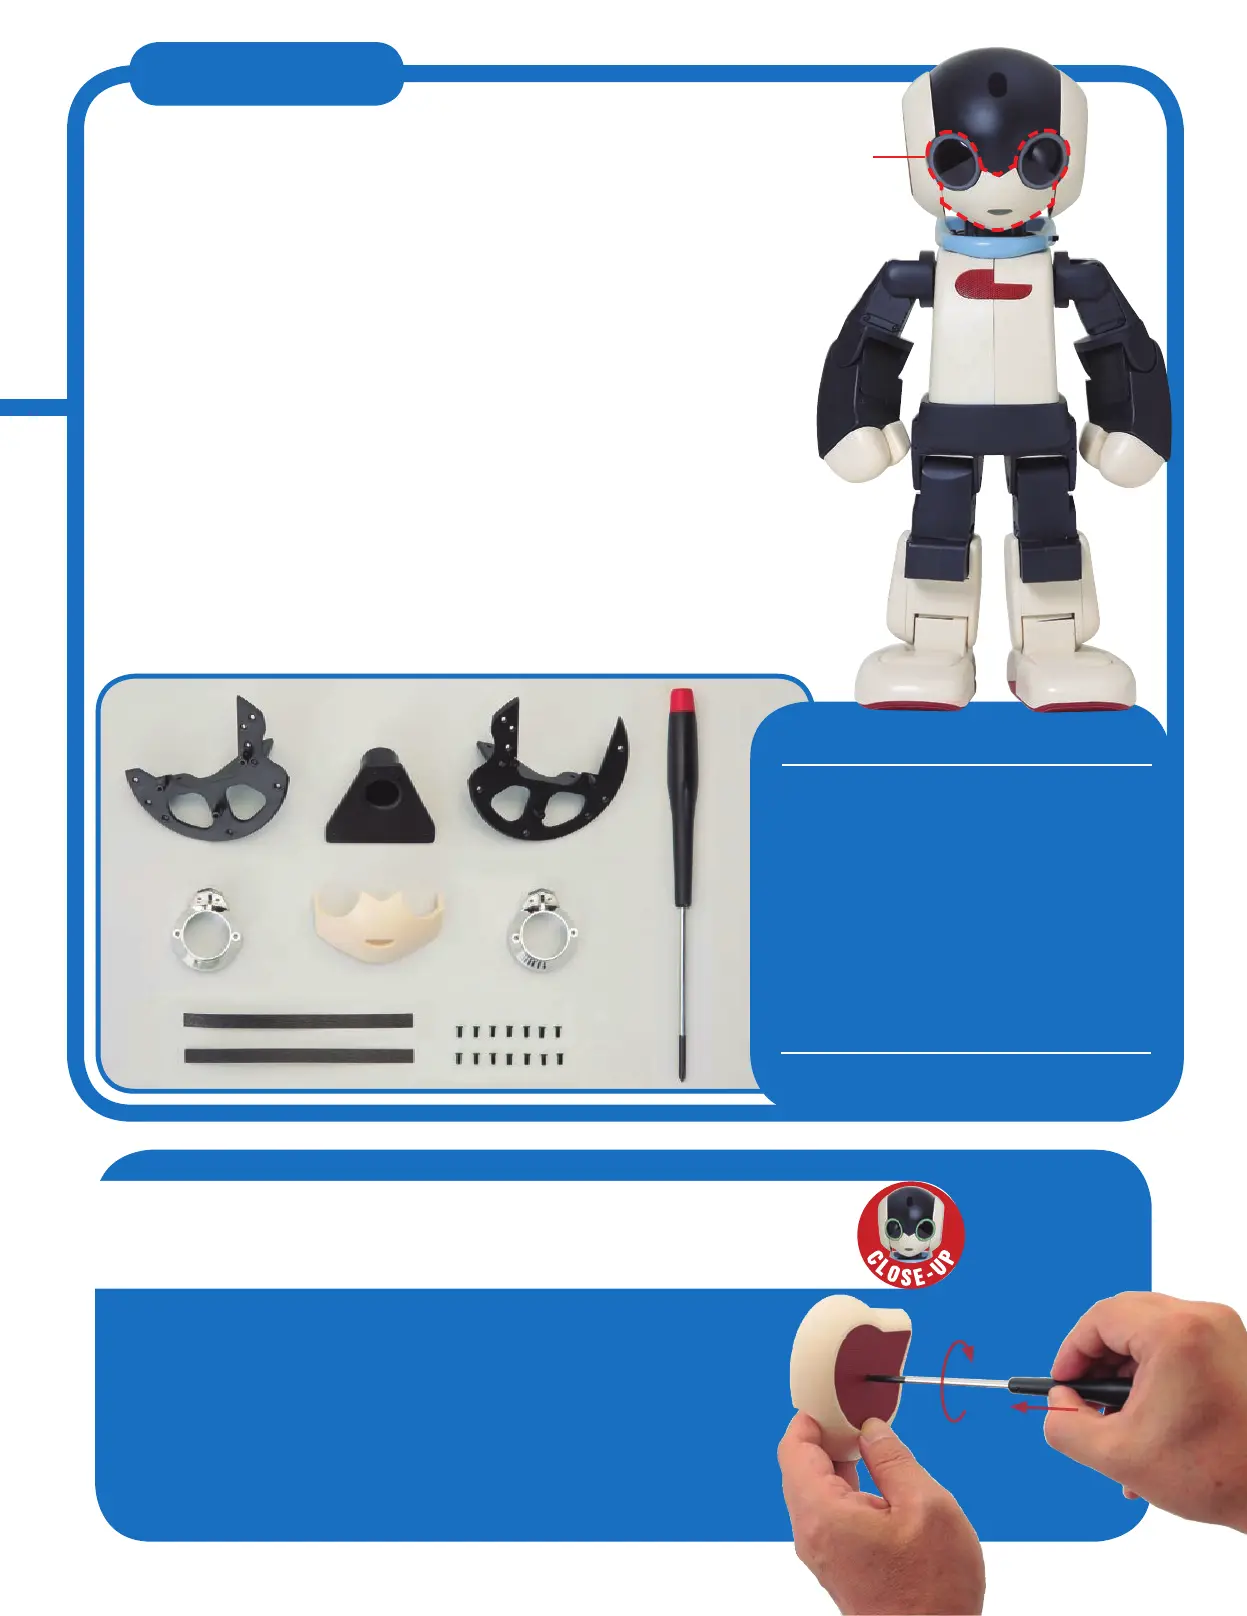
1 Left head frame
2 Neck mounting
3 Right head frame
4 Eye sockets (x 2)
5 Face
6 Black tape (100mm strips x 2)
7 M2 x 4.5mm countersunk screws
(x 14 – includes 2 spares)
YOUR PARTS
8 Crosshead screwdriver
TOOLS
8
7
The only special tool you need to assemble Robi is the screwdriver that you
received with this stage. The tip is specially designed to fit the small screws that
hold Robi together, and the end of the handle has a revolving pad which is designed
to help you apply even pressure with your palm. This will keep the screw in place
while you turn the handle with your thumb, index and middle fingers. Never grip the
handle itself like a conventional screwdriver. Turning the screws as shown makes it
much easier to put them in straight and reduces the chance of overtightening,
which can damage both the screw and the parts being joined together.
YOUR SPECIAL SCREWDRIVER
PARTS TO BE
ASSEMBLED
06

 Loading...