2. BICYCLE ASSEMBLY
2.1. Remove the bicycle and parts from the shipping package. Be sure to remove all small boxes.
2.2. Put on the wheel and ghten the wheel axle nuts.
Watch the video: hps://youtu.be/Pm2H1VNiOXY
2.3. Loosen the bolts that are holding the fork, then posion and align the fork, then re-ghten the
bolts, being careful not to overghten.
2.4. Aach the pedals.
Watch the video: hps://youtu.be/Y5jVT1p_CyM
2.5. Install the handlebars, accessories, mirrors, and throle/grips, and carefully ghten all hardware.
Watch the video: hps://youtu.be/Ltx5LpvcgjI
How everything should look aer assembly: hps://youtu.be/rPESuHUkIHY
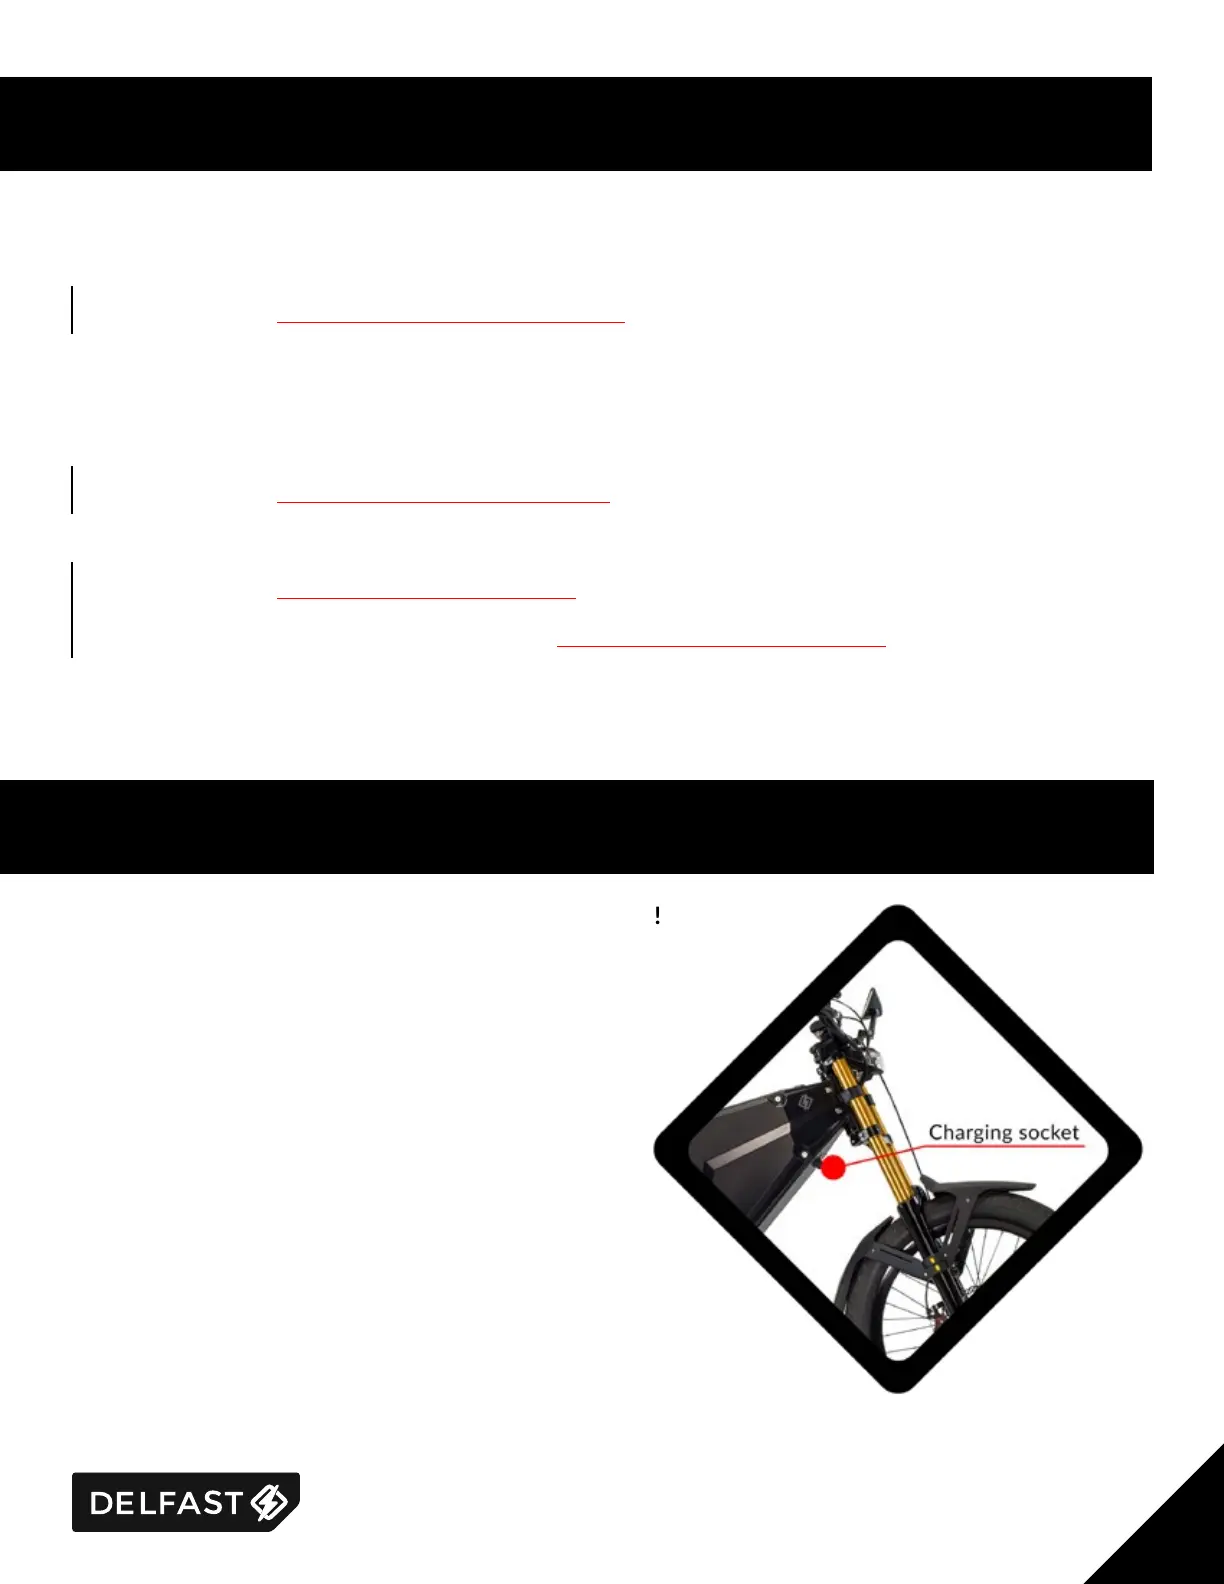
3. CHARGING THE BATTERY
3.1. Before operang you must fully charge the baery!
3.2. The charger is equipped with a charging indicator:
red colour: the baery is currently charging;
green colour: the baery is fully charged.
3.3. It takes about 5 hours to fully charge the bike.
3.4. ONLY charge the baery with the charger
that is included in the delivery or with the oponal
Delfast Supercharger.
3.5. Never leave the bike unaended when charging.
3.6. It is crically important to charge the baery at
least once a month. If you fail to do so, it may cause
a baery damage!