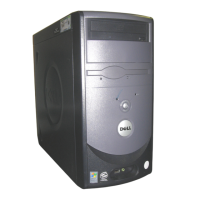
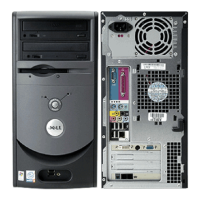
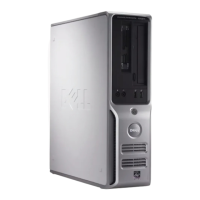
5. Remove the computer cover.
6. Disconnect the AC power cable from the AC power connector on the back of the power supply.
7. Unplug the DC power cables from the drives and system board.
8. Remove the four screws that secure the power supply to the back of the computer.
9. Remove the power supply from the computer.
Replacing the Power Supply
1. Slide the power supply into place.
2. Replace the four screws that secure the power supply to the back of the computer.
3. Reconnect the DC power cables to the drives and system board.
4. Replace the computer cover.
5. Connect the AC power cable to the AC power connector on the back of the power supply.
6. Connect your computer and devices to electrical outlets, and turn them on.
Replacing the Battery
A coin-cell battery maintains computer configuration, date, and time information. The battery can last several years.
If you have to repeatedly reset time and date information after turning on the computer, replace the battery.
1. Record all the screens in the system setup program so that you can restore the correct settings when you perform step 11.
2. Shut down the computer through the Start menu.
3. Ensure that your computer and attached devices are turned off. If your computer and attached devices did not automatically turn off when you shut
down your computer, turn them off now.
4. Disconnect any telephone or telecommunication lines from the computer.
NOTICE: Before touching anything inside your computer, ground yourself by touching an unpainted metal surface, such as the metal at the back of the
computer. While you work, periodically touch an unpainted metal surface to dissipate any static electricity that could harm internal components.

 Loading...


