22 | Setting Up the Monitor
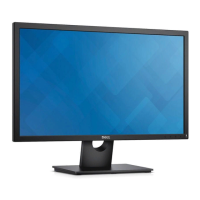
2 Remove the stand assembly from the monitor.
a Use a long and thin screwdriver to push the release latch.
b After the latch is released, remove the stand away from monitor.
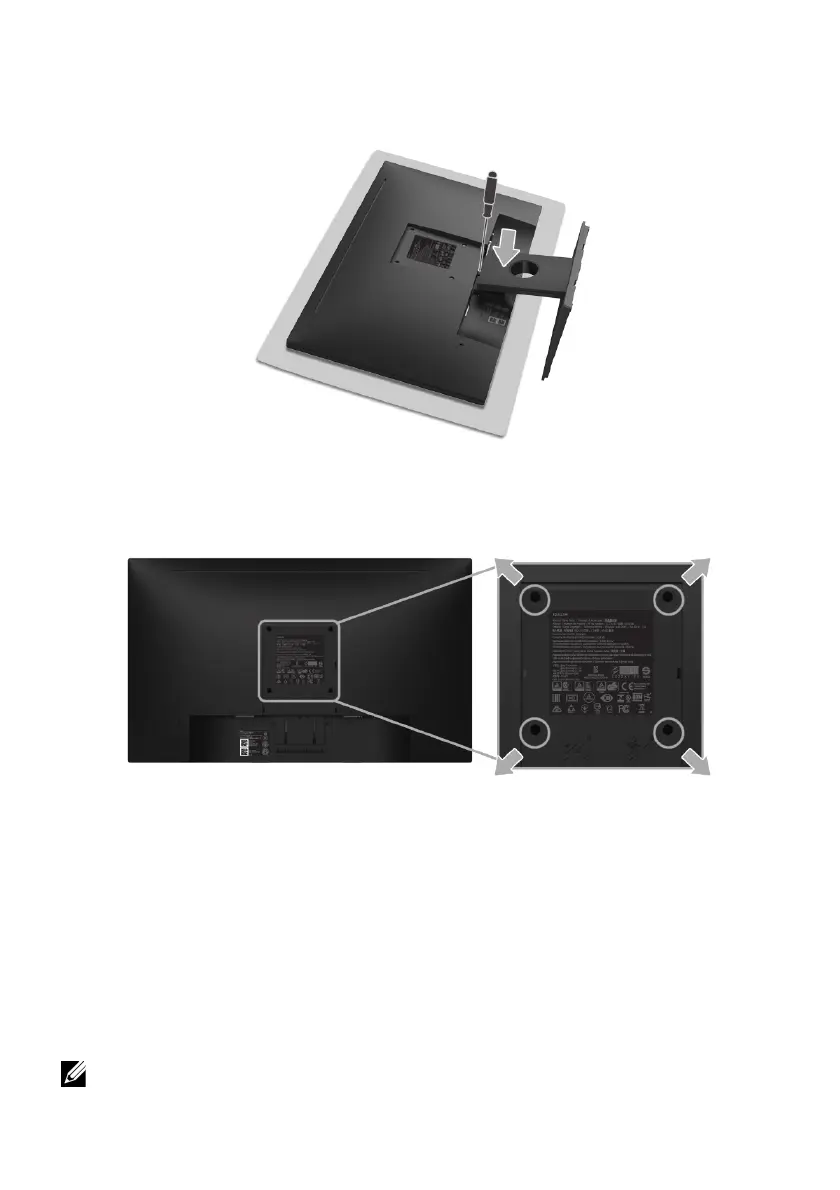
Wall Mounting (Optional)
(Screw dimension: M4 x 10 mm).
Refer to the instructions that come with the VESA-compatible wall mounting kit.
1 Place the mon
itor panel on a soft cloth or cushion on a stable, flat table.
2 Remove the stand.
3 Use a
Phillips crosshead screwdriver to remove the four screws securing the plastic
cover.
4 Attach the mounting bracket from the wall mounting kit to the monitor.
5 Mount
the monitor on the wall by following the instructions that comes with the
wall mounting kit.
NO
TE: For use only with UL-listed wall mount bracket with minimum weight/load
bearing capacity of 13.12 kg.