Dell EMC PowerStore Quick Start Guide Page 4 of 8
4. Record the Dell Service Tag
Locate and record the number from the black Dell Service Tag on the front of the base enclosure.
5. Install optional expansion enclosures
If you are not installing an expansion enclosure, continue to step 7.
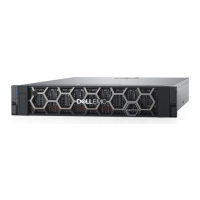
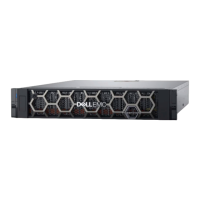
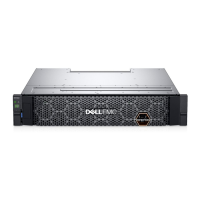
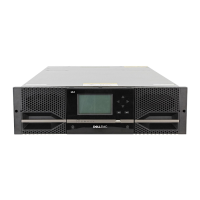
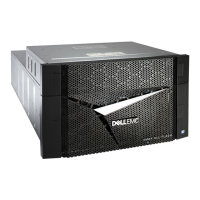
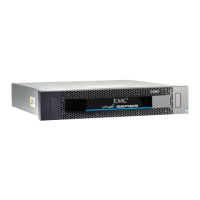
If installing an expansion enclosure, determine which type of expansion enclosure you are installing:
25 Drive 2.5 Inch SAS (ESS25) Expansion Enclosure
For each additional expansion enclosure, repeat steps 2 and 3 to install the rails and expansion enclosure onto the rails.
24 Drive 2.5 Inch NVMe (ENS24) Expansion Enclosure
See the
Installation and Service Guide for PowerStore 500T
or the
Installation and Service Guide for PowerStore 1000, 1200,
3000, 3200,5000, 5200, 7000, 9000, and 9200
at https://dell.com/powerstoredocs to install the expansion enclosure into the
cabinet.
6. Connect the expansion enclosure to the base enclosure
See the
Label Sheets
included with the expansion enclosure for cabling details.
7. Connect the base enclosure to your switches
1. Identify which type of PowerStore model you are deploying: either a PowerStore T model appliance or a PowerStore X
model appliance
2. Choose the cabling instructions for the PowerStore model you are deploying:

 Loading...
