1. cluster node 1
2. cluster node 2
3. switch 0
4. switch 1
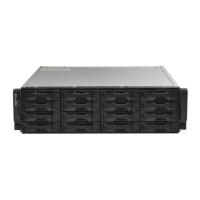
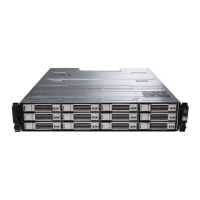
5. Dell EqualLogic PS6110 storage system
6. control module 0
7. control module 1
Cabling The Dell EqualLogic PS4000/PS4100/PS6010/PS6510 Storage Arrays
1. Connect a network cable from the network switch 0 to Ethernet 0 on the control module 1.
2. Connect a network cable from the network switch 0 to Ethernet 0 on the control module 0.
3. Connect a network cable from the network switch 1 to Ethernet 1 on the control module 1.
4. Connect a network cable from the network switch 1 to Ethernet 1 on the control module 0.
5. Repeat steps 1 to 4 to connect the additional Dell EqualLogic PS4000/PS4100/PS6010/PS6510 storage array(s) to the
iSCSI switches.
NOTE: For PS4100 storage array, having all 4 cables in steps 1 through 4 provides highest level of cable
redundancy. It works fine with only 2 cables. You can skip either step 1 or 2, and either step 3 or 4.
For more information, see the figures below.
Figure 9. Cabling an iSCSI SAN-Attached Cluster to a Dell EqualLogic PS4000 Storage Array
1. cluster node 1
2. cluster node 2
3. switch 0
4. switch 1
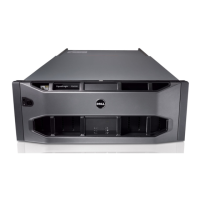
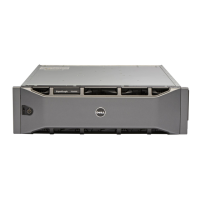
5. Dell EqualLogic PS4000 storage system
6. control module 1
7. control module 0
18
 Loading...