Back to Contents Page
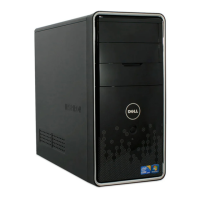
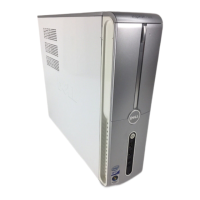
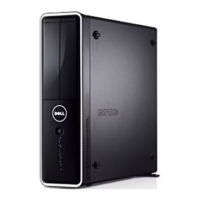
Computer Cover
Dell™Inspiron™560sServiceManual
Removing the Computer Cover
Replacing the Computer Cover
Removing the Computer Cover
1. Follow the procedures in Before You Begin.
2. Close the chassis feet.
3. Lay your computer on its side with the computer cover facing up.
4. Remove the two screws securing the cover, using a screwdriver.
WARNING: Before working inside your computer, read the safety information that shipped with your computer. For additional safety best
practices information, see the Regulatory Compliance Homepage at www.dell.com/regulatory_compliance.
WARNING: To guard against electrical shock, always unplug your computer from the electrical outlet before removing the cover.
WARNING: Do not operate your equipment with any cover(s) (including computer covers, bezels, filler brackets, front-panel inserts, etc.)
removed.
CAUTION: Onlyacertifiedservicetechnicianshouldperformrepairsonyourcomputer.DamageduetoservicingthatisnotauthorizedbyDell™
is not covered by your warranty.
CAUTION: Ensure that sufficient space exists to support the system with the cover removed—at least 30 cm (1 ft.) of desk top space.
 Loading...