Stacking Dell PowerConnect Switches: 8132, 8132F, 8164, 8164F
10
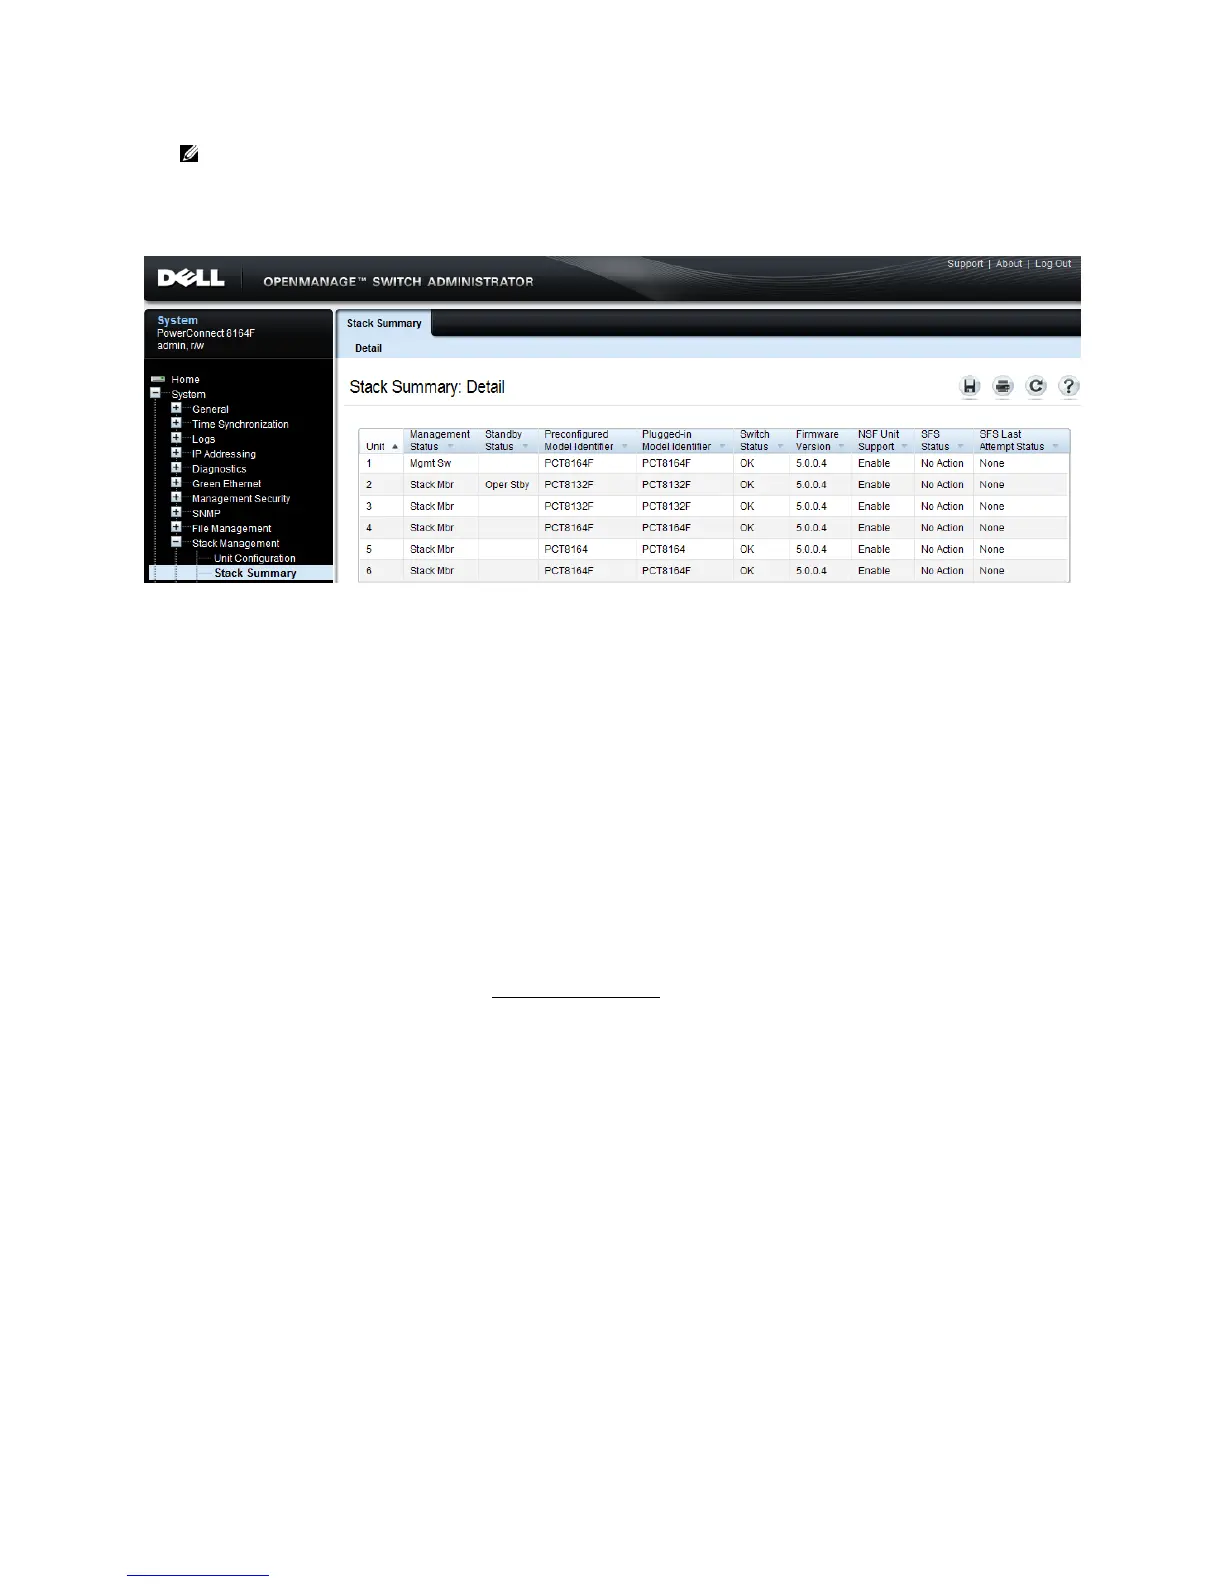
Note that in this example Switch 1 is the Master (Mgmt Sw) and Switch 2 is the Standby (Oper
Stby) ready to take over as Master in the event the Master fails.
To find the same information from the Web UI go to System > Stack Management > Stack Summary.
How to select a Master during initial stack setup
After creating a stack it is easy to go into the settings on the Master and select any of the members to
take its place as Master. The former Master becomes a regular stack member automatically.
To select a particular physical unit to be Master during initial setup, simply boot it up completely
before powering on any of the other switches. All subsequent members added to the stack will join as
regular stack members.
When using two or more switches to initially create a stack, the Master is chosen based on the highest
MAC address. To find the MAC address of a switch, type show system from a CLI prompt:
console#show system
System Description: Dell Ethernet Switch
System Up Time: 0 days, 00h:12m:53s
Burned In MAC Address: A4BA.DB69.330B
Or from the Web UI, go to the System > General > System Information page:
 Loading...