128 Installing System Components
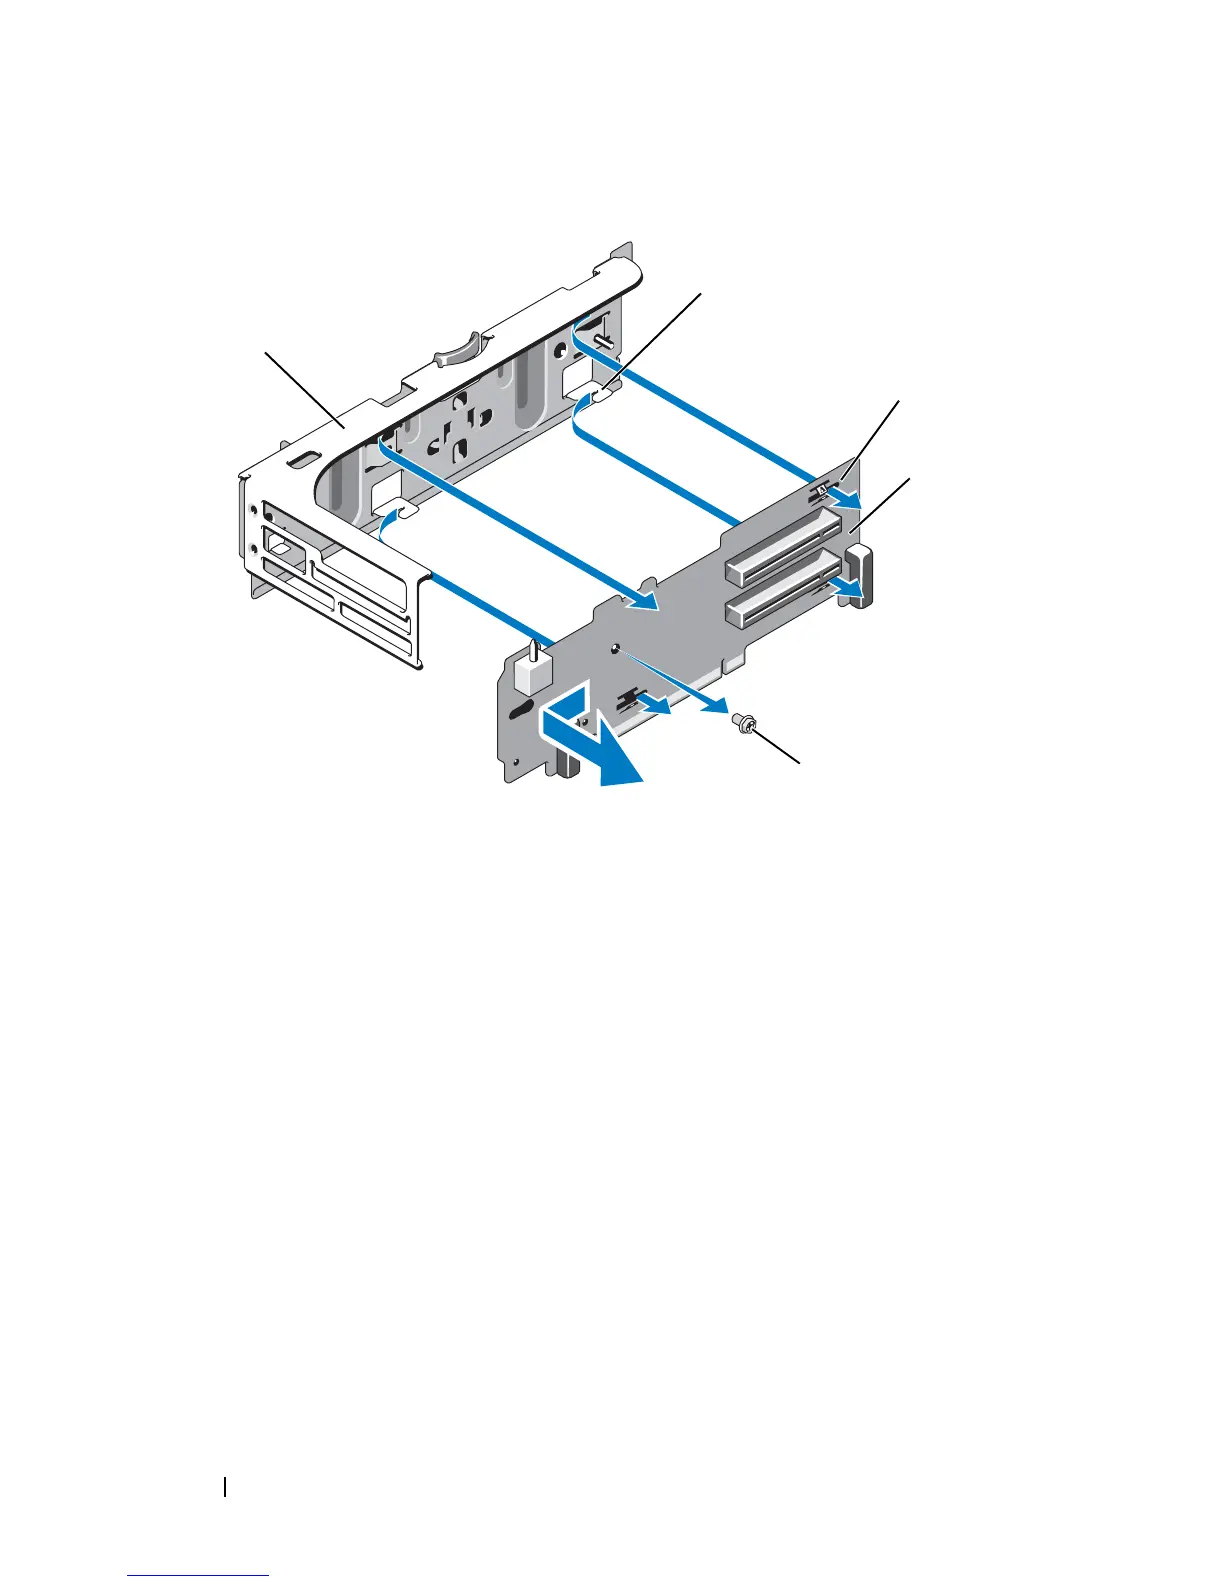
Figure 3-29. Removing and Replacing the Riser 2 Board
5
Remove the expansion-card riser board:
a
Using a Phillips screwdriver, remove the securing screw from the
assembly. See Figure 3-29.
b
Slide the riser board off of the four securing tab hooks.
c
Lift the riser board from the bracket.
Replacing the Riser 2 Board on the Expansion-Card Bracket
1
Place the riser board in the expansion-card bracket so that the four tab
hooks are fully inserted through the tab slots on the riser board. See
Figure 3-29.
2
Slide the riser board into the tab hooks.
3
Using a Phillips screwdriver, secure the board with the Phillips screw.
1 expansion-card bracket 2 tab hook (4)
3 tab slot (4) 4 riser 2 board
5 screw