8
FILTERING THE OIL OR FAT
You should filter the oil or fat each time you fry, especially if you cook food in breadcrumbs or flour.
Make sure the oil is sufficiently cold (wait about two hours).
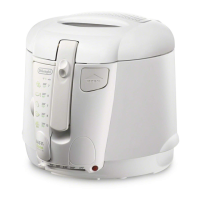
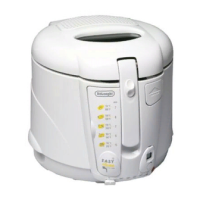
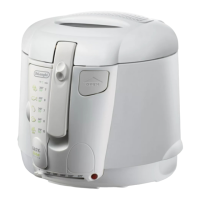
MODELS WITHOUT DRAIN HOSE (R) AND OIL CONTAINER (P)
1. Open the fryer lid (B) and remove the bowl (Z) (fig. 24), holding it by the handles. Empty the bowl into
a container.
2. Put the removable bowl (Z) back in place.
3. Hook the basket to the edge of the bowl and place the filter supplied in the bottom of the basket (fig. 20).
Filters are available from your local dealer or one of our service centres.
4. Then pour the oil or fat back into the deep fryer very slowly to avoid it overflowing from the filter (fig.
21).
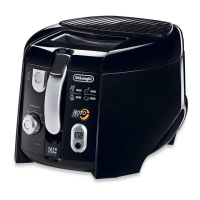
MODELS WITH DRAIN HOSE (R) AND OIL CONTAINER (P)
1. Pull the drawer (M) outwards as shown in fig. 6.
2. Place the oil container (P) without the lid (O) in the special housing (fig. 7) and insert the oil filter (Q).
3. Open the door (U) as shown in fig. 8, remove the drain hose (R), remove the cap (N) (in models without
oil container, use any suitable recipient).
4. When you have finished, close the drain hose with the cap, replace in its housing and close the door.
For models without oil container, repeat operations 3-4 described in the above paragraph.
HOW LONG THE OIL OR FAT LASTS
Every now and then it must be completely changed.
As with any deep fryer, the oil deteriorates after being heated a number of times! Even if used and filtered
correctly, it should therefore be changed completely on a regular basis.
You should ideally change the oil completely after frying for 5/8 times and always in the event of:
• unpleasant smells
• smoke during frying
• if the oil becomes dark coloured.
Thanks to the rotating basket, the appliance fries with little oil. This means you save about half the oil used
by other deep fryers on the market.
REPLACING THE ANTI-ODOUR FILTER
With time, the anti-odour filters inside the lid will lose their efficiency.
When the filter changes colour (visible through the spy hole (A, fig. 10) in the inside cover), this indicates the
filter must be replaced. To replace, remove the plastic filter cover (G) (fig. 11).
IMPORTANT: The white filter must rest against the metal part (fig. 12) and the coloured part must face
upwards (towards the black filter).
CLEANING
Before cleaning, always unplug from the mains socket.
Never immerse the deep fryer in water and never place it under running tap water.
To remove the lid, proceed as follows: push it backwards and at the same time pull it upwards (see arrows
“1” and "2", fig. 19).
Never immerse the lid in water without removing the filters first.
If water gets into the appliance, it could cause electric shock.
After leaving to cool down for about two hours, empty the oil or fat as described in the paragraph "filte-
 Loading...