This document describes the De'Longhi ECAM22.320 bean-to-cup espresso and cappuccino machine, providing instructions for use, technical specifications, and maintenance guidelines.
Function Description
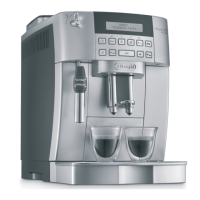
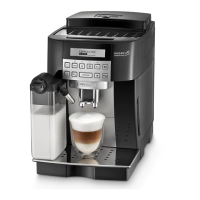
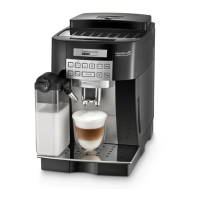
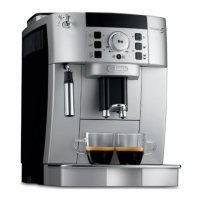
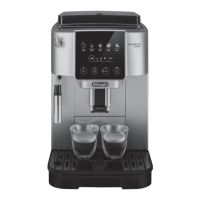
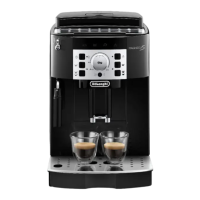
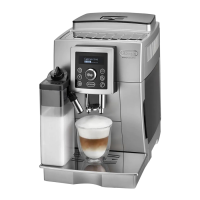
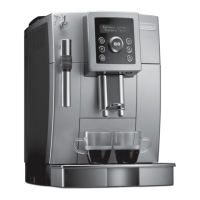
The De'Longhi ECAM22.320 is an automatic coffee and cappuccino maker designed to prepare coffee and heat drinks. It features a control panel (A1) with a display (B1) that guides the user through various functions. The machine can make short espresso, long espresso, and long coffee using either coffee beans or pre-ground coffee. It also has a cappuccino maker (A19) for frothing milk and delivering hot milk.
The control panel includes buttons for:
- Turning the appliance on and off (B2).
- Accessing the menu (B3), which also functions as an ESC button in settings.
- Delivering steam for hot milk-based drinks (B4), which also functions as a '<' button in programming.
- Performing a rinse cycle (B5), which also functions as a '>' button in settings.
- Making coffee using pre-ground coffee (B6), which also functions as an OK button in settings.
- Selecting coffee taste (B7).
- Making 1 cup of short espresso coffee (B8).
- Making 2 cups of short espresso coffee (B9).
- Making 1 cup of LONG coffee (B10).
- Making 1 cup of long espresso coffee (B11).
- Making 2 cups of long espresso coffee (B12).
The machine allows users to customize settings such as:
- Adjusting the time.
- Setting auto-off (15, 30 minutes, 1, 2, or 3 hours).
- Setting auto-start to have the appliance ready at a specific time.
- Setting the water temperature (low, medium, high).
- Enabling or disabling energy saving mode.
- Setting water hardness.
- Setting the language.
- Installing and replacing the water softener filter.
- Resetting to default values.
- Viewing statistics (number of coffees made, descaling cycles, water delivered, filter replacements).
For coffee preparation, users can select from various tastes: Extra-mild, Mild, Standard, Strong, and Extra-strong. The quantity of coffee delivered for short espresso, long espresso, and long coffee can also be programmed. The grinding dial (A2) allows for adjustment of the coffee grind, which affects the strength and creaminess of the coffee.
Important Technical Specifications
- Voltage: 220-240 V~50/60 Hz max. 10A
- Absorbed power: 1450W
- Pressure: 15 bar
- Max. capacity water tank: 1.8 litres
- Size (LxHxD): 238x345x430 mm
- Cable length: 1.15 m
- Weight: 9.1 Kg
- Max. capacity beans container: 250 g
- Compliance: EC Regulation 1275/2008 for standby; Low Voltage Directive 2006/95/EC; EMC Directive 2004/108/EC; EC regulation 1935/2004 for food contact materials.
Usage Features
- Initial Setup: Before first use, the appliance requires connection to the mains, language selection, filling the water tank, and a hot water delivery cycle through the cappuccino maker.
- Coffee Preparation:
- Beans: Fill the beans container (A7), place cups under the coffee spouts (A13), lower the spout for creamier coffee, and press the desired coffee button.
- Pre-ground coffee: Press the pre-ground coffee button (B6), add one level measure of pre-ground coffee to the funnel (A6), place a cup, and press the desired coffee button. Only one cup can be made at a time with pre-ground coffee.
- Cappuccino/Hot Milk:
- Use a container with about 100 grams of milk per cappuccino (skimmed or partially skimmed milk at 5°C recommended for best froth).
- Position the cappuccino/hot milk ring (A20) downwards for CAPPUCCINO or upwards for HOT MILK.
- Press the steam button (B4).
- Turn the cappuccino maker outwards and immerse it in the milk.
- Turn the steam knob (A21) to the 'I' position to deliver steam.
- Rotate the container for creamier froth.
- Turn the steam knob back to '0' to stop steam delivery.
- Hot Water: Place a container under the cappuccino maker, turn the steam knob to 'I', and turn it back to '0' to stop.
- Safety Warnings:
- Avoid contact with hot water and steam to prevent scalding.
- Do not touch the appliance with damp hands or feet.
- Ensure the main switch (A8) is off before unplugging.
- Do not attempt to repair a faulty appliance.
- Keep packaging away from children.
- The appliance is not intended for use by persons with reduced physical, sensory, or mental capabilities without supervision.
- Do not use caramelised or candied coffee beans as they can damage the grinder.
- Never add coffee beans to the pre-ground coffee funnel.
- Do not use more than one level measure of pre-ground coffee.
Maintenance Features
- Regular Cleaning:
- Coffee grounds container (A14): Empty and clean when "EMPTY GROUNDS CONTAINER" is displayed. Always empty when removing the drip tray.
- Drip tray (A18) and condensate tray (A15): Empty regularly to prevent overflow. The red floating level indicator (A17) shows when it needs emptying.
- Water tank (A10): Clean regularly (about once a month) with a damp cloth and mild washing-up liquid.
- Coffee spouts (A13): Clean with a sponge or cloth, check for blockages with a toothpick.
- Pre-ground coffee funnel (A6): Check regularly (about once a month) for blockages and clean with a brush.
- Inside of the machine: Check regularly (about once a month) for coffee deposits and remove with a brush and sponge. Remove residues with a vacuum cleaner.
- Infuser (A12): Clean at least once a month. Turn off the machine, remove the water tank, open the infuser door (A11), press the two red release buttons, pull out the infuser, soak in water for 5 minutes, rinse under the tap, and use a brush to remove residues. Reinsert the infuser, ensuring the red buttons pop out.
- Descaling:
- Perform descaling when "DESCALE" flashes on the display.
- Use De'Longhi recommended descaler.
- The process involves emptying the water tank, adding descaler solution and water, placing a container under the cappuccino maker, and running the descaling program through the steam knob.
- Follow with several rinsing cycles with clean water.
- Water Softener Filter (C3):
- Install the filter by activating it with tap water, submerging it in the water tank, and then notifying the machine through the menu.
- Replace the filter when "Replace filter" is displayed, after two months of use, or if the appliance has not been used for 3 weeks.
- Remove the filter if not in use and notify the machine of its removal.
- General Cleaning Notes:
- Do not use solvents, abrasive detergents, or alcohol.
- Do not use chemical products for cleaning.
- Components are not dishwasher safe.
- Do not use metal objects to remove encrustations.
- The machine must be turned off and unplugged before cleaning internal parts.
- Never immerse the machine in water.