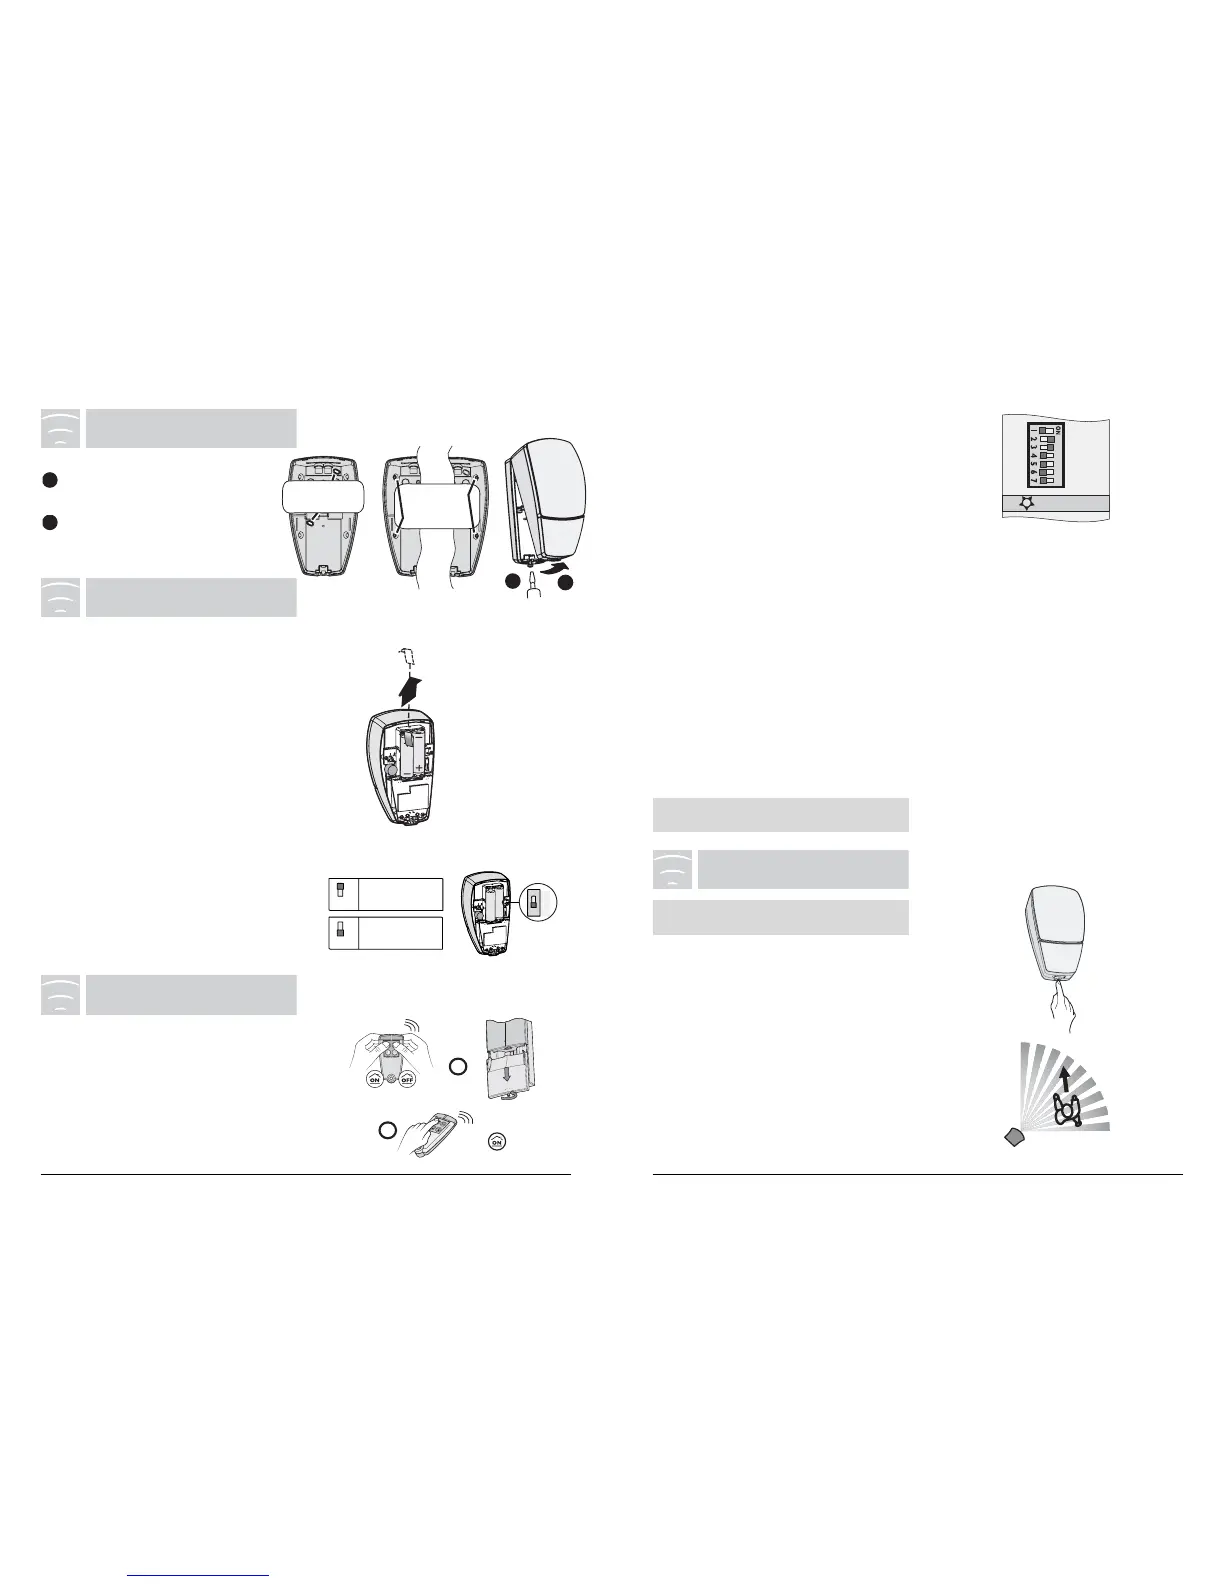
Parts to drill
for flat mounting
In the corner,
screw to the
right or left
3
Go to the “Partial” menu on the control
unit:
- For more than 5 seconds, press the
"Partial X" button of a keypad or remote
control already recognized.
The control unit emits a beep and the front
panel indicator light flashes.
Record the detector on the required partial
operation by pressing the detector's TEST
button once.
• Allocating the detector for a
personalized “partial” operation
Record the detector:
- Press the TEST button on the detector.
The control unit emits a beep when it is
associated with the detector, its LED "1"
comes on.
This indicator will already be on if an ele-
ment of the same type has been recorded.
• Returning to “maintenance” mode
- is automatic after 5 minutes,
- press OFF on the remote control.
When all the products are associated,
close the battery cover of the control unit.
3
MOUNTING
4
STARTING UP
Fitting the batteries:
Remove the battery cover.
The product emits two beeps. If not, check
the battery polarities.
Changing the batteries:
The unit emits a series of beeps for each
movement detected when the batteries are
low.
Set the control unit to MAINTENANCE
mode to replace the batteries.
Important: You must use identical new
LS14500 type batteries (same brand, same
date of manufacture).
I
OFF
R
I
OFF
R
R
OFF
I
Delayed
triggering
Immediate
triggering
Protective
tab
2 Lithiu
Choice of triggering type:
If a presence is detected, you can choose
between triggering the alarm immediately or
a delayed triggering (enabling you to stop the
surveillance during the input timer).
Close the detector unit.
Unscrew the closing
screw.
Remove the top cover of
the base.
The test mode validates the detection
coverage area.
- Press the Test button on the detector.
The transmitter emits a beep.
Note: When the control unit is in maintenan-
ce mode it also emits a beep.
During 5 min any movement in the detection
zone is indicated by a ‘double beep”.
This TEST
mode will be extended each time the button is
pressed again or each time the unit’s tamper
alarm is triggered.
6
TESTING
Set the control unit to “Maintenance” mode:
(simultaneously press the ON and OFF buttons
on the remote control for 5 seconds and open the
control unit cover).
Go to the “Product”menu on the control unit:
- press the “ON” button of the remote control for
more than 5 seconds.
The control unit emits a beep and the front panel
indicator light is steady.
5
LEARNING
Important: Wait 30 seconds after fitting the
batteries.
 Loading...