Selecting A Charge Prole
Delta-Q’s QuiQ 1500 Charger can store up to 10 charging profiles, also called charge algorithms. This section shows how to
identify the default profile and select a new profile using the “tap method.”
QuiQ chargers are reprogrammable using the QuiQ Programmer supplied by Delta-Q to its OEM partners. Pre-2006 QuiQ
chargers with serial number prefix DQCP allow pre-loaded profiles to be selected, but cannot be reprogrammed with new
profiles.
Figure 2: Remove positive lead from positive
terminal on the battery pack.
Figure 3: Reconnect AC power to the charger.
Figure 1: Disconnect AC power.
Figure 4: Charger LED indicator self-test.
Figure 7: Touch the positive lead to the positive
battery terminal for 3 seconds.
Identify the default prole
1. Required supplies include an insulated
wrench, eye protection and gloves.
2. Disconnect the AC power source from
the charger, either from the wall outlet,
or from the IEC320 connector on the
charger.
3. Use your insulated wrench to remove
the positive lead from the positive
terminal on the battery pack.
4. Reconnect AC power.
5. Charger will conduct a self-test of its
LED indicators.
6a. For 11 seconds after the self-test, the
charger will display its default charge
prole. Proles #1-6 will display on the
ammeter, as well as on the bulk charge
indicator.
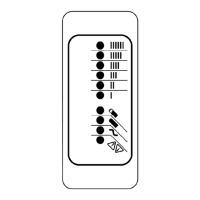
6b. Charge proles #7 and above will
display on the bulk charge indicator.
If the charge prole number has two
digits, it will be displayed by one or
more ashes, a pause, then one or more
ashes (e.g. #13 = )
Select a new prole
7. Disconnect AC power (see Figure 1).
8. Reconnect AC power (see Figure 3).
9. Touch the positive lead to the positive
terminal for three seconds (+/- 0.5
seconds), then remove the lead. You will
see the next prole displayed on the
charger’s display. Repeat this step until
you reach the desired charge prole.
10. When the charger displays the
desired charge prole, apply the positive
lead to the positive battery terminal for
10 seconds. When the charge prole
is locked, you will hear a click from the
charger. See Figure 7 for how to apply
the positive lead to the positive terminal.
11. Disconnect AC power, wait for the
LED indicator display to turn o, then
reconnect AC power. (See Figure 3)
12. Check the LED display to ensure that
the desired charge prole is selected.
13. Disconnect the charger from AC
power and wait for the LED indicator
display to turn o. (See Figure 1)
14. Reconnect the positive lead to the
positive battery terminal.
Figure 8: Reattach the positive lead to the
positive terminal after disconnecting AC power.
Figure 5: Charge prole #1 on the ammeter.
Figure 6: Bulk charge indicator displays
charge proles 7 and above.
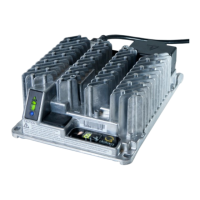
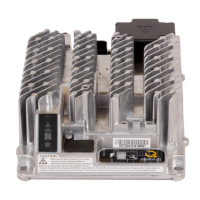
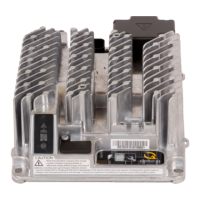
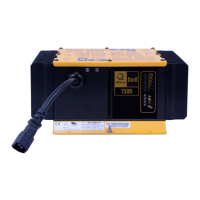
Delta-Q QuiQ 1500 Charger Manual
3
Visit www.youtube.com/deltaqtechnologies for instructional videos.
 Loading...