QS-82180 Rev. D
11/18/15
LED light changes from blue to magenta
to red as water temperature changes.
El diodo emisor de luz cambiará de azul
a magenta a rojo con los cambios de
temperatura del agua.
Le voyant à DEL passe du bleu au magenta au
rouge à mesure que la température change.
5
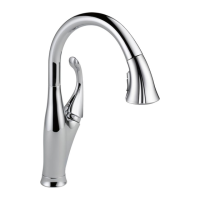
Quick Tips for your Delta
®
Touch
2
O
®
Technology Kitchen Faucet.
Sugerencias rápidas para su llave de agua/grifo Delta
®
Touch
2
O
®
Technology para la cocina
Conseils concernant votre robinet d’évier de cuisine Delta
®
doté de la technologie Touch
2
O
®
Auto Shut-o—the faucet will
automatically shut o after running
for 4 minutes.
Cierre automático – la llave de agua/
grifo se cerrará automáticamente
después de uir durante 4 minutos.
Fermeture automatique — le robinet
se ferme automatiquement après
4 minutes.
6
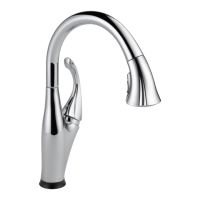
Operation is simple! With the handle in
the “on” position tap anywhere on the
spout, base, or handle.
¡El funcionamiento es sencillo! Con la
manija en la posición "on" (abierta) toque
cualquier lugar del surtidor, base, o manija.
Son fonctionnement est simple! Placez
la manette à la position d'ouverture et
tapez n’importe où sur le bec, la base
ou la manette.
1
The faucet is able to tell the dierence
between a touch and a grab. So it
won’t turn on and o when you don’t
want it to.
La llave de agua/grifo es capaz de
diferenciar entre contacto y un agarre.
Por lo tanto, no se abrirá o cerrará
cuando usted no lo desea.
Le robinet ne réagit pas de la même
manière lorsque vous l’eeurez ou
le saisissez. Par conséquent, vous ne
risquez pas de l’ouvrir ou de le fermer
sans le vouloir.
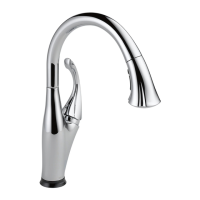
2
Use the handle to control temperature
and volume for both manual and
electronic operation.
Utilice la manija para controlar la
temperatura y el volumen para operar
manualmente y electrónicamente.
Utilisez la manette pour contrôler la
température et le débit d’eau, tant en
mode manuel qu'en mode électronique.
3
Whether you grab the handle or
tap it, water will ow. Once water
is owing, a tap will turn it o.
Si agarra la manija o solo la toca, el
agua uirá. Una vez que el agua está
uyendo, al tacto la cerrará.
L'eau s'écoule, peu importe si vous
saisissez la manette ou si vous tapez
sur celle-ci légèrement. L'eau cesse de
s'écouler lorsque vous tapez légèrement
la manette de nouveau.
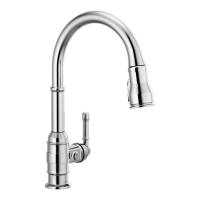
4
Your new faucet will run for up to 2 years
on 6 AA batteries.
Su nueva llave de agua funcionará hasta 2
años con 6 pilas AA.
Votre nouveau robinet peut fonctionner
jusqu’à 2 ans avec 6 piles AA.
7