Do you have a question about the Delta ADDISON 9192T-DST and is the answer not in the manual?
Read all instructions, warnings, care, and maintenance info before starting.
Gently wipe with a damp cloth; use glass cleaner on stainless steel.
Covers defects in material & workmanship for 5 years; excludes misuse, abuse, etc.
Pull-down spout has a backflow protection system tested for ASME compliance.
Install spout into sink hole, ensuring proper alignment and secure mounting.
Install the 10" escutcheon, plate, and trim ring, ensuring proper alignment.
Assemble adapter, solenoid, and clip, then attach to the hose and hub.
Screw hose fitting into spray head; insert guide and feed hose through spout.
Remove hose guide and slide weight over the end of the hose.
Push hose end onto solenoid outlet and secure with clip.
Ground for static charge; attach yellow wire to spout shank groove.
Connect wire extension to solenoid port; route through guide, avoid twisting.
Connect battery cable to box; install 6 "AA" batteries correctly.
Place battery pack on floor or non-metallic object, 2" from walls.
Install check valves, connect tubing, and ensure proper tightening.
Cut PEX tubing straight, use sleeves/nuts; troubleshoot tubing issues.
Slide nut, sleeve, and tube correctly; ensure sleeve orientation.
Avoid installing sleeve upside down or using wrong parts to prevent leaks.
Insert dispenser body and gasket into sink; secure with nut.
Fill dispenser (max 8 oz), reattach head, check for leaks, test operation.
Operate wand modes and understand return behavior.
Adjust handle limit stop to control hot water temperature.
Clean aerator or screen in spray head; check hose and spray head inlet.
Check bonnet nut tightness; replace valve cartridge if leak persists.
Clean solenoid screen; understand red LED warnings for low battery.
Disconnect electronics and connect battery terminals directly to bypass.
Address red flashing lights or no lights by checking connections/batteries.
Check handle, water supply, hose, spray head, and solenoid filter.
Blue for normal, Red for warning/alert/lockdown modes.
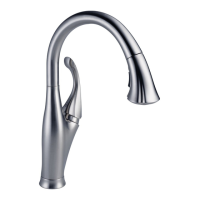
| Collection | Addison |
|---|---|
| Brand | Delta |
| Model | 9192T-DST |
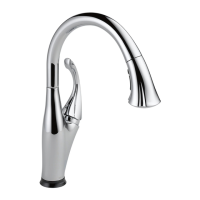
| Finish | Chrome |
| Flow Rate | 1.8 GPM |
| Technology | Touch2O |
| Valve Type | DIAMOND Seal Valve |
| Installation Type | Deck Mounted |
| Number of Handles | 1 |
| Style | Traditional |
| Supply Lines Included | Yes |
| Touch Activation | Yes |
| Handle Type | Lever |
| ADA Compliant | Yes |
| Warranty | Lifetime Limited Warranty |
| Product Type | Faucet |
| Spout Height | 8.5 inches |
| Number of Holes | 1 |
| Hole Configuration | 1 or 3-Hole |