22
1. Using the mounting plate as a template, mark four screw holes onto the wall. For 16 in.
(40.6 cm) on center stud mounting, use the four holes that are indicated for this purpose in
the gure. Make sure the holes are in the center of each stud before marking the drill
location.
2. After marking the screw hole locations, drill the pilot holes for the appropriate screw type
that will hold the weight of the inverter in the selected material. 1/4“ lag bolts are recom-
mended for mounting on wood framed walls.
3. Align the mounting plate over the pilot holes and install the mounting hardware to mounting
surface. Please tighten to the recommended torque necessary to hold the mounting plate
rmly to the wall surface type.
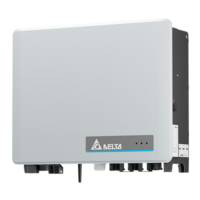
4. As the solar inverters are heavy,Delta E serise weigh 45.9 lbs (20.8 kg),
they should be lifted out of the cardboard container by at least two persons.
5. With at least two persons on either side of the inverter, lift it up and place it carefully onto
the mounting plate. Install two screws as shown in the gure 15 to secure the device.
6. Check that the solar inverter is seated securely on the wall.
It is recommended to use stainless steel screws, especially if installed outdoors. Be sure to verify
sheer and pullout strength of anchors or other wall attachments.
Part Description Required torque
Wiring Box Cover
Screws
M4 screws (T20 head x5) for attaching the
wiring box cover to the wiring box
max. 16 in-lbs (1.8 Nm)
Wiring Box Interior
Screws
M5 screws (T25 head x4) that secure the
wiring box to the inverter stage assembly
max. 35 in-lbs (4 Nm)
3.4 Required torques for Delta E series
Table 2: Required Torques for Delta E series
 Loading...