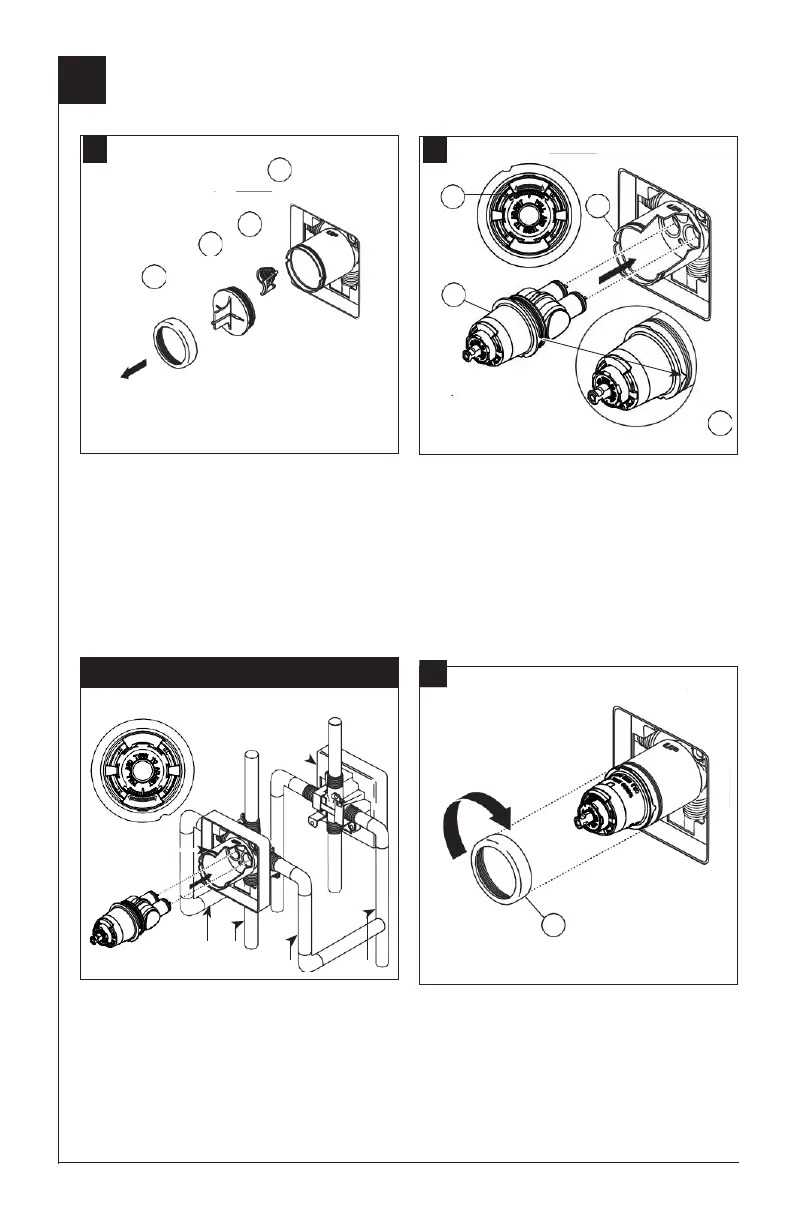
Cartridge Installation
Turn off water supplies. Remove bonnet nut
(1) and test cap (2) from the body. If this is not
a thin wall mounting, the entire plasterguard
(3) may be removed. If screen
(4) is in place, remove before installing
cartridge.
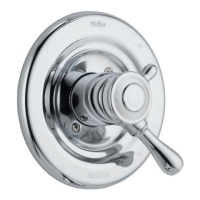
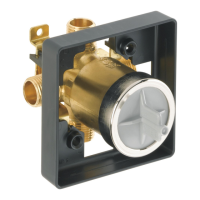
Rotate valve cartridge (1) so the words
“HOTTER COLDER” (2) appear on the top.
Insert cartridge assembly into rough-in body.
A light coating of plumbers grease applied to
o-rings may aid in assembly. Make sure the
key (3) on the cartridge is fully engaged with
the slot in the brass body (4).
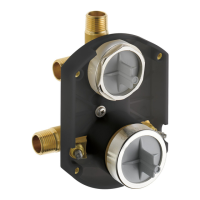
For back to back or reverse installations
(hot on right and cold on left) insert the
cartridge with the “hot side” on the right.
If you are not making a reverse or back
to back installation skip this step and
continue with step 2C.
Slide bonnet nut (1) over the cartridge
and thread onto the body. Hand tighten
securely.
 Loading...