Do you have a question about the Delta T5759 WL Series and is the answer not in the manual?
Remove and discard plasterguards from the spout shank.
Exchange spout shank for correct length based on wall thickness.
Run water through spout shank to clear debris and ensure proper function.
Mount spout flange and nut based on spout shank extension from wall.
Attach spout to flange and secure with pre-installed set screw.
Mount handle flange and secure with flange nut onto mounting sleeve.
Ensure the flange gasket faces the wall for proper sealing.
Adjust sleeve or flange for uneven surfaces or specific wall projections.
Attach short extender nut and handle flange, securing with flange nut.
Choose extender nut and flange based on wall thickness and projection.
Attach long extender nut and handle flange, securing with flange nut.
Choose extender nut and flange for wall thickness and projection.
Attach both extender nuts and handle flange, securing with flange nut.
Choose extender nut and flange based on wall thickness and projection.
Mount stem extender, mark, cut if needed, and secure with screw.
Mount handle onto stem extender, ensuring correct orientation and firm fit.
Replace handle color rings with provided gray or black rings if desired.
Turn off water before servicing the valve or spout assemblies.
Remove handle, stem extender, and flange nut to access valve cartridge.
Unscrew old cartridge using a 19mm hex wrench and install the new one.
Reassemble components in reverse order, aligning handles with closed valves.
Remove spout, replace adapter kit to resolve leaks at the spout base.
Reassemble spout parts in reverse order after replacing adapter kit.
Remove and clean stream straightener to fix splashing issues.
Remove, clean, and reinstall filter screen in spout tube for reduced flow.
Warranty covers parts and finishes for original consumer owner.
Warranty for electronic parts and batteries for a specified period.
Information on obtaining replacement parts and contacting Delta for support.
| Model | T5759 |
|---|---|
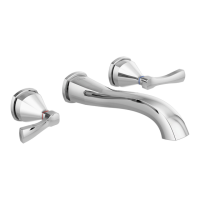
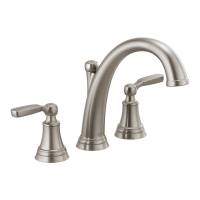
| Finish | Chrome |
| Handle Type | Lever |
| Flow Rate | 1.2 gpm |
| WaterSense Certified | Yes |
| ADA Compliant | Yes |
| Product Type | Bathroom Faucet |
| Warranty | Limited Lifetime |
| Series | T5759 WL Series |