7
ASSEMBLY INSTRUCTIONS
3.
4.
5.
9.4"
9.4"
7
1/2
in.
7
1/4
in.
3
4
5
6.
7.
6
Nail
Joist or wall stud
Tape
3 inch duct
7
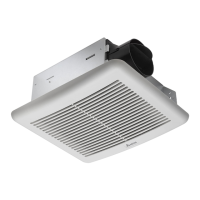
If this fan is not replacing an old fan, be sure to cut
a 7 1/2in. x 7 1/4in. opening for the Fan Body .
Make sure the 7 1/4 inch side of opening is flush
with the joist for installation from below.
❶
Attach the Duct Connector to the Fan body.
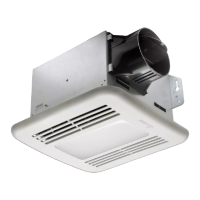
Remove the wiring box cover from the Fan Body
. Remove the wiring knockout from the wiring box
cover with a flathead screwdriver (not included).
Remove the three screws that hold the fan motor
assembly in place. Remove the fan motor assem-
bly from the Fan Body . Unplug fan connector.
❶
Pull the wire through the hole and into the junction
box(not included), secure 120VAC house wiring
from the wall diagram on page4. 14AWG is the
smallest conductor that shall be used for
branch-circuit wiring.
Push the wires back through the hole. Reattach
the wiring box cover.
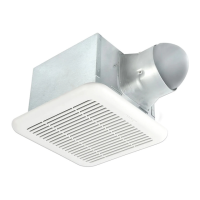
Install a circular 3 in. duct (not included) and
secure it with duct tape or clamps (neither includ-
ed).
Mount the Fan Body to the joist or stud using
nails (not included) were indicated.
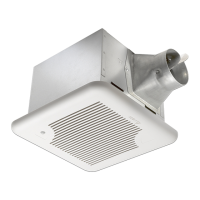
Plug the fan connector and fan assembly back into
the Fan Body . Reattach the fan assembly
using the three screws removed in step 4.
❶
❶
❶
❶
❶
❶