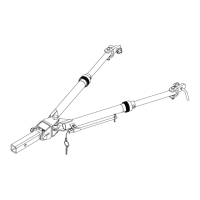
11. Drill 7/16” hole on each side into bottom of bumper
using baseplate as a template .
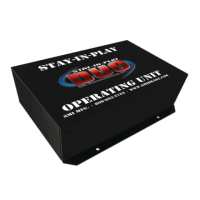
13. Reinstall Styrofoam back on bumper, fascia and all hard-
ware except where noted. If equipped with fog and/or side
marker lights be sure to plug them back in. NOTE: check
headlights for proper adjustment.
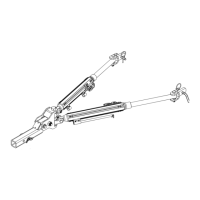
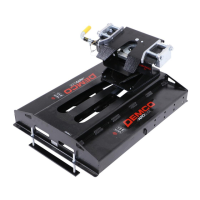
14. Plug mount (item #11) may be installed if desired in
convenience holes on either chain anchor or as desired.
NOTE: Excess material may be trimmed from bracket.
12. Cut bumper as shown to allow the nut and washers
to be placed inside the bumper. Install 7/16”” x 3 1/2”
bolt, and 7/16” flat washer through the baseplate and
into the bumper with the 7/16” flat washer, 7/16” lock
washer, and 7/16” nut. Use blue on bolts
and tighten all bolts according to chart on front page.
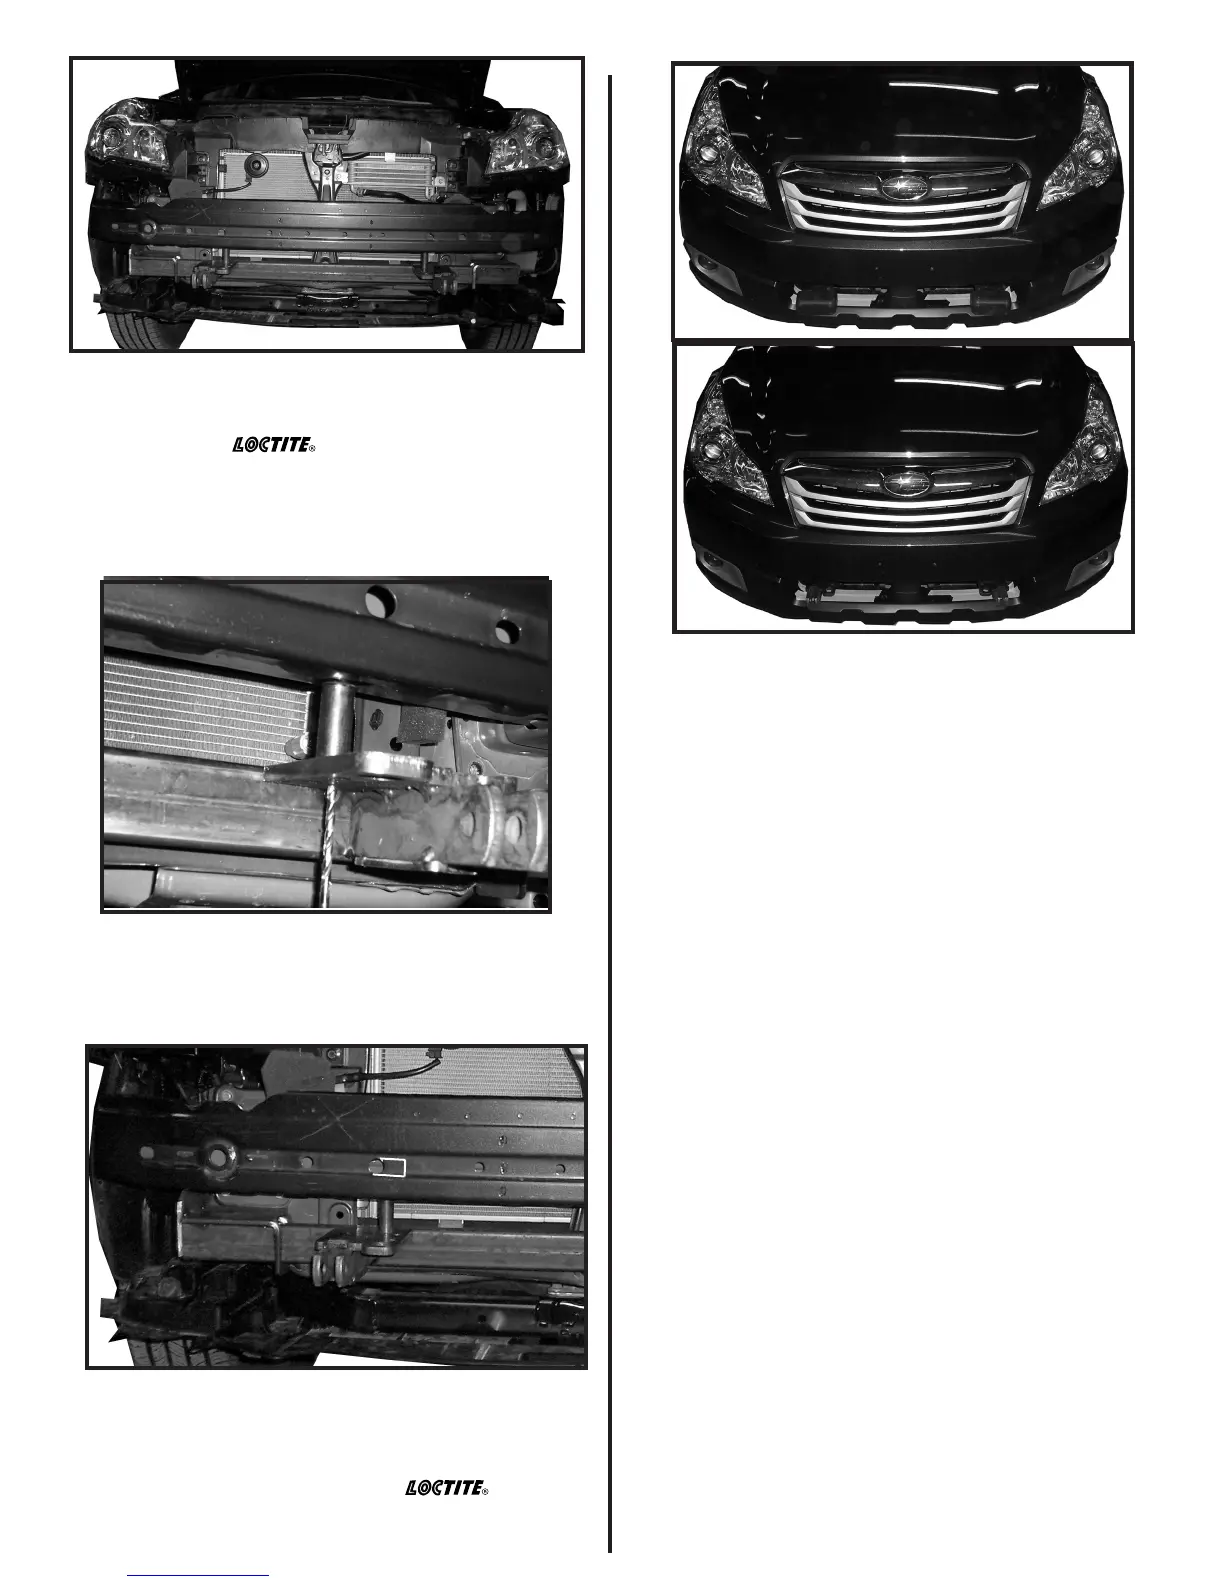
10. With an assistant install baseplate with bumper over
top of baseplate onto vehicle using eight 8mm x 1.25mm
x 30 mm bolts, 8 mm fender washer and 8mm lock wash-
ers. Use blue on all bolts and tighten all
bolts according to chart on front page.
Find more Demco products on our website.
Find out more trailer hitches and towing we have.