11
To use this option:
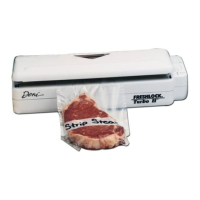
1. Place the selector switch in the Create-A-Pouch
"O" position.
2. Pull out the amount of polyethylene plastic needed
to make the first bag or pouch. Then seal the side
of the bag according to the previous instructions.
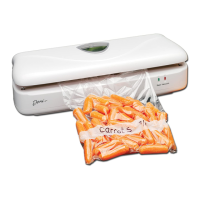
3. Raise the lid. You will notice that the plastic is not
cut, but rather sealed along two parallel sides.
This forms the sealed edges of two attached
bags/pouches (Figure 10). NOTE: You may
separate the bag(s) at a later time along this area
using scissors.
4. Continue to pull the polyethylene from the roll until
you have enough plastic for your second
bag/pouch. Repeat sealing action. Repeat as
many times as necessary to create the desired
number of attached bags/pouches.
5. Before creating your final bag/pouch in the
series, return the selector switch to the Cut-Bag
position. This will cut the side of the final
bag/pouch away from the roll.
6. Fill each bag/pouch.
7. Place the bags/pouches with the open ends
along the sealing wires. Finish the sealing
action by following the previous instructions.
NOTE: You will only be able to vacuum-seal
one of the bags or pouches in the series.
FIGURE 10
1830 Instructions 7/16/03 3:39 PM Page 11
 Loading...