6
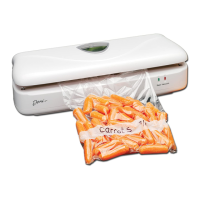
To Vacuum-Seal a Bag
1. Follow the instructions to make a bag.
2. Place the item to be stored inside the bag. Do not
fill completely. Allow a margin of 2 to 3 inches
between the item and the open end of the bag.
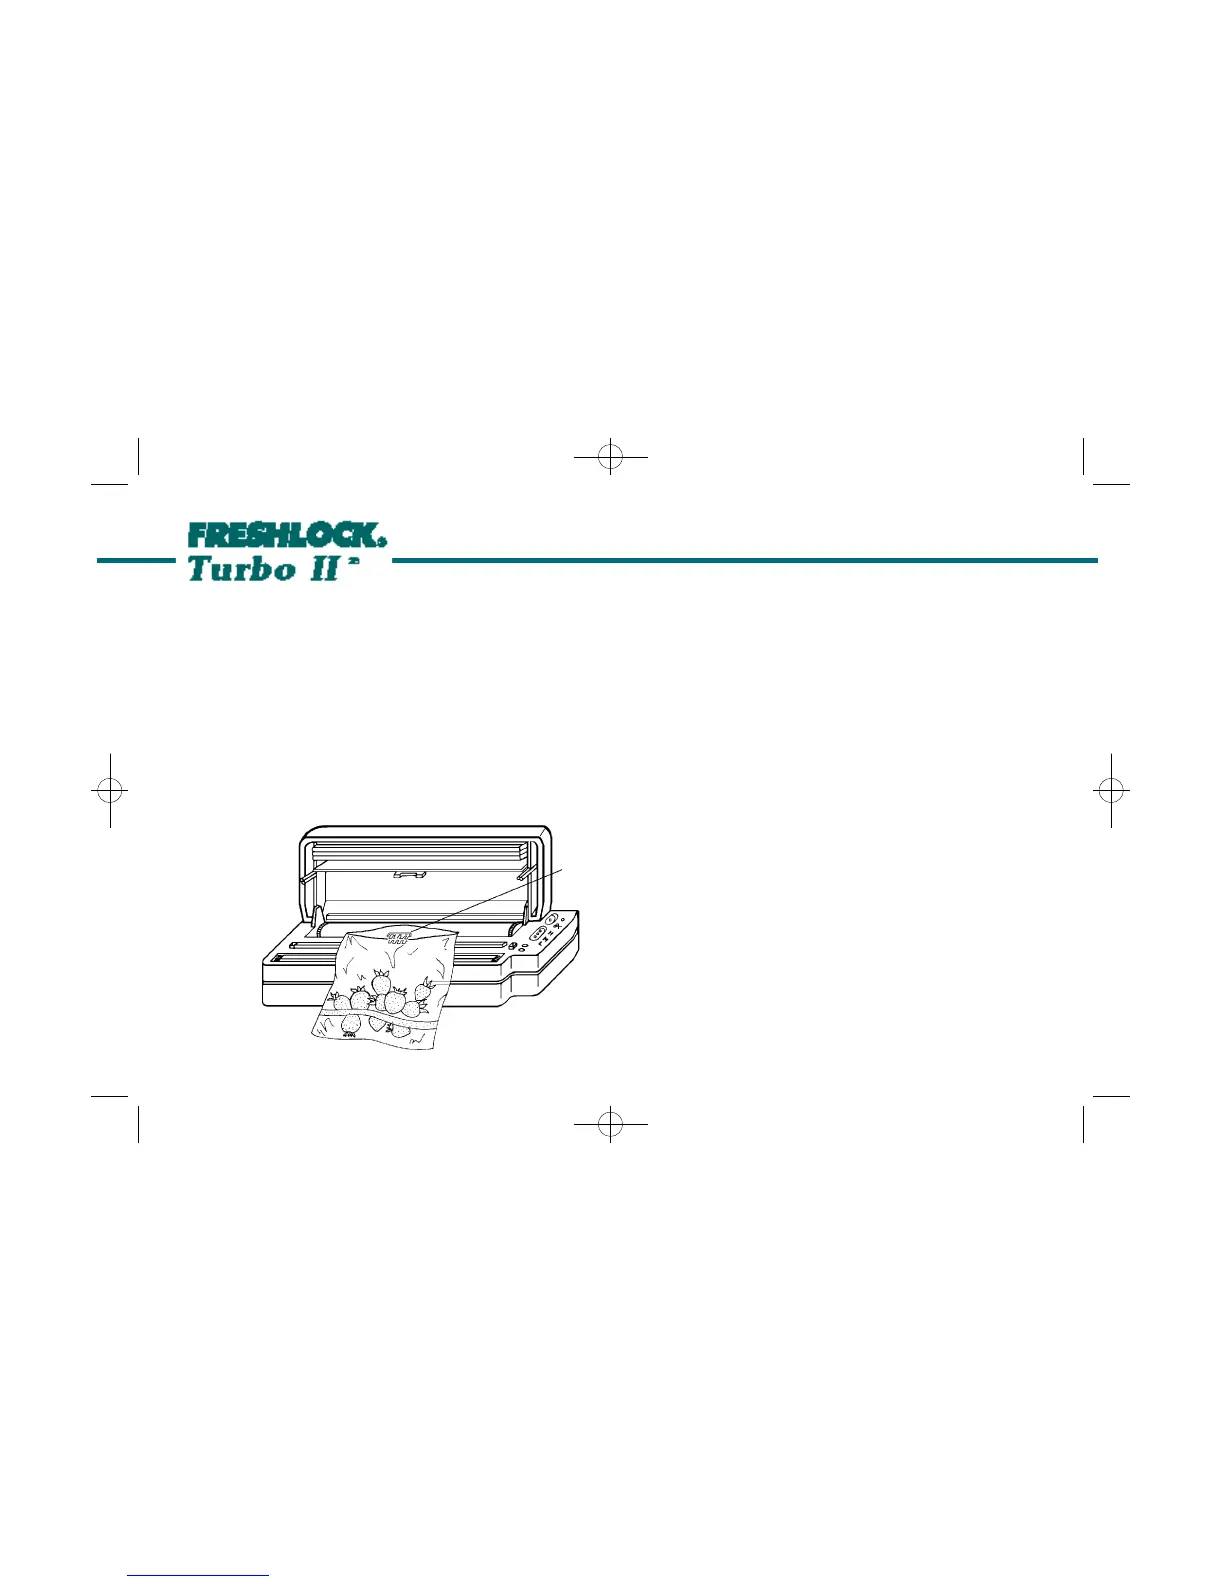
3. Tilt vacuum nozzle up. Place the open end of the
bag over the sealing wires and insert the vacuum
nozzle completely inside the bag (Figure 4).
Press down on the vacuum nozzle to lock the
bottom layer of the bag in place.
4. Close the lid and press down gently with your left
hand on the left side of the lid to activate the air-
extraction (VACUUM) motor (Only the red light
will turn on). Do not press down on the middle or
right side of the lid; this will block the flow of air
from out of the bag and in through the vacuum
nozzle.
5. As the air is drawn out of the bag, the bag will
cling to the item being sealed. It may help to
place the bag on a cutting board to raise the bag
to the height of the nozzle (Figure 5). It may also
help to lift, pull or manipulate the bag.
6. Continue to press down with your left hand on the
left-hand side of the lid. When you have removed
as much air from the bag as possible, immediate-
ly press down with your right hand on the right
hand side of the lid to activate the sealing mecha-
nism (Figure 6). Both the red and green lights will
turn on. NOTE: The vacuum motor does not
operate when the green (SEAL) light is on.
7. When the green light turns off, open the lid
and remove the bag. You have completed your
vacuum-sealing action.
FIGURE 4
VACUUM
NOZZLE
1830 Instructions 7/16/03 3:39 PM Page 6