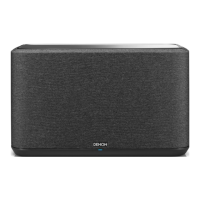
DISASSEMBLY
Flowchart
• Removeeachpartfollowingtheowbelow.
• Reassembletheremovedpartsinthereverseorder.
• Read"SAFETYPRECAUTIONS"beforereassemblingtheremovedparts.
• Ifwirebundlesareremovedormovedduringadjustmentorpartreplacement,reshapethewiresaftercompletingthework.Failuretoshapethewirescorrectlymaycauseproblemssuchasnoise.
• See"EXPLODEDVIEW"
BOTTOMASSY
DISASSEMBLY
3.BOTTOMASSY
and"EXPLODED VIEW"
MAINPCB
Ref.No.ofEXPLODEDVIEW:C15
SMPSPCBASS'Y
Ref.No.ofEXPLODEDVIEW:C14
SUNMODULEPCBASS'Y
Ref.No.ofEXPLODEDVIEW:C16
FRONTASSY
DISASSEMBLY
4.FRONTASSY
and"EXPLODED VIEW"
SUBWIREPCB
Ref.No.ofEXPLODEDVIEW:C8
LEDGVAAVSPCB
Ref.No.ofEXPLODEDVIEW:C5
Woofer
Ref.No.ofEXPLODEDVIEW:C9
Tweeter
Ref.No.ofEXPLODEDVIEW:C10
TOPASSY
DISASSEMBLY
2.TOPASSY
and"EXPLODED VIEW"
TOPPCB
Ref.No.ofEXPLODEDVIEW:C2
MICPCB
Ref.No.ofEXPLODEDVIEW:C3
GRILL
DISASSEMBLY
1.GRILL
and"EXPLODED VIEW"
REARGRILLEASSY
Ref.No.ofEXPLODEDVIEW:P8
FRONTGRILLEASSY
Ref.No.ofEXPLODEDVIEW:P56
Before Servicing
This Unit
Electrical Mechanical Repair Information Updating
39

 Loading...