5
Setup
Items not listed under the Introduction > Box Contents are sold separately.
Important: Occasionally, we may update PRIME GO’s firmware to add exciting new features and improvements. Visit
denondj.com to check for available firmware updates, especially after you update your software (firmware updates may
address new software features).
1. Visit denondj.com and log into your account. (Create an account if this is your first Denon DJ product.)
2. In your account, download and install the latest version of Engine Prime. Double-click the .exe (Windows®) or .dmg
(macOS®) installer file you downloaded, and then follow the on-screen instructions to install Engine Prime.
3. Transfer your music to a media device to be used with PRIME GO.
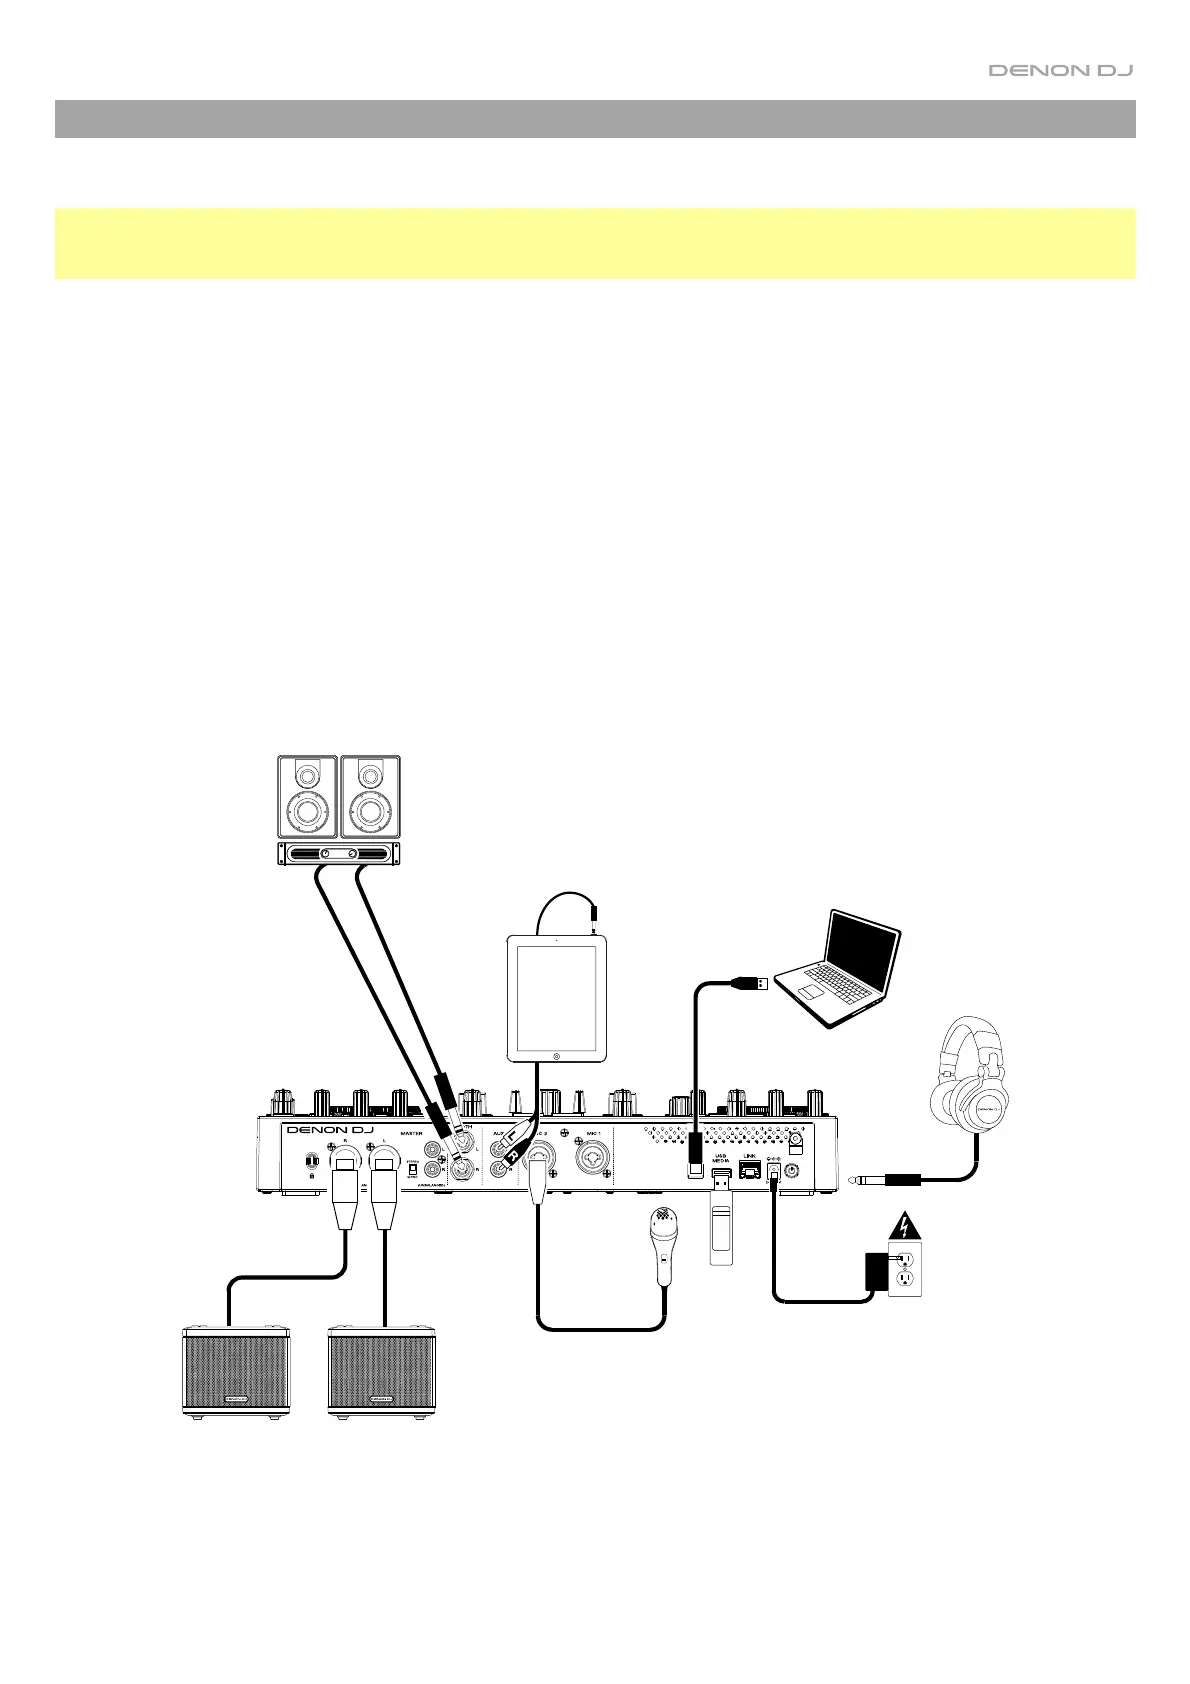
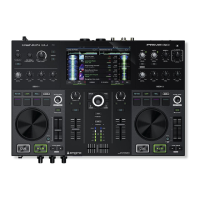
4. Connect input sources (microphones, CD players, etc.) to PRIME GO.
5. Connect output devices (headphones, power amplifiers, loudspeakers, etc.) to PRIME GO.
6. Plug all devices into power sources, and turn on devices in proper order:
• When starting a session, turn on (1) input sources, (2) PRIME GO, (3) output devices.
• When ending a session, turn off (1) output devices, (2) PRIME GO, (3) input sources.
7. To use Engine (standalone playback): Insert a USB flash drive or SD card (with an Engine-configured music library)
to PRIME GO’s USB port or SD Card Slot.
Computer
(optional)
Booth
Monitors
Tablet
Headphones
(front panel)
Microphone
Powered Loudspeakers
Power
USB
Flash
Drive


 To Next Page