Do you have a question about the DeWalt D25733 and is the answer not in the manual?
Explains severity levels for safety symbols like DANGER, WARNING, CAUTION, NOTICE.
Guidelines for keeping the work area safe and free from hazards.
Precautions for safe use of electrical power tools.
Measures to ensure operator safety during use.
Proper techniques and maintenance for power tool operation.
Safety advice specific to rotary hammer operation and accessories.
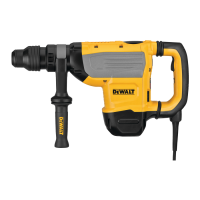
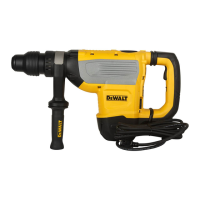
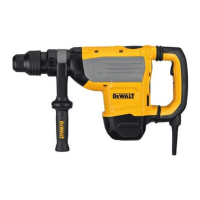
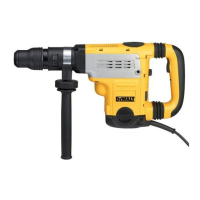
This document provides a comprehensive guide for the DEWALT D25733 and D25773 Heavy-Duty Rotary Hammerdrills, covering their functions, usage, and maintenance.
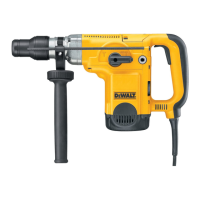
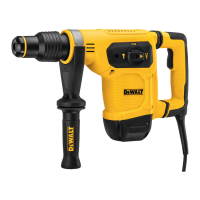
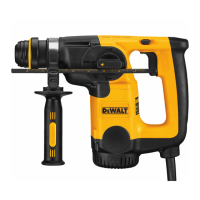
The DEWALT D25733 and D25773 are heavy-duty rotary hammerdrills designed for professional masonry drilling and chiseling applications. These tools are equipped with several features to enhance user comfort, safety, and performance.
Active Vibration Control (AVC) System: This system is designed to neutralize rebound vibration from the hammer mechanism, thereby lowering hand and arm vibration. This allows for more comfortable use over longer periods and extends the life of the unit. The hammer only requires enough pressure to engage the AVC; applying too much pressure will not increase drilling or chipping speed and will prevent the AVC from engaging.
Soft Start Feature: The soft start feature allows the tool to accelerate slowly, preventing the drill bit from walking off the intended hole position at startup. It also reduces immediate torque reaction transmitted to the gearing and the operator if the hammer is started in an existing hole.
Overload Clutch: In the event of a drill bit jamming, the drive to the drill spindle is interrupted. Users should always hold the tool with both hands and maintain a firm stance due to the resulting forces. After an overload, releasing and depressing the trigger will re-engage the drive.
Mechanical Clutch: These tools are fitted with a mechanical clutch that activates with an audible ratcheting sound and increased vibration when engaged.
Anti-Rotation System: In addition to the clutch, an anti-rotation system enhances user comfort by detecting if the user loses control of the hammer. When a jam is detected, the torque and speed are instantly stopped, preventing self-rotation of the tool. An anti-rotation system indicator LED illuminates to show its status.
Electronic Speed and Impact Control: This feature allows for the use of smaller drill bits without the risk of breakage, hammerdrilling into light and brittle materials without shattering, and optimal tool control for precise chiseling. The dial allows users to set the desired level, with higher numbers corresponding to greater speed and impact energy. This flexibility makes the tool adaptable for various applications, with settings depending on bit size and material hardness.
The rotary hammerdrills offer multiple operating modes and adjustable features for versatile use.
Side Handle: The side handle clamps to the front of the gear case and can be rotated 360° for right- or left-hand use. For hammerdrilling horizontally with a heavy drill bit, positioning the side handle at an angle of approximately 20° to the tool is recommended for optimum control. To mount, widen the ring opening by rotating it anti-clockwise, slide it onto the nose of the tool, and then rotate it to the desired position before securely tightening it clockwise.
Bit and Bit Holder: The hammerdrill uses SDS MAX bits and chisels. To insert an accessory, clean the bit shank, pull back the locking sleeve, and insert the bit shank, turning it slightly until it snaps into position. Always check that the bit is properly locked by pulling on it. The hammering function requires the bit to move axially several centimeters when locked. To remove, pull back the locking sleeve and pull the bit out.
Operating Modes: A mode selector switch allows users to choose between rotary hammering (drilling into concrete and masonry), hammering only (light chipping), and bit adjustment (chisel bit position adjustment). It is important not to select the operating mode while the tool is running. The mode selector dial must always be in one of the three operable positions. If changing from 'hammering only' to 'rotary' modes, briefly running the motor may be necessary to align the gears.
Indexing the Chisel Position: The chisel can be indexed and locked into 24 different positions. To do this, rotate the mode selector switch to the bit adjustment position, rotate the chisel to the desired position, then set the mode selector switch to the 'hammering only' position and twist the chisel until it locks.
Switching On and Off: To turn the tool on, depress the trigger switch. To stop the tool, release the trigger switch.
Lock-On Switch (Chipping Mode Only): The lock-on switch provides increased comfort for extended use in chipping applications. To lock the tool on, depress the lock-on switch while the tool is running. The tool will continue to run after the switch is released. To unlock and turn off the tool, depress and release the switch.
Drilling with a Solid Bit: Insert the appropriate drill bit, set the mode selector switch to the hammerdrilling position, set the electronic speed and impact control dial, and adjust the side handle. Mark the drilling spot, place the drill bit, and switch on the tool. Always switch off the tool when finished and before unplugging.
Drilling with a Core Bit: Insert the appropriate core bit, assemble the centerdrill, set the mode selector switch to the hammerdrilling position, and turn the electronic speed and impact control dial to a medium or high speed setting. Adjust the side handle. Place the centerdrill on the spot and switch on the tool, drilling until the core penetrates approximately 1 cm. Stop the tool, remove the centerdrill, place the core bit back into the hole, and continue drilling. For structures thicker than the core bit's depth, break away the concrete cylinder at regular intervals. To avoid unwanted breaking, first drill a hole the diameter of the centerdrill completely through the structure, then drill the cored hole halfway from each side. Always turn the tool off when finished and before unplugging.
Chipping and Chiselling: Insert the appropriate chisel and rotate it by hand to lock it into one of 24 positions. Set the mode selector switch to the 'hammering only' position, set the electronic speed and impact control dial, and adjust the side handle. Turn the tool on and begin working. Always turn the tool off when finished and before unplugging.
Proper maintenance is crucial for the long-term, satisfactory operation of your DEWALT power tool.
General Maintenance: The tool is designed for minimal maintenance. Continuous satisfactory operation depends on proper tool care and regular cleaning. Always turn the tool off and disconnect it from the power source before making any adjustments, removing, or installing attachments or accessories. Ensure the trigger switch is in the OFF position to prevent accidental startup.
Lubrication: Your power tool does not require additional lubrication.
Cleaning: Regularly blow dirt and dust out of the main housing with dry air, especially from air vents. Always wear approved eye protection and a dust mask during this procedure. Never use solvents or harsh chemicals on non-metallic parts, as these can weaken the materials. Use only a cloth dampened with water and mild soap. Never allow liquid inside the tool or immerse any part of it in liquid.
Service Indicator LED: The yellow brushwear indicator LED illuminates when the carbon brushes are nearly worn out, indicating that the tool needs servicing within the next 8 hours of use. This helps in timely maintenance to ensure continuous performance.
DEWALT Tool Tag Ready: The hammerdrill comes with mounting holes and fasteners for installing an optional DEWALT Tool Tag. This tag is designed for tracking and locating professional power tools using the DEWALT Tool Connect™ app. A T20 bit tip is needed for installation. Refer to the DEWALT Tool Tag manual for proper installation instructions.
| Reverse | - |
|---|---|
| Drilling | Yes |
| Chuck type | SDS Max |
| Product color | Yellow |
| Idle speed (max) | 355 RPM |
| Sound power level | 109 dB |
| Impact energy (max) | 13.3 J |
| Sound pressure level | 98 dB |
| Vibration level (chiseling) | 9 m/s² |
| Vibration level (hammer drilling) | 9.6 m/s² |
| Drilling diameter in concrete (max) | 48 mm |
| Vibration level uncertainty (hammer drilling) | 1.5 m/s² |
| Input power | 1600 W |
| Power source | AC |
| Depth | 544 mm |
|---|---|
| Width | 115 mm |
| Height | 292 mm |
| Weight | 9500 g |