6
ENGLISH
76mm long, with a screw head diameter of 8–9.5mm, screwed
into wood through the mounting holes
6
.
OPERATION
chargers require no adjustment and are designed to be
as easy as possible tooperate.
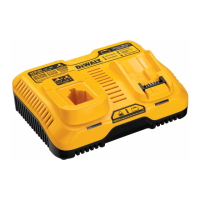
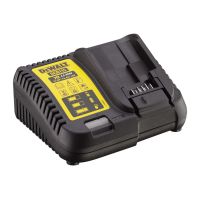
Charging a Battery (Fig. A)
1. Plug the charger into an appropriate outlet before inserting
batterypack.
2. Insert the battery pack
1
into the charger, making sure the
battery pack is fully seated in the charger. The red (charging)
light will blink repeatedly indicating that the charging
process hasstarted.
3. The completion of charge will be indicated by the red
light remaining ON continuously. The battery pack is fully
charged and may be used at this time or left in the charger.
To remove the battery pack from the charger, push the
battery release button
2
on the batterypack.
NOTE: To ensure maximum performance and life of lithium-ion
battery packs, charge the battery pack fully before firstuse.
Charger Operation
Refer to the indicators below for the charge status of the
batterypack.
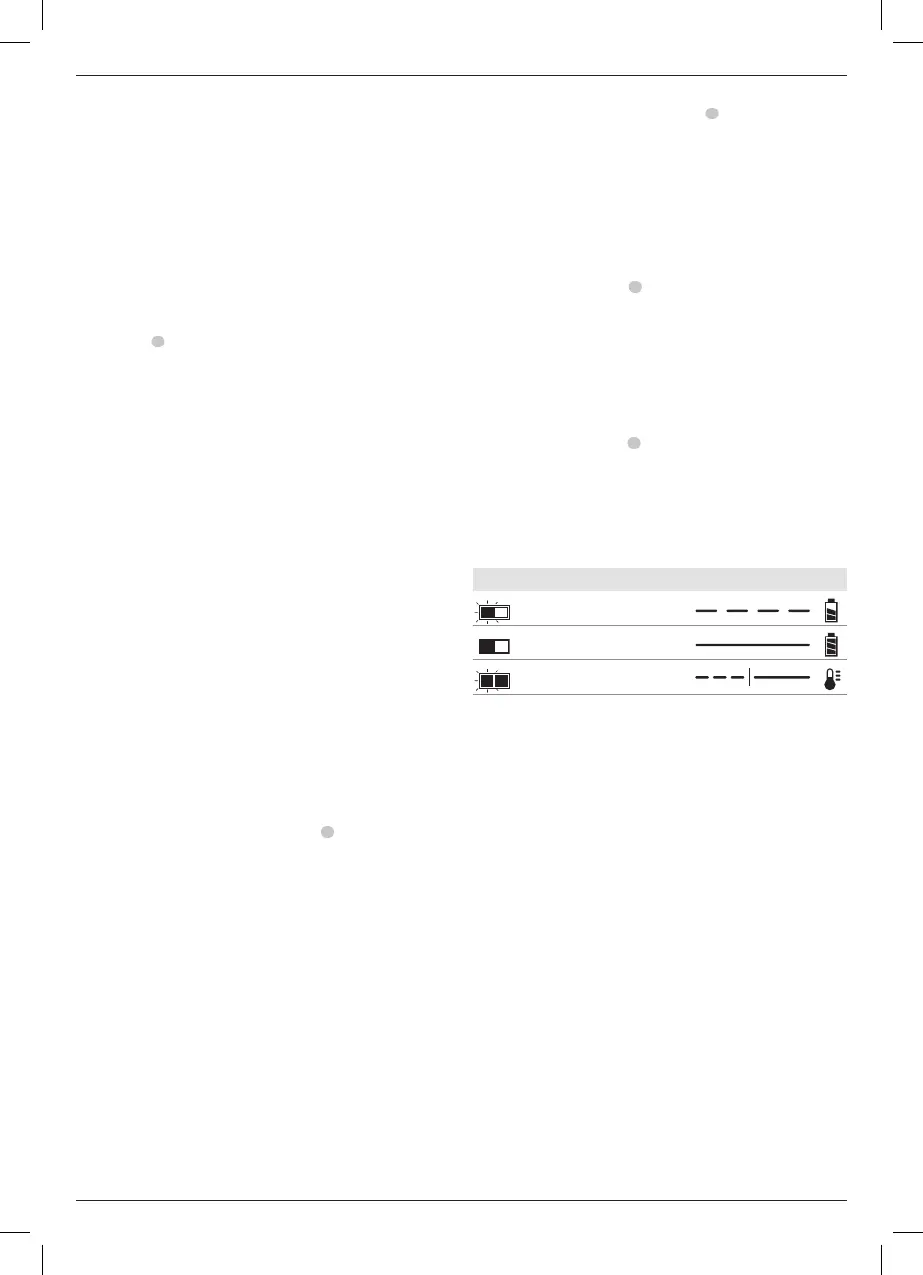
Charge Indicators
Charging
Fully Charged
Hot/Cold Pack Delay*
* The red light will continue to blink, but a yellow indicator light
will be illuminated during this operation. Once the battery pack
has reached an appropriate temperature, the yellow light will
turn off and the charger will resume the chargingprocedure.
The compatible charger(s) will not charge a faulty battery pack.
The charger will indicate faulty battery by refusing tolight.
NOTE: This could also mean a problem with acharger.
If the charger indicates a problem, take the charger and battery
pack to be tested at an authorised servicecentre.
Hot/Cold Pack Delay
When the charger detects a battery pack that is too hot or too
cold, it automatically starts a Hot/Cold Pack Delay, suspending
charging until the battery pack has reached an appropriate
temperature. The charger then automatically switches to the
pack charging mode. This feature ensures maximum battery
packlife.
A cold battery pack will charge at a slower rate than a warm
battery pack. The battery pack will charge at that slower rate
throughout the entire charging cycle and will not return to
maximum charge rate even if the battery packwarms.
Electronic Protection System
XR Li-Ion tools are designed with an Electronic Protection
System that will protect the battery pack against overloading,
overheating or deepdischarge.
installing attachments or accessories. An accidental
start-up can causeinjury.
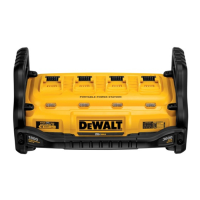
Attaching the Charger to the
ToughSystem® (Fig. A, B)
WARNING: To reduce the risk of serious personal
injury, always mount the charger to the top of the
ToughSystem®. Never mount anything on top
of thecharger.
To attach the charger to the ToughSystem®:
1. Disconnect the charger from theoutlet.
2. Place charger on top of a ToughSystem® box, aligning the
side rails
5
to the side latches. Secure using the side latch
anchors asshown.
NOTE: The charger must be the top-most item.
Always transport a stacked load with a ToughSystem® cart or, if
necessary, carry using the handles of the bottom mostbox.
WARNING: Never pick up a ToughSystem® stack by the
handles on the charger.
When not mounted to the
ToughSystem®, the charger
should be placed on a flat surface with battery pack ports
facingup.
WARNING: Always disconnect the charger from the outlet
and store cord using the cord wraps before mounting
to or dismounting from the ToughSystem®, and before
transporting the ToughSystem®.
Bluetooth® Tool Tag Ready (Fig.A)
Optional Accessory
WARNING: Read instruction manual for the
Bluetooth® ToolTag.
WARNING: Unplug the charger before installing the
Bluetooth® ToolTag.
WARNING: When installing or replacing the
Bluetooth® Tool Tag, use only the screws provided. Be sure
to securely tighten thescrews.
Your charger comes with mounting holes
4
and fasteners for
installing a
Bluetooth® Tool Tag (DCE041). You will
need a T15 bit tip to install the tag. The
Tool Tag is
designed for tracking and locating professional power tools,
equipment, and machines using the
Tool Connect™
app. For proper installation of the
Tool Tag refer to the
Tool Tagmanual. To learn morevisit:
www.dewalt.com/en-us/jobsite-solutions/tool-connect
NOTE: The Bluetooth® word mark and logos are registered
trademarks owned by the Bluetooth®, SIG, Inc. and any use of
such marks by
is under license. Other trademarks and
trade names are those of their respectiveowners.
Wall Mounting
This charger is designed to be wall mountable or to sit upright
on a table or work surface. If wall mounting, locate the charger
within reach of an electrical outlet, and away from a corner
or other obstructions which may impede air flow. Mount the
charger securely using screws (purchased separately) at least
 Loading...