• Maintain a firm grip with both hands on the saw and position your body and
arm to allow you to resist KICKBACK forces. KICKBACK forces can be
controlled by the operator, if proper precautions are taken.
• When blade is binding, or when interrupting a cut for any reason, release the
trigger and hold the saw motionless in the material until the blade comes to a
complete stop. Never attempt to remove the saw from the work or pull the saw
backward while the blade is in motion or KICKBACK may occur. Investigate
and take corrective actions to eliminate the cause of blade binding.
• When restarting a saw in the workpiece, centre the saw blade in the kerf and
check that the saw teeth are not engaged into the material. If saw blade is
binding, it may walk up or KICKBACK from the workpiece as the saw is
restarted.
• Support large panels to minimise the risk of blade pinching and KICKBACK.
Large panels tend to sag under their own weight. Support must be placed
under the panel on both sides, near the line of cut and near the edge of the
panel.
• Do not use dull or damaged blades. Unsharpened or improperly set blades
produce narrow kerf causing excessive friction, blade binding, and
KICKBACK.
• Blade depth and bevel adjustment locking levers must be tight and secure
before making cut. If blade adjustment shifts while cutting, it may cause binding
and KICKBACK.
• Use extra caution when making a ‘Pocket Cut’ into existing walls or other blind areas.
The protruding blade may cut objects that can cause KICKBACK.
Additional Specific Warnings
• WARNING: Use of this tool can generate dust containing chemicals known to
cause cancer, birth defects or other reproductive harm. Use appropriate
respiratory protection.
• AVOID cutting NAILS. Inspect for and remove all nails from lumber before
cutting.
• CAUTION: Some wood contains preservatives such as copper chromium
arsenate (CCA) which can be toxic. When cutting these materials extra care
should be taken to avoid inhalation and minimise skin contact.
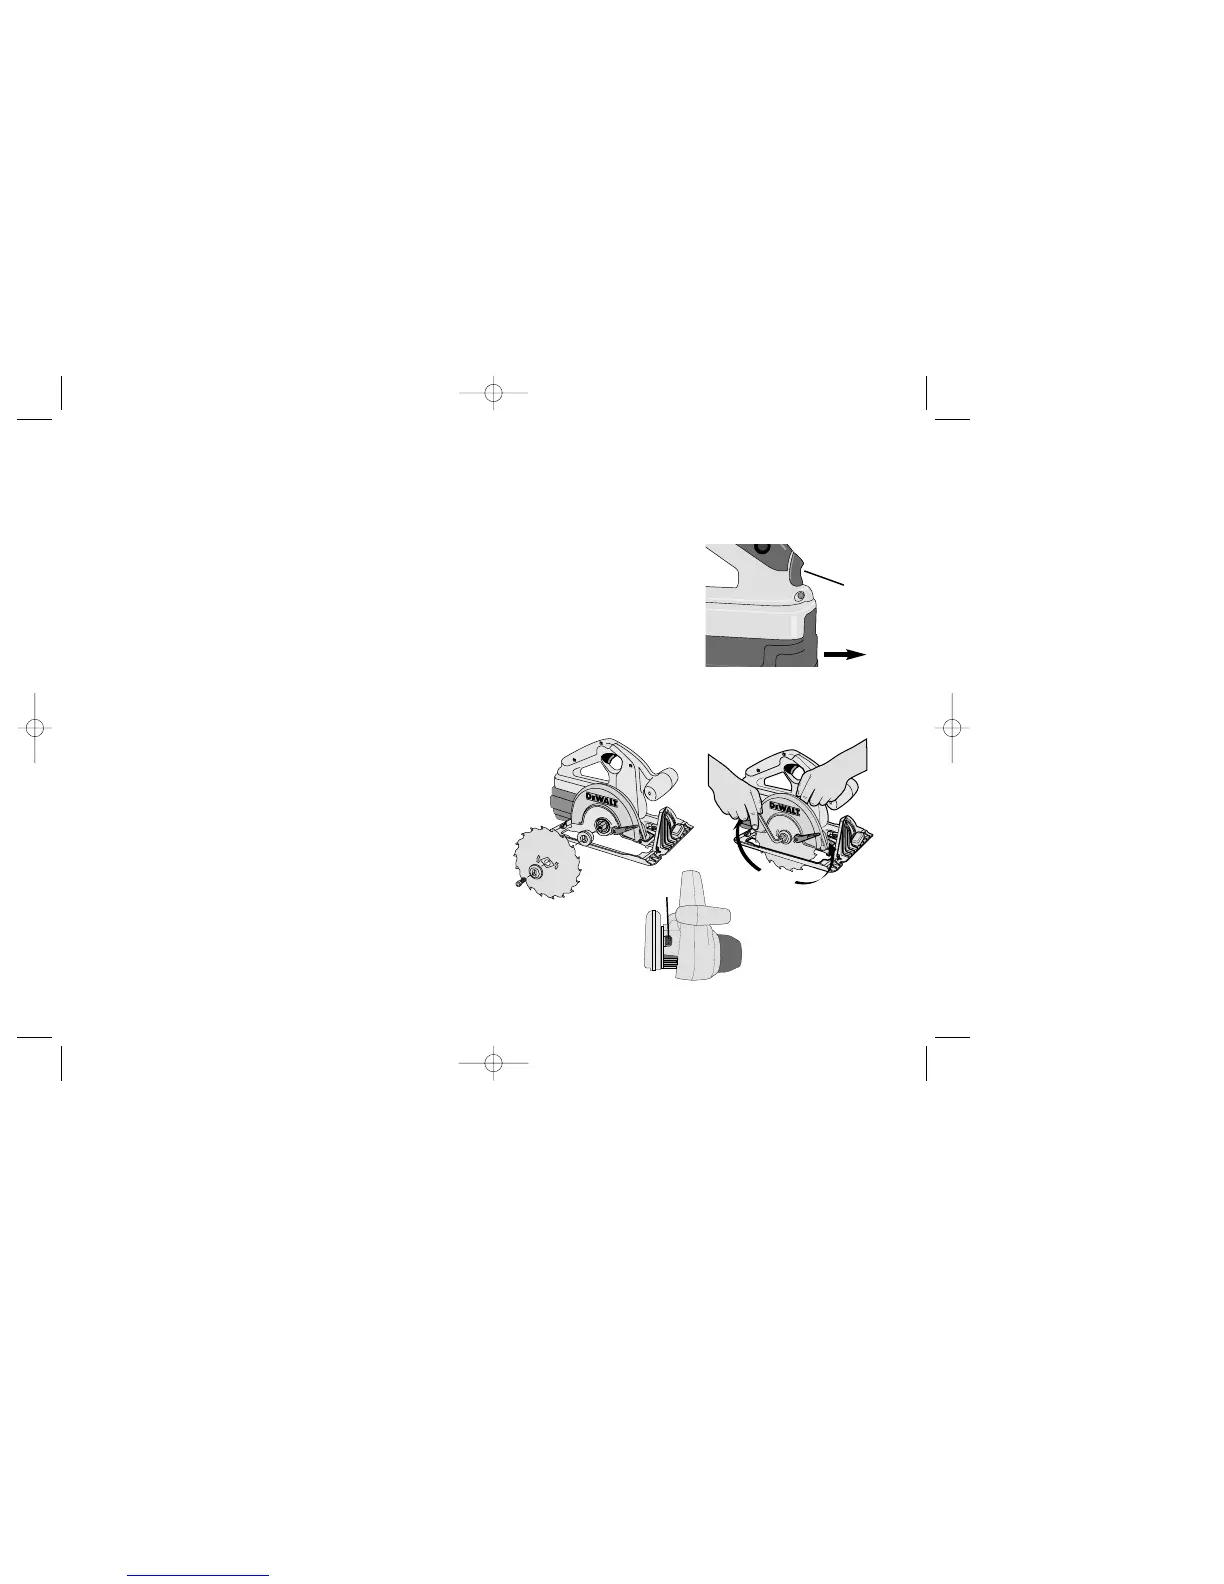
Installing and Removing the Battery Pack (Fig. E1)
NOTE: Make sure your battery pack is fully charged. To install the battery pack into
the tool handle, align the top of the battery pack with the notches inside the tool’s
handle and slide the battery pack firmly into the handle until you hear the lock snap
into place.
To remove the battery pack from the tool, slide the release button (A) away from the
battery pack (B) and the battery may be removed from the tool handle. Insert it into
the charger as described in the charger section of this manual.
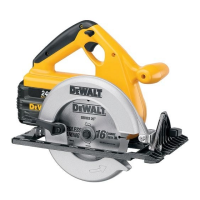
Changing Blades (Fig. E2 & E3)
1. TURN OFF TOOL AND REMOVE BATTERY PACK.
2. To attach blade, retract lower blade
guard and place blade over the
spindle and against the inner clamp
washer. Place outer clamp washer
against the blade. (Blade must be
installed with the printed side out.
Teeth at the bottom of the blade
should be facing forward.)
15
E1
E2 E3
A
A
B