................... Class II Construction .......................earthing terminal
(double insulated)
........................safety alert symbol
…/min ............per minute BPM ...................beats per minute
IPM .................impacts per minute RPM ...................revolutions per minute
SPM ...............strokes per minute sfpm ...................surface feet per minute
SAVE THESE INSTRUCTIONS FOR FUTURE USE
Motor
Be sure your power supply agrees with the nameplate marking. Voltage decrease of more than
10% will cause loss of power and overheating. D
EWALT tools are factory tested; if this tool does
not operate, check power supply.
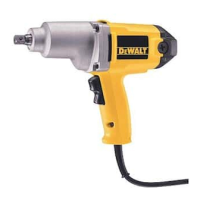
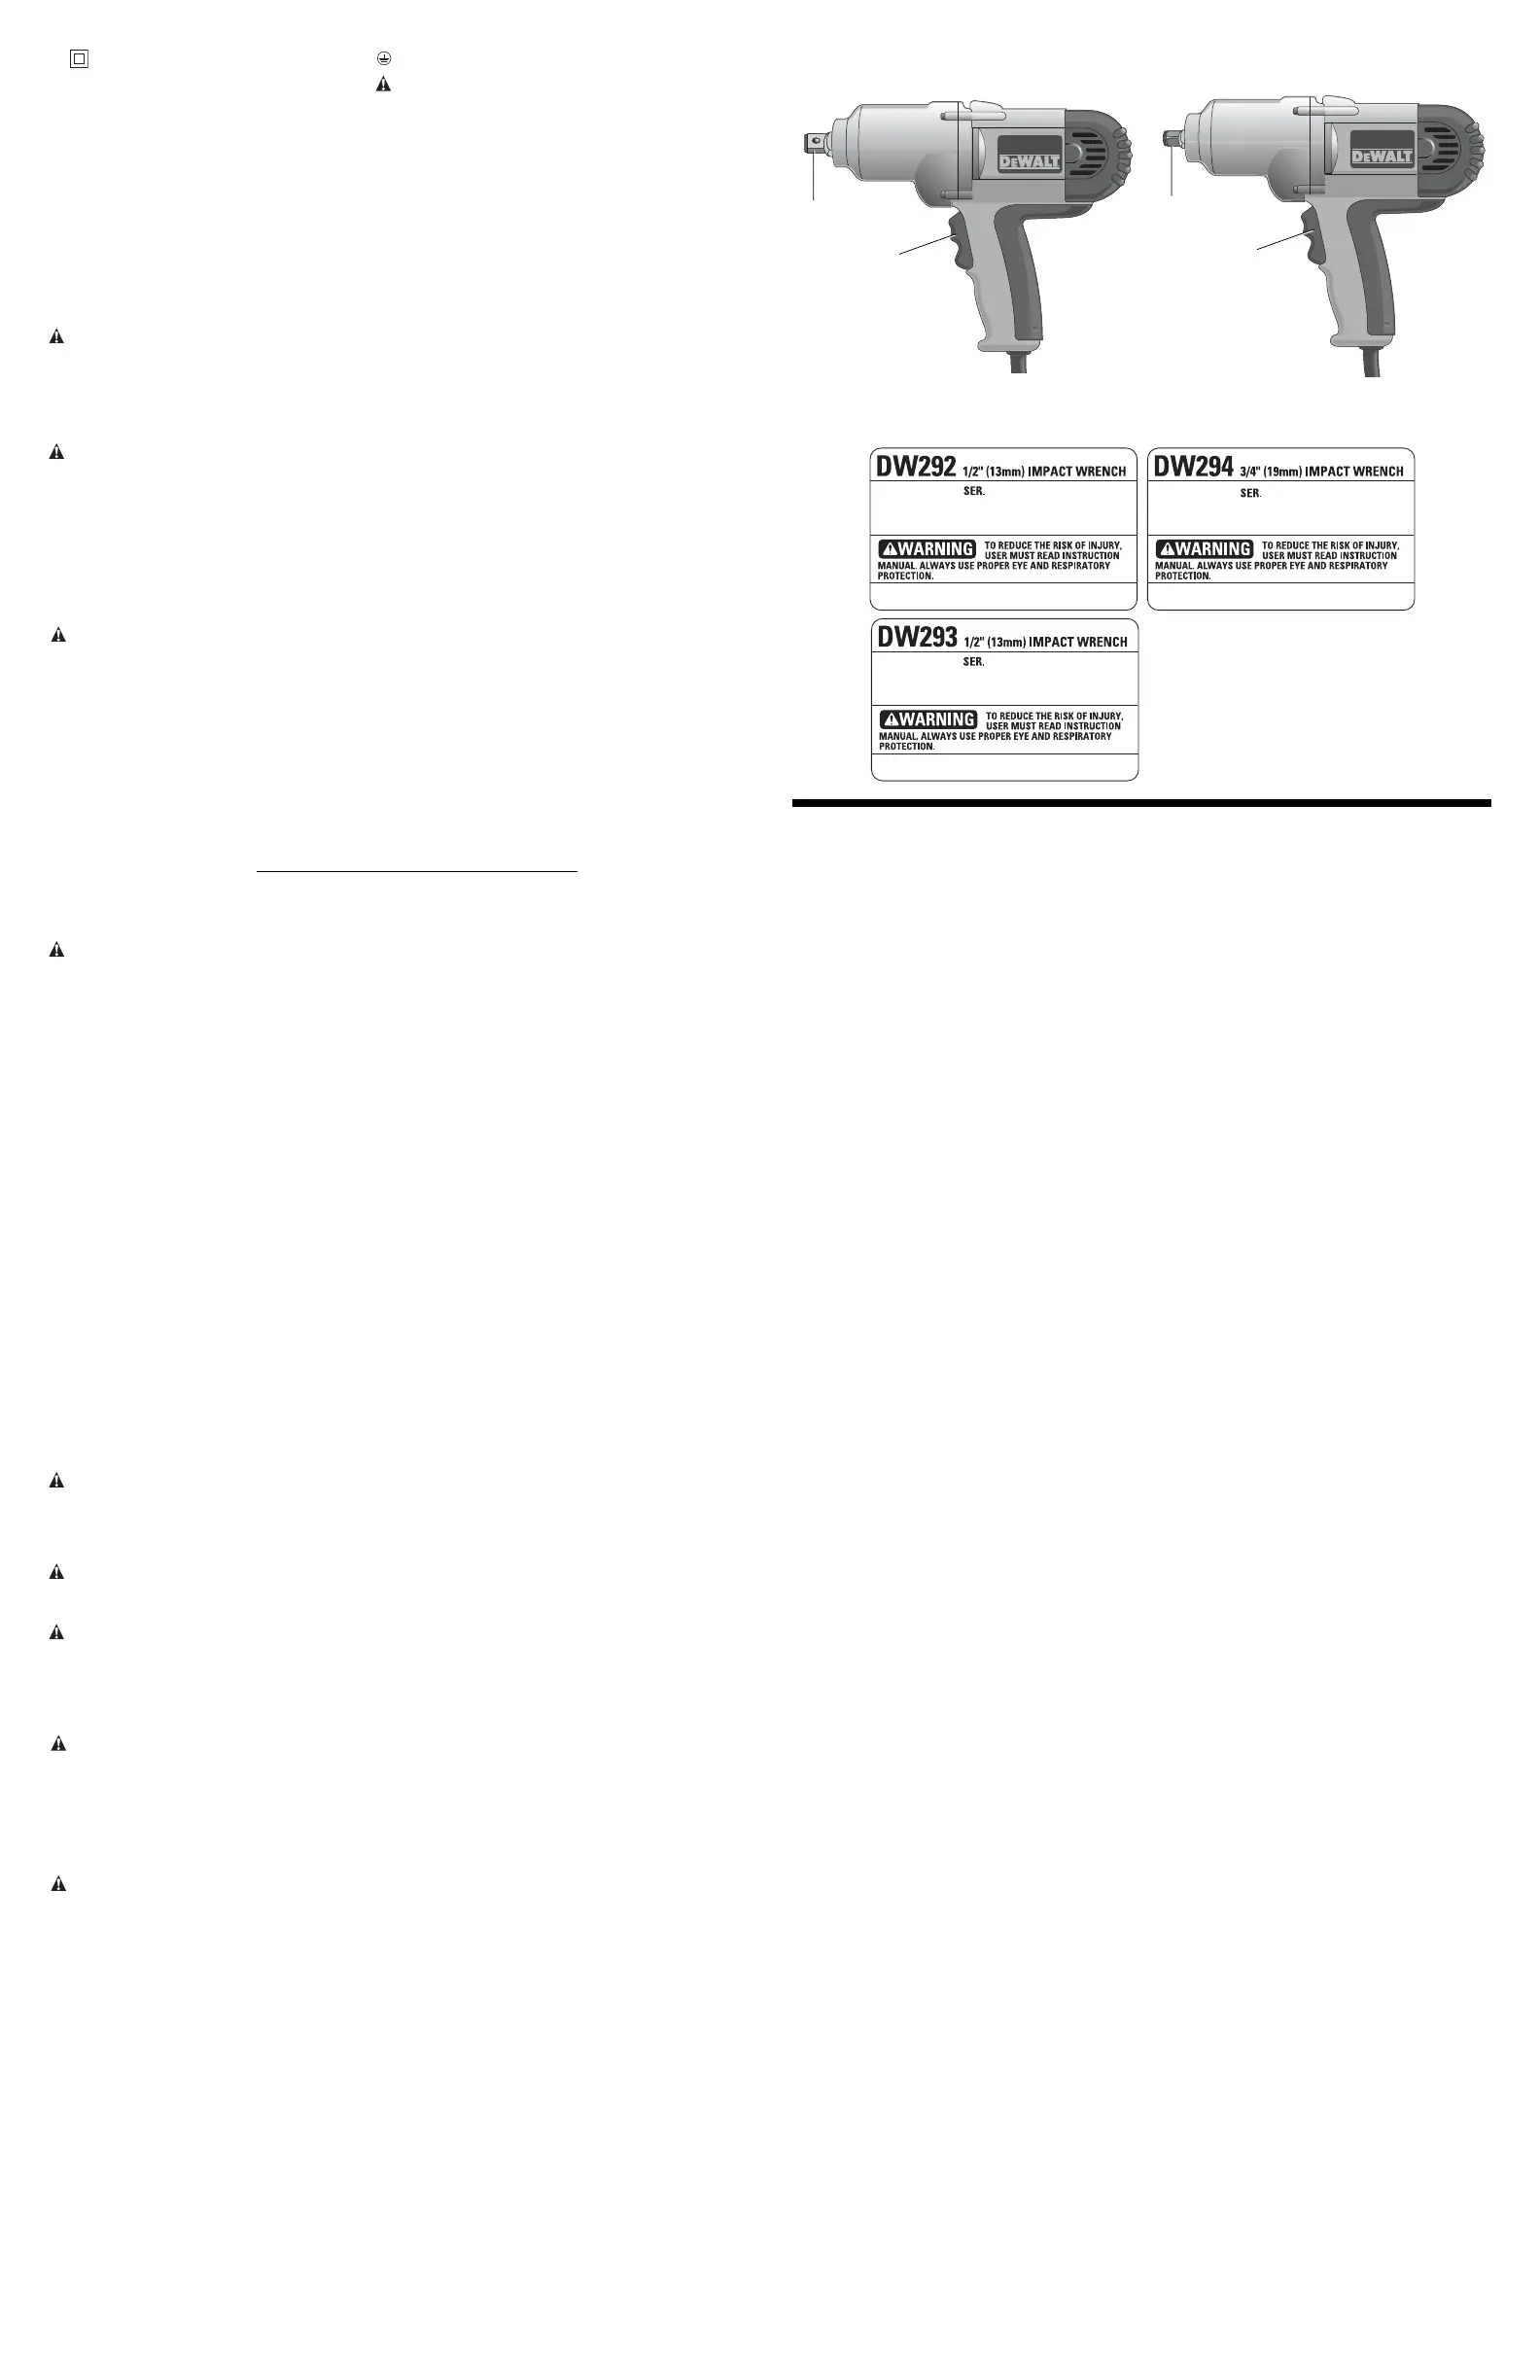
COMPONENTS (Fig. 1)
WARNING: Never modify the power tool or any part of it. Damage or personal injury could
result.
A. Switch
B. Anvil
OPERATION
WARNING: To reduce the risk of injury, turn unit off and disconnect it from power
source before installing and removing accessories, before adjusting or when making
repairs. An accidental start-up can cause injury.
Switch (Fig. 1)
Pressing the BOTTOM part of the switch (A) runs the tool in forward (right-hand thread) direction.
Pressing the TOP of the switch reverses motor direction. This allows “rocking” fasteners to break
them loose.
Anvil with Detent Pin (Fig. 1)
CAUTION: Use only impact accessorires. Non-impact accessories may break and cause a
hazardous condition. Inspect accessory prior to use to ensure that it con tains no cracks.
To install an accessory on the anvil (B), align the hole in the side of the accessory with the detent
pin on the anvil. Press the accessory on until the detent pin engages in the hole.
To remove an accessory, depress the detent pin through the hole, using a small, pointed object,
and pull the accessory off.
Impact Time
Many variables exist that will cause the torque available on any fastener to vary considerably.
Usage
Your impact tool generates the following output torque:
Cat # Ft.-Lbs. (Nm)
DW292 345 (468)
DW293 345 (468)
DW294 345 (468)
CAUTION: Ensure fastener and/or system will withstand the level of torque generated by the
tool. Excessive torque may cause breakage and possible personal injury.
1. Place the accessory on the fastener head. Keep the tool pointed straight at the fastener.
2. Press rocker switch to start operation. Always check torque with a torque wrench, as the
fastening torque is affected by many factors including the following:
• Voltage: Low voltage, due to generator or long extension cord, will reduce fastening
torque.
• Accessory size: Failure to use the correct accessory size will cause a reduction in
fastening torque.
• Bolt Size: Larger bolt diameters generally require higher fastening torque. Fastening
torque will also vary according to length, grade, and torque coefficient.
• Bolt: Ensure that all threads are free of rust and other debris to allow proper fastening
torque
• Material: The type of material and surface finish of the material will affect fastening
torque.
• Fastening Time: Longer fasten ing time results in increased fastening torque. Using a
longer fastening time than recom mended could cause the fasteners to be overstressed,
stripped or damaged.
Capacity
Yo
ur 1/2" (12.7mm) impact wrench uses sockets with 1/2" (12.7mm) square drive ends. A 3/4"
(19mm) impact wrench uses sockets with 3/4" (19mm) square drive ends. Both sizes of impact
wrenches are capable of driving the same range of hex impact sockets available.
In particularly heavy duty usage the 3/4" (19mm) drive impact wrench has an extra strong anvil
that will resist breakage.
MAINTENANCE
WARNING: To reduce the risk of injury, turn unit off and disconnect it from power
source before installing and removing accessories, before adjusting or when making
repairs. An accidental start-up can cause injury.
Cleaning
WARNING: Blow dirt and dust out of all air vents with clean, dry air at least once a week.
To minimize the risk of eye injury, always wear ANSI Z87.1 approved eye protection when
performing this.
WARNING: Never use solvents or other harsh chemicals for cleaning the non-metallic parts
of the tool. These chemicals may weaken the plastic materials used in these parts. Use a cloth
dampened only with water and mild soap. Never let any liquid get inside the tool; never immerse
any part of the tool into a liquid.
Accessories
WARNING: Since accessories, other than those offered by DEWALT, have not been tested
with this product, use of such accessories with this tool could be hazardous. To reduce the risk
of injury, only D
EWALT recommended accessories should be used with this product.
Recommended accessories for use with your tool are available at extra cost from your local
service center. If you need any assistance in locating any accessory, please contact
DEWALT Industrial Tool Co.
WARNING: Use only impact accessories. Non-impact accessories may break and cause a
hazardous condition. Inspect accessories prior to use to ensure that they con tain no cracks.
Repairs
To assure product SAFETY and RELIABILITY, repairs, maintenance and adjustment (including
brush inspection and replacement) should be performed by a D
EWALT factory service center,
a D
EWALT authorized service center or other qualified service personnel. Always use identical
replacement parts.
DW293DW292, DW294
A
B
FIG. 1
A
B

 Loading...