ENGLISH
8
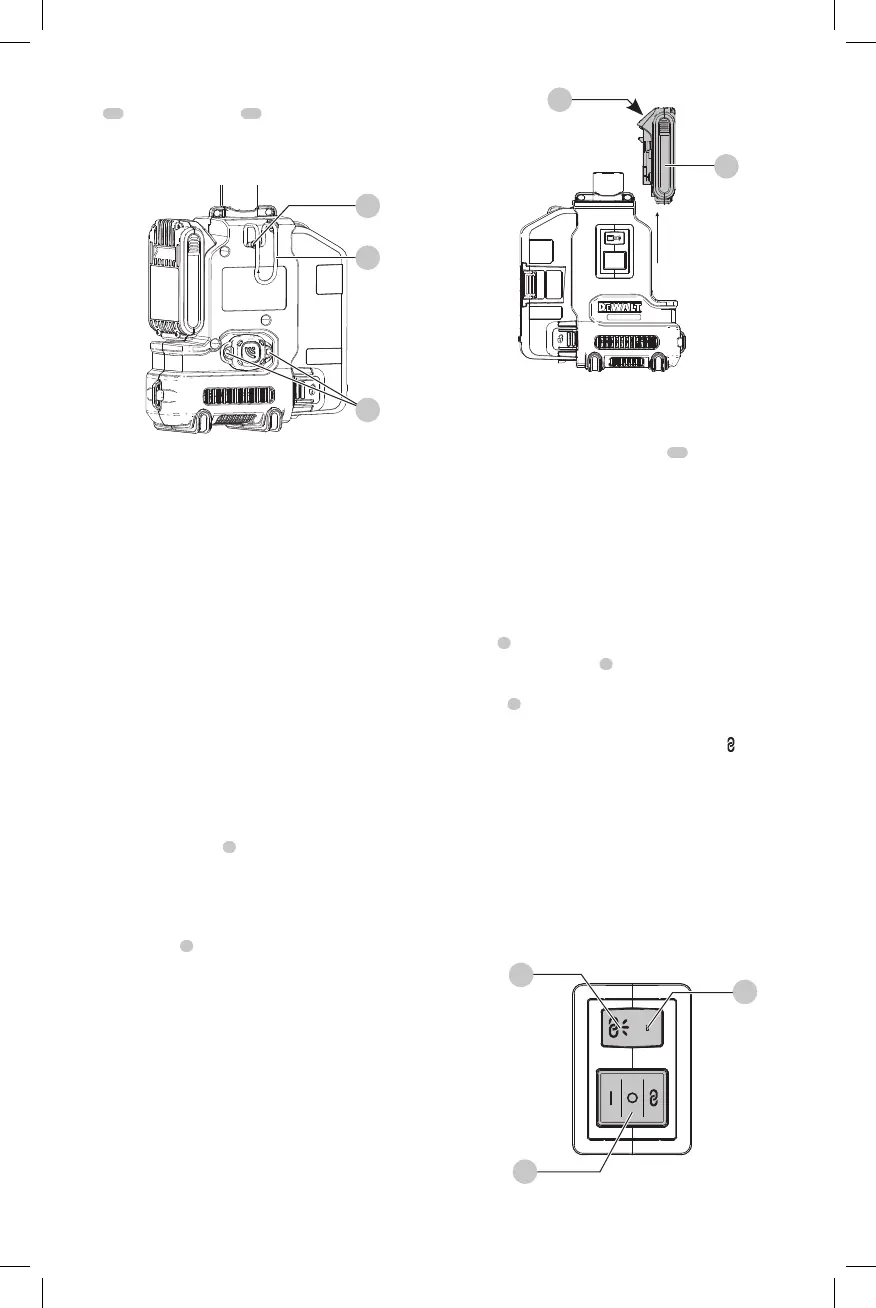
IMPORTANT: When attaching or replacing the belt
hook
15
, use only the screw
16
that is provided. Be sure to
securely tighten thescrew.
If the hook is not desired at all, it can be removed from
thetool.
Fig. E
17
15
16
OPERATION
WARNING: To reduce the risk of serious personal
injury, turn unit off and remove the battery pack
before making any adjustments or removing/
installing attachments or accessories. An
accidental start-up can causeinjury.
WARNING: For your own safety, read the tool
instruction manual before using any accessory.
Failure to heed these warnings may result in personal
injury and serious damage to the tool and the
accessory. When servicing this tool, use only identical
replacementparts.
WARNING: Do not use the dust extraction system
without the filter inplace.
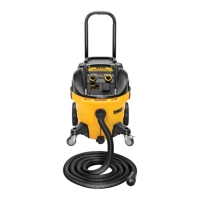
Installing and Removing the Battery Pack
(Fig. F)
NOTE: For best results, make sure your battery pack is
fullycharged.
To install the battery pack
1
into the dust extractor, align
the battery pack with the rails and slide it in until the battery
pack is firmly seated in the dust extractor and ensure that it
does notdisengage.
To remove the battery pack from the dust extractor, press
the release button
2
and firmly pull the battery pack out of
the dust extractor. Insert it into the charger as described in
the charger section of thismanual.
1
2
Fig. F
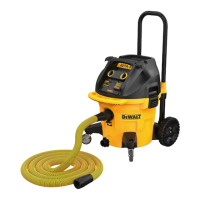
Tool Tag Ready (Fig. E)
Optional Accessory
Your tool comes with mounting holes
17
and fasteners for
installing a
Tool Tag. You will need a T15 bit tip to
install the tag. Only use the screws provided. The
Tool Tag is designed for tracking and locating professional
power tools, equipment, and machines using the
Tool Connect™ app. For proper installation and use of the
Tool Tag refer to the
Tool Tagmanual.
Using the Dust Extractor (Fig. A, G)
1. Attach the appropriate accessory to the dust extractor
hose
6
.
2. Insert the battery pack
1
.
3. To turn dust extractor on, press the three position
switch
7
to the On(I)position.
4. To use in Wireless Tool Control™ mode press the three
position swtich to the Wireless Tool Control™ ( ) position.
The trigger of the connected tool or the button on the
remote will control the dustextractor.
NOTE: Refer to Pairing the Dust Extractor with a Tool
using Wireless Tool Control™ Mode to use the dust
extractor with a Wireless Tool Control™ equipped tool
orremote.
5. When finished, turn the dust extractor off by pressing
the three position switch to the Off(O) position or
releasing the trigger of the Wireless Tool Control™
equipped tool or the button on theremote.
7
8
9
Fig. G