33
ENGLISH
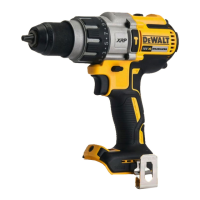
Proper Hand Position (Fig.F)
WARNING: To reduce the risk of serious personal injury,
ALWAYS use proper hand position asshown.
WARNING: To reduce the risk of serious personal
injury, ALWAYS hold securely in anticipation of a
suddenreaction.
Proper hand position requires one hand on the main handle
3
,
with the other hand on the top handle
4
.
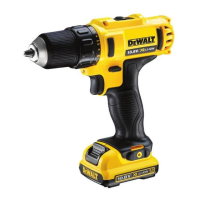
Inserting and Removing the Battery Pack
from the Tool (Fig.B)
NOTE: Make sure your battery pack
1
is fullycharged.
To Install the Battery Pack into the Tool Handle
1. Align the battery pack with the rails inside the tool’s
handle(Fig. B).
2. Slide it into the handle until the battery pack is firmly seated
in the tool and ensure that you hear the lock snap intoplace.
To Remove the Battery Pack from the Tool
1. Press the battery release button
2
and firmly pull the
battery pack out of the toolhandle.
2. Insert battery pack into the charger as described in the
charger section of thismanual.
Fuel Gauge Battery Packs (Fig.B)
Some DeWALT battery packs include a fuel gauge, which
consists of three green LED lights that indicate the level of
charge remaining in the batterypack.
To actuate the fuel gauge, press and hold the fuel gauge button.
A combination of the three green LED lights will illuminate,
designating the level of charge left. When the level of charge
in the battery is below the usable limit, the fuel gauge will not
illuminate and the battery will need to berecharged.
NOTE: The fuel gauge is only an indication of the charge left on
the battery pack. It does not indicate tool functionality and is
subject to variation based on product components, temperature
and end‑userapplication.
OPERATION
Instructions for Use
WARNING: Always observe the safety instructions and
applicableregulations.
WARNING: To reduce the risk of serious personal
injury, turn tool off and disconnect battery pack
before making any adjustments or removing/
installing attachments or accessories. An accidental
start-up can causeinjury.
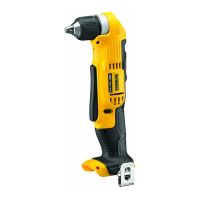
Installing and Releasing a Bit from the
Keyed Chuck (Fig.A)
WARNING: Do not attempt to tighten drill bits (or
any other accessory) by gripping the front part of the
chuck and turning the tool on. Damage to the chuck
and personal injury may result. Always lock off trigger
switch and remove the battery from the tool when
changingacces sories.
WARNING: Always ensure the bit is secure before starting
the tool. A loose bit may eject from tool causing possible
personalinjury.
Open the keyed chuck
8
jaws by turning the chuck collar
10
by hand, then insert the shank of the bit about 3/4" (19 mm)
into chuck. Tighten the chuck collar by hand. Place chuck
key
11
(Fig.A) in each of the three holes, and tighten in
clockwise direction. It’s important to tighten chuck with all three
holes. To release the bit, turn the chuck counterclockwise in just
one hole, then loosen the chuck byhand.
NOTE: When using hex shank or three‑sided shank bits, be sure
to align the flat sides of the bit with the chuck jaws to ensure
the bit is properly engaged by thejaws.
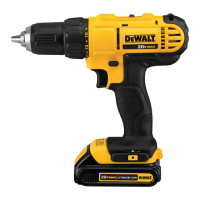
Worklight (Fig.A)
CAUTION: Do not stare into worklight. Serious eye
injury couldresult.
The worklight
6
is activated when the trigger is depressed, and
will remain on for a short time after the trigger is released. If the
trigger remains depressed, the worklight will remainon.
NOTE: The worklight is for lighting the immediate work surface
and is not intended to be used as aflashlight.
Drilling
WARNING: TO REDUCE THE RISK OF PERSONAL
INJURY, ALWAYS ensure workpiece is anchored or
clamped firmly. If drilling thin material, use a wood
“back-up” block to prevent damage to thematerial.
1. Use sharp drill bits only. For WOOD, use twist drill bits, spade
bits, auger bits, self‑feed bits, or hole saws. For METAL, use
steel twist drill bits or holesaws.
2. Always apply pressure in a straight line with the bit. Use
enough pressure to keep drill biting, but do not push hard
enough to stall the motor or deflect thebit.
3. Hold tool firmly with both hands to control the twisting
action of thedrill.
4. IF DRILL STALLS, it is usually because it is being overloaded
or improperly used. RELEASE TRIGGER IMMEDIATELY,
remove drill bit from work, and determine cause of stalling.
Installing and Removing the Chuck Key
(Fig.E)
Your tool is provided with a chuck key
11
that can be stored
on the knuckle guard of the tool. To install the chuck key into its
holder, slide the key handle
13
into key holder hole as shown
and snap the handle’s shaft into the retention clip
12
on the
keyholder.
To remove the chuck key from its holder, rotate the flat head of
the handle and pull the chuck key handle out of theholder.
NOTE: To avoid losing the chuck key, do not store it in any
otherorientation.
 Loading...