Do you have a question about the DeWalt XR DCS578 and is the answer not in the manual?
Keep work area clean and well-lit; avoid explosive atmospheres.
Use correct plugs, avoid wet conditions, and use RCDs for damp locations.
Stay alert, use PPE, avoid unintentional starting, and maintain balance.
Use tools correctly, maintain them, and store them safely.
Recharge correctly, use designated packs, and protect from extreme temperatures.
Understand kickback causes and how to avoid them with proper precautions.
Wear PPE, use correct blades, install dust extraction, and secure workpiece.
Identifies risks like impairment of hearing, injury from particles, and burns.
Instructions for DEWALT chargers, including operation and safety.
Motor voltage, double insulation, and cord replacement guidelines.
Guidance on fitting a new mains plug for UK and Ireland users.
Guidelines for using approved extension cables and cable reels.
Safety precautions for DEWALT battery chargers and charging procedures.
Step-by-step instructions for plugging in and inserting the battery pack.
Explanation of charge indicators and their meanings.
How the charger manages charging for hot or cold battery packs.
How the tool's system protects the battery from overload/overheating.
Instructions for securely mounting the charger on a wall.
Safety precautions and methods for cleaning the charger.
Safety guidelines for battery pack use, charging, and storage.
How to transport FLEXVOLT batteries, including Transport Mode.
Explanation of Transport Mode and its impact on shipping regulations.
Best practices for storing battery packs for optimal performance and life.
Explanation of pictographs found on chargers and battery packs.
Lists tools that operate on 54V battery packs and compatible battery packs.
Lists items included in the tool's package.
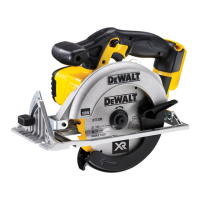
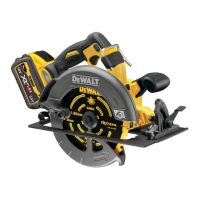
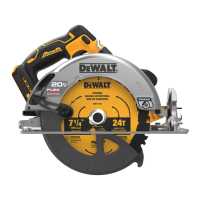
Lists and describes the numbered parts of the tool shown in Fig. A.
Specifies the intended professional applications for the circular saws.
Safety precautions regarding inexperienced operators and children.
Instructions on how to tighten the depth adjustment lever.
How to adjust the bevel angle mechanism between 0° and 57°.
Explains the bevel detent feature for 22.5° and 45° stops.
Explains markings on the base plate for cut length indication.
How to mount and adjust the parallel fence for cutting parallel to edges.
Step-by-step guide to install the dust extraction port.
Explains the benefits and components of the guide rail system.
How to set the saw's clearance for optimal cutting with a guide rail.
Explains the kerf indicator for guiding cuts relative to the saw blade.
General instructions and warnings before operating the tool.
Demonstrates the correct way to hold the saw for safe operation.
Information about the LED worklight activation and purpose.
How to safely switch the tool on and off using the lock-off button.
Proper techniques for supporting the workpiece to prevent injury.
Safe cutting procedures, including not resting the tool upside down.
Step-by-step guide for performing pocket cuts safely.
How to connect and use the dust extraction port for safety.
Safety warnings regarding the use of the rafter hook.
General guidelines for maintaining the power tool for continuous operation.
Information on lubrication requirements for the tool's bearings.
Safety precautions and methods for cleaning the tool's housing.
How to check and maintain the lower guard for proper operation.
Guidance on blade selection, care, and replacement to avoid issues.
Warning about using non-DEWALT accessories and recommendations.
How to re-align the blade to be perpendicular to the base plate.
Instructions on how to adjust the bevel adjustment lever.
Guidelines for proper disposal and recycling of battery packs.
Steps to adjust the saw for making precise 90-degree cuts.
| Voltage | 60V |
|---|---|
| Blade Diameter | 7-1/4 inches |
| Weight | 3.6 kg |
| Bevel Capacity | 57 degrees |
| Power Source | Cordless |
| No Load Speed | 5800 RPM |
