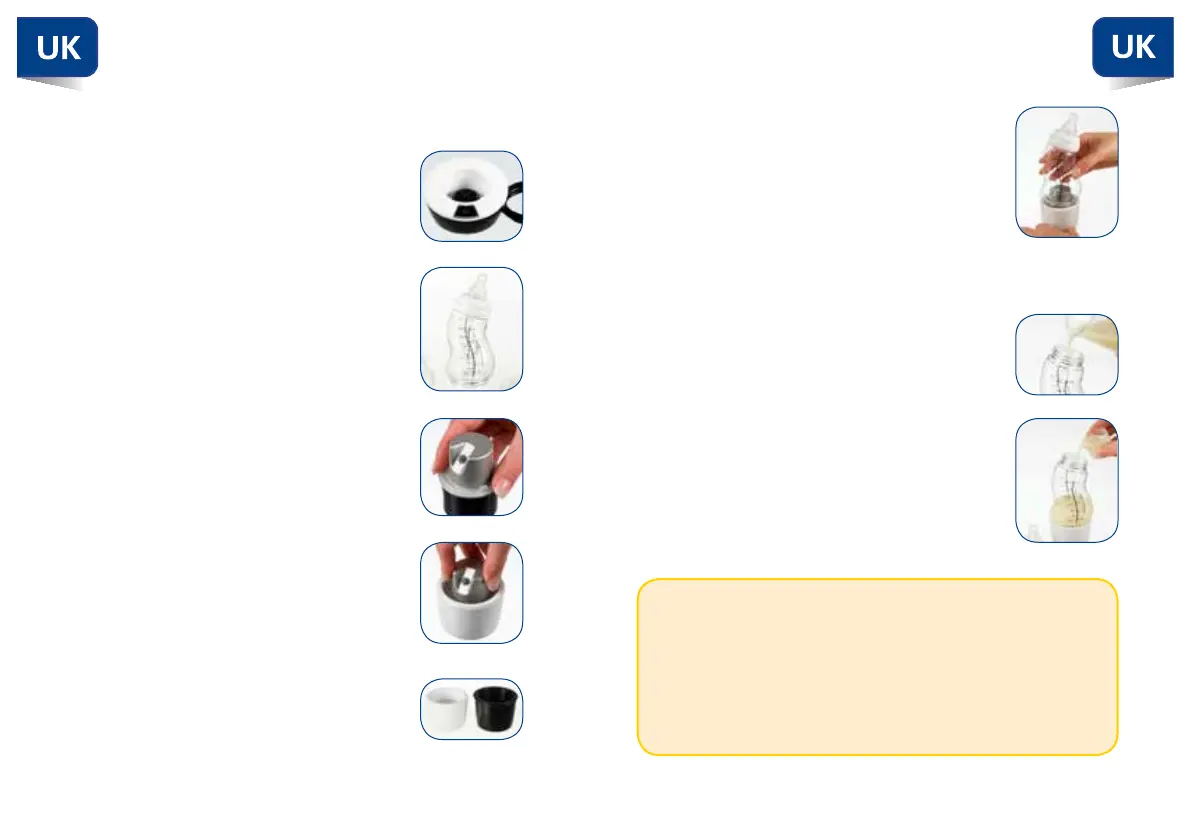
6) Screw the S-bottle body (V) firmly in place
on the bottle base
D
or
E
7) Unscrew the bottle ring with the teat and
sealable disk (III, II and IV) from the bottle
body (V)
1) Fill the S-bottle via the top with (breast)milk
or water
2) Because the heating element
C
takes up
space in the bottle, the S-bottle holds 30 ml
less food than indicated on the volume
indicator! Use the top-up cap
A
to top up
the missing 30 ml, fill the cap
A
and add
this to the food already in the S-bottle
Important:
• Donotheatfrozen(breast)milkorfrozenwaterintheS-bottle
warmer. Frozen food must be defrosted thoroughly first before
it can be heated
• Warmup(breast)milkorwaterfirstbeforeyouaddyour
(milk or porridge) powders
• Theminimumamountoffoodyoucanwarmupis90ml
How to use the Difrax S-bottle warmer
Assembling the Difrax S-bottle warmer
1) Place the base station
G
on a stable
surface
2) Insert the plug
H
into the wall socket
3) Unscrew the bottom with the s-bottle
valve from the S-bottle (VII and VI). These
items you don’t need anymore when you
directly feed after warming-up because all
the advantages of the vacuum system in the
bottom of the S-bottle warmer are pr0cessed
4) Press the O-ring valve
B
firmly onto the
heating element
C
in the notch with the
raised section facing upwards in order to
prevent leakage. Make sure the upstanding
part is open by squeezing it several times
5) Place the heating element
C
in the bottle
base of the correct size
D
or
E
and make
sure the O-ring valve is still firmly in place
D
: White bottle base for
S-
bottle Natural
170 ml and 250 ml
E
: Black bottle base for
S-
bottle Wide
200 ml and 310 ml
76
 Loading...