Incoming Network Connection. Press Next and select TCP Sockets. Press Next and
set the serial port parameters to Baud Rate 2400, Data bits 8, Parity None, Stop Bits 1,
and Flow Control None. Press Next and verify the settings you’ve entered and then press
Next again and wait for the Digi One SP to reboot (takes about 1 minute).
If you want to modify any of the settings, the Digi One comes with a built in web server
so you can use a web browser (e.g. Internet Explorer) to modify the settings. Refer to the
Digi One SP manual for instructions on how to use a web browser to modify its settings.
Configuring the DDF6001
During the normal setup of the DDF6001 WinRDFCommand is used to set the CIV
address of the DF and to change other settings if needed. To use WinRDF Command
first connect J1 on the DDF6001 to the computer using a serial RS232 cable. Launch the
WinRDFCommand program. Set up the DDF6001 as you desire and then press the Auto
Output On radio button to switch the DF into the automatic output mode. Automatic
output must be enabled to use the DF6001 with the Digi One SP.
Configuring Bearing Track
When setting up the sites in Bearing Track (see manual or help file) select the Enable
Internet Connection checkbox for each site and enter the IP address of the Digi One SP
device at that site location. Enter 2101 for the port number.
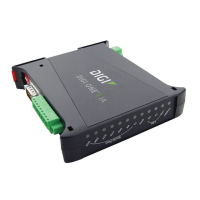
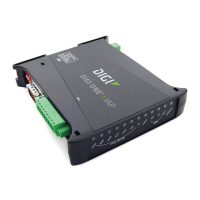
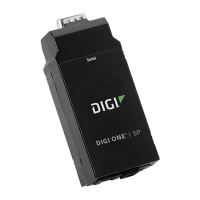
Installing the Digi One SP
Connect the serial connector on the Digi One SP to J1 of the DF600. Connect a category
5 cable from the Digi One SP to your network connection. Connect the power supply
included with the Digi One SP to the unit.
Operation
Use BearingTrack as described in the BearingTrack manual or help files.