Meter Engineers Handbook for Cellular Communication 6
–
When using Static NAT Mappings the IP and Port on the cellular interface must be enabled. By default only the IP
port is NAT’d. Go here in the WebUI of the Digi TransPort: Configuration-Network>Interfaces>Advanced>PPP 1.
Scroll down to the checked box Enable NAT on this interface and check the circle for IP address and Port. Click on
the Apply button and Save All.
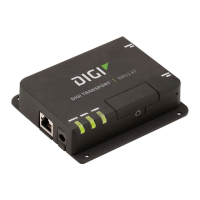
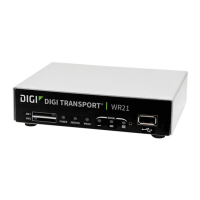
3.3 Connecting the Digi TransPort
(
WR21 Model Only) to Serial Meters
–
Most meters come equipped with RS-232/485 ports to enable communications. The Digi TransPort WR21 serial port
can be configured for either RS-232 or RS-485.
–
The Digi TransPort WR21 comes defaulted for RS-232 communication (115200 baud, Hardware flow
control, 8,n,1). To change these parameters go here in the Digi TransPort WR21 WebUI: Configuration-
Network>Interfaces>Serial>Serial Port 0. Check the user manual for the particular meter you’re connecting too
to see what these settings should be. Here is the pinout of the RS-232 port:
–
The serial port needs to be set up as a ‘Port’ the Digi TransPort WR21 can forward too. To do this go here in the Digi
TransPort WR21 WebUI: Configuration-Network>Network Services. In the ASY 0 Listening Port: window type in
the port you want to use. By default this is port 4000 and it can be left as port 4000. In the following example it’s
been changed to port 2000:
RS-232 Port Pinout
Pin # Direction RS-232 DCE Description
1 Out DCD Data Carrier Detect
2 Out RXD Receive Data
3 In TXD Transmit Data
4 In DTR Data Terminal Ready
5 N/A GND Ground
6 Out DSR Data Set Ready
7 In RTS Ready To Send
8 Out CTS Clear To Send
9 Out RI Ring Indicate
 Loading...