15
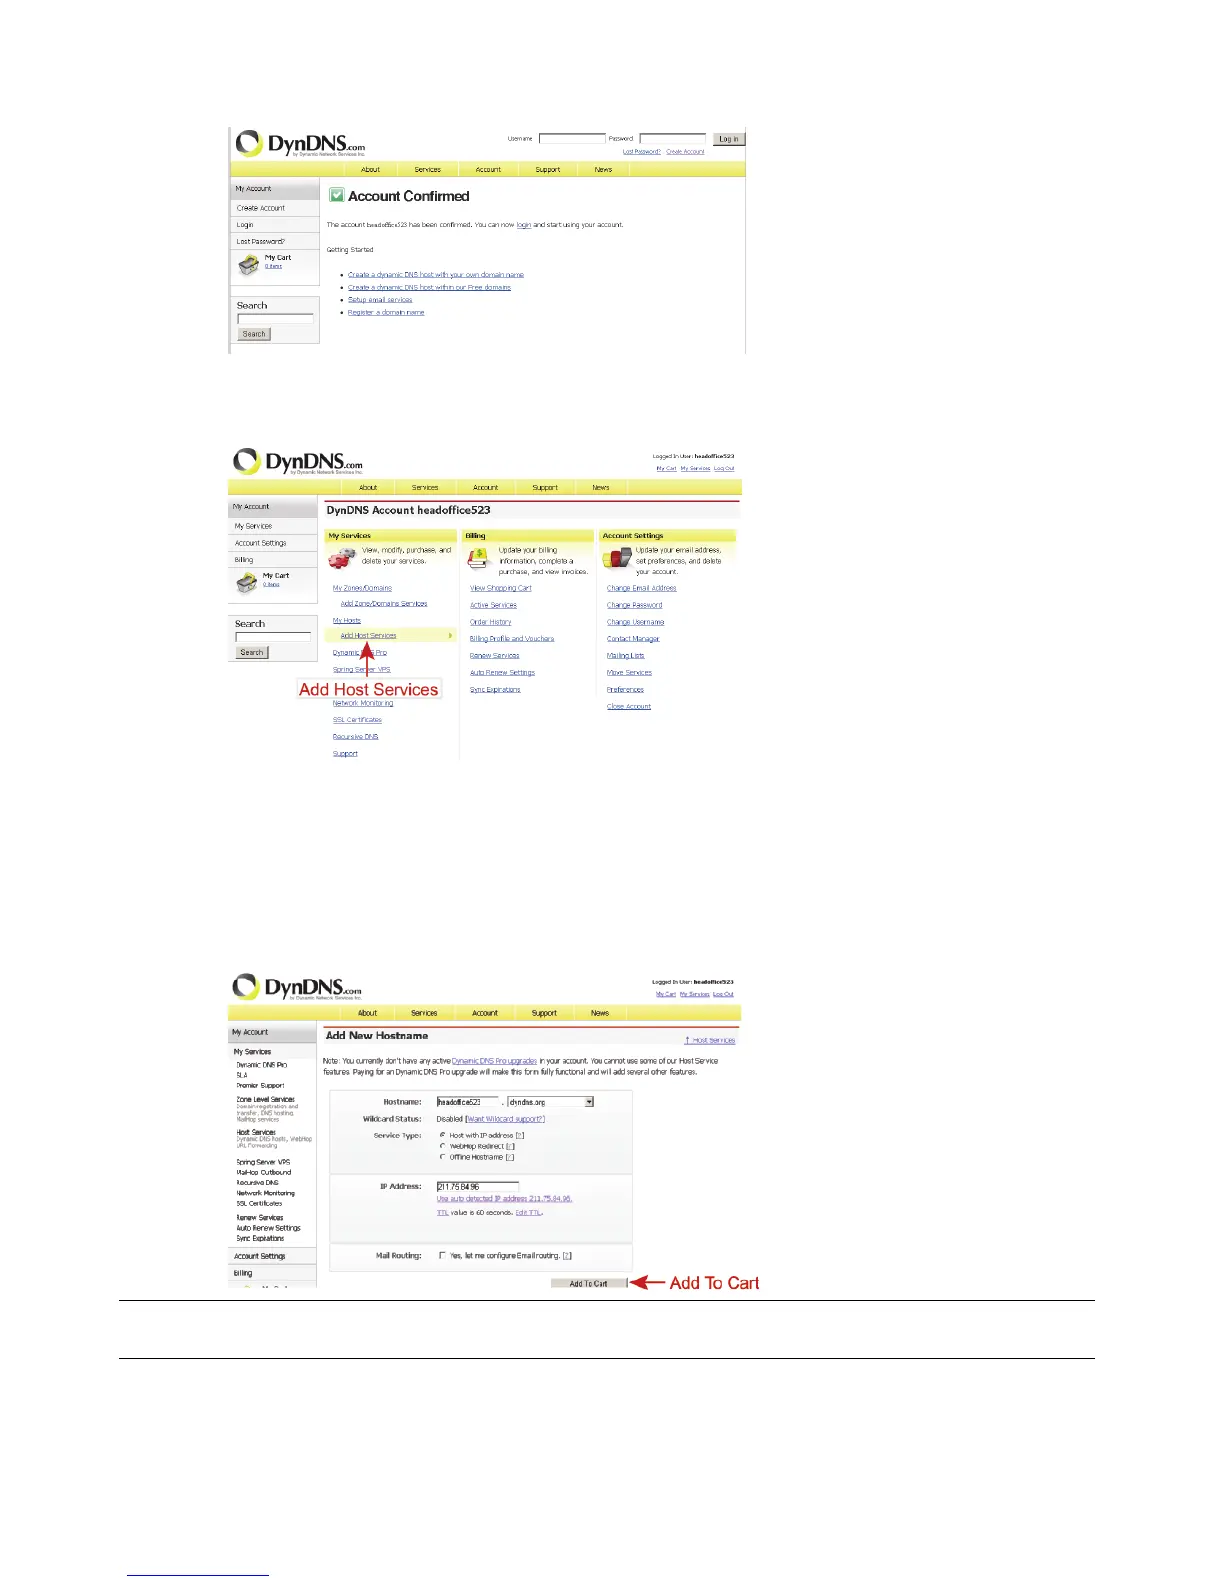
When the account is confirmed, you will see “Account Confirmed”. Your account is
created successfully now.
Step4: Click “login”, and enter the user name and password you preset before to log in.
Step5: Click “Add Host Services”.
‧Input a meaningful host name.
‧Choose a host system name.
‧Enter the IP address you want to redirect.
Note down the whole host name, for example, headoffice523.dyndns.org. Then, click
“Add To Cart” for billing.
Note: This service is free. Just finish the billing process, and NO paying information is
required.
Step6: Click “Activate Services” after checkout, and you’re ready to use DDNS services now.