6
2. INSTALLATION & CONNECTION
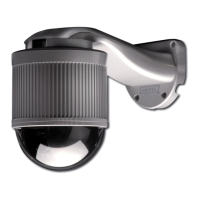
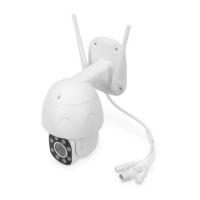
2.1 Install the camera
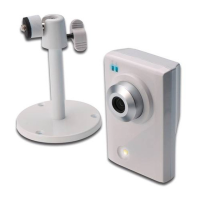
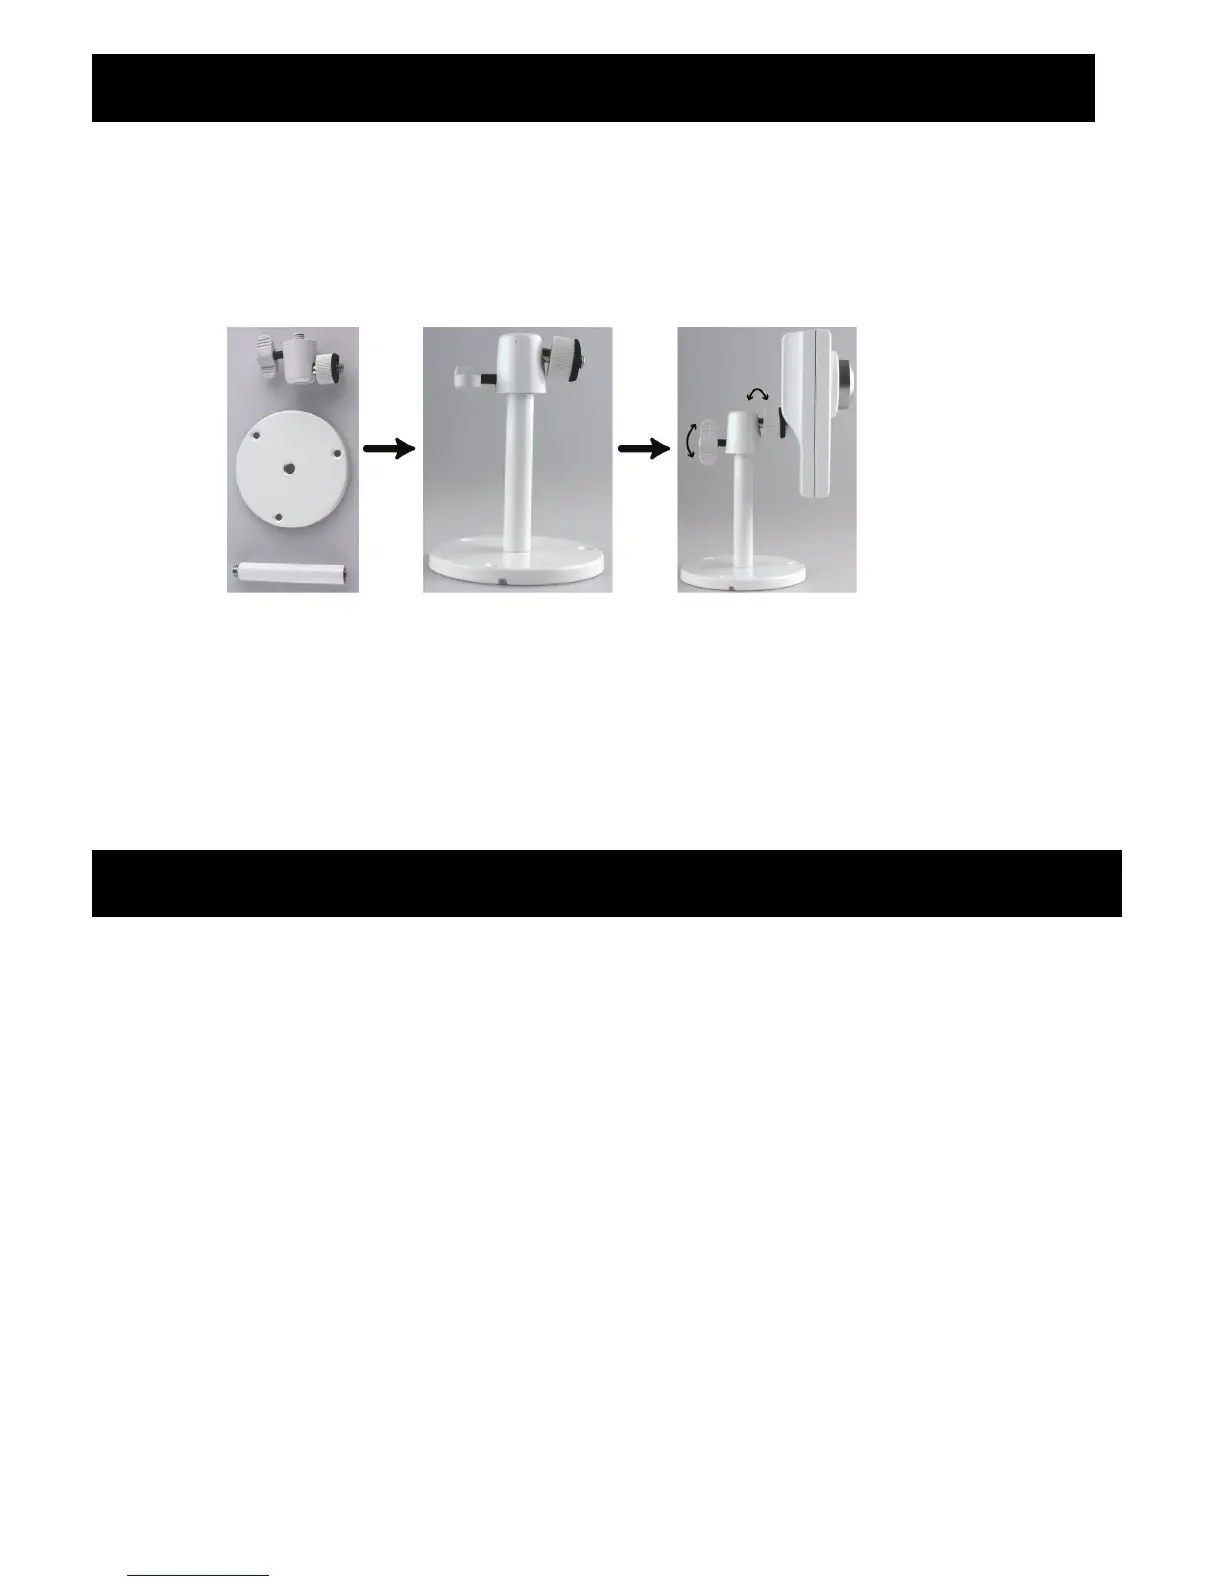
1. Find the bracket and its accessories supplied with the camera.
2. Attached the base of the bracket (the round one) to where you want to install this camera,
and fasten it with the supplied screws.
3. Assemble the bracket as illustrated below, and adjust the angle of the camera.
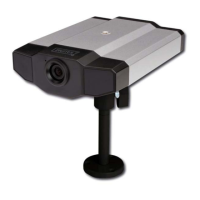
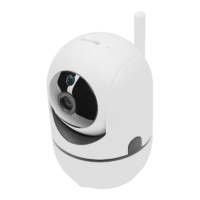
2.2 Connect to power
Connect the supplied power adapter to the camera’s power jack (DC 5V) on the
rear panel and the power outlet.
3. CAMERA ACCESS AND NETWORK CONFIGURATION
Before using this network camera, please follow the instructions below to finish the network
connection settings based on your installation environment:
To configure the network settings, you must connect the camera to your PC by LAN. For
details, please refer to “3.1 Network connection via LAN” at page 6.
To configure the network settings via a web browser, please refer to “Fehler! Verweisquelle
konnte nicht gefunden werden.” at page Fehler! Textmarke nicht definiert..
3.1 Network connection via LAN
Step1: Connect this network camera and your PC via a RJ45 network cable, and make sure the
camera is powered on.
Step2: Set the PC’s IP address as “192.168.1.XXX” (1~255, except 10).