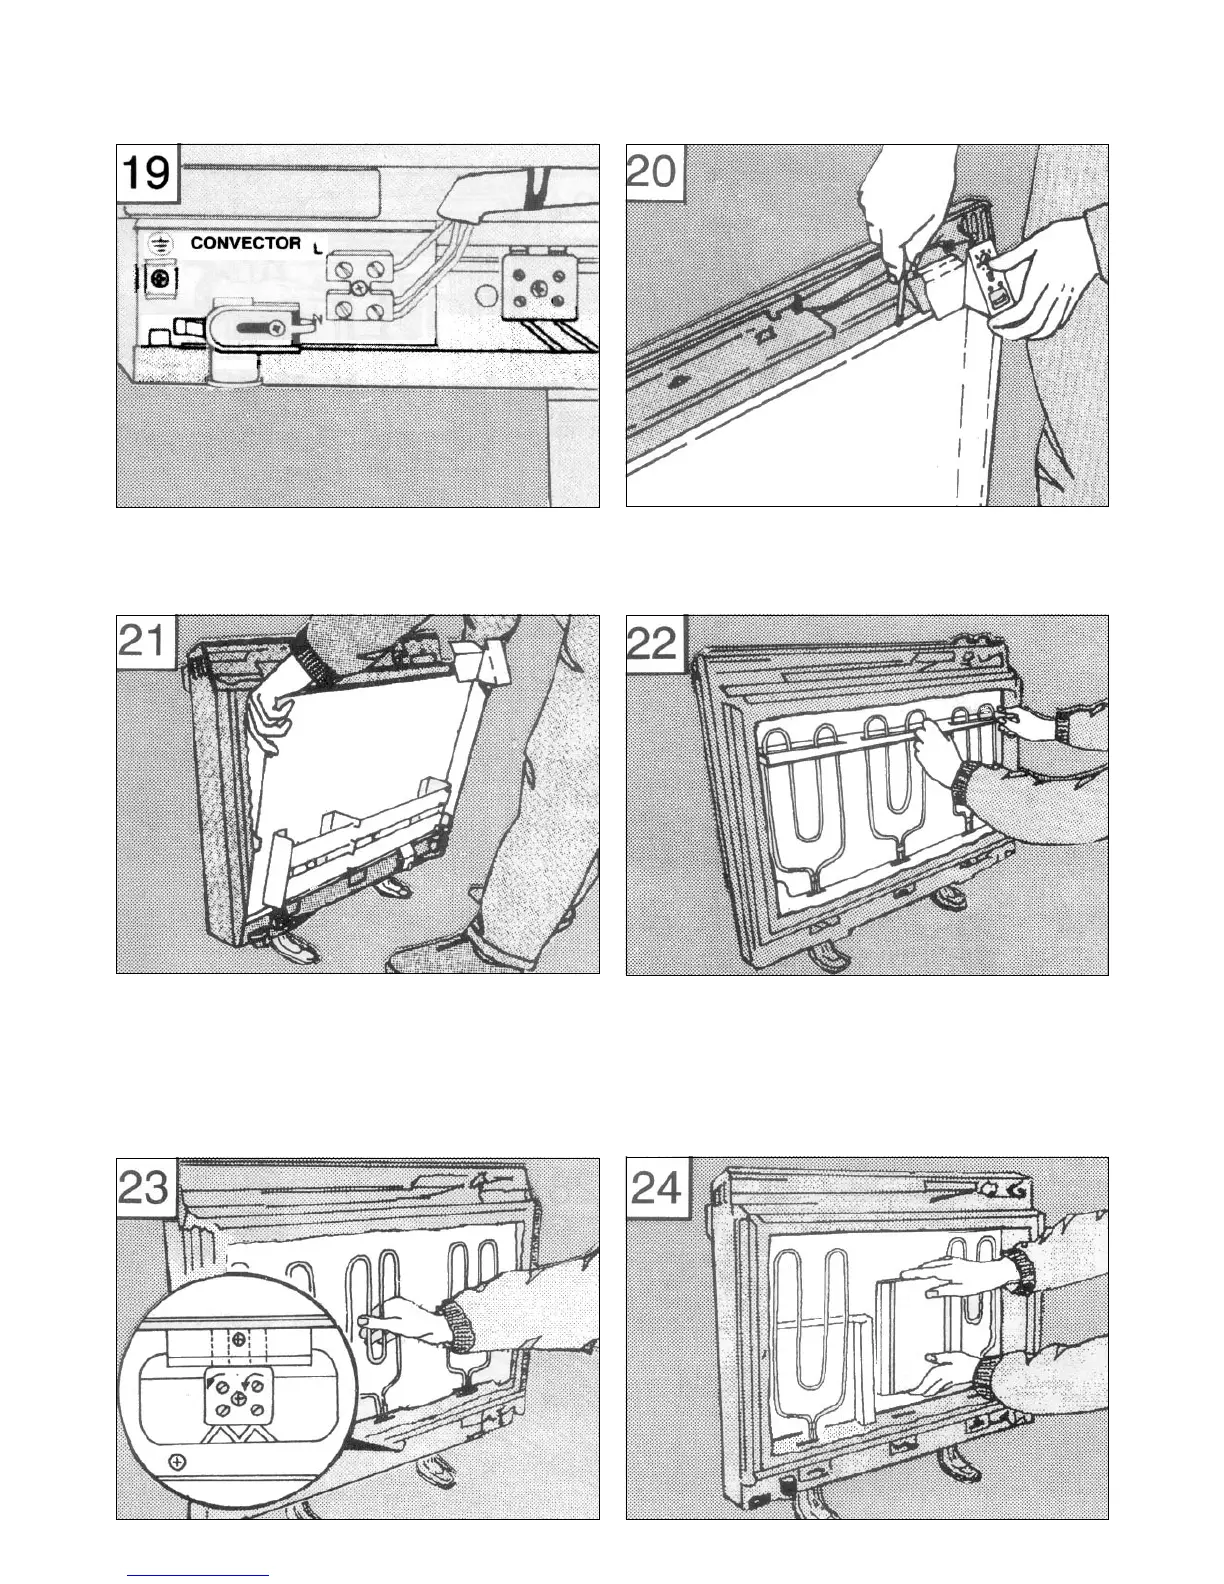
19. Remove the convector circuit mains block and insulation card from
the left side of the base panel. Unclip the wires running across the heater
below the inner front.
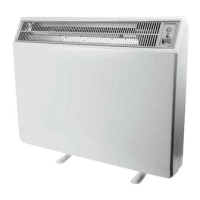
20. Remove screws retaining front inner skin.
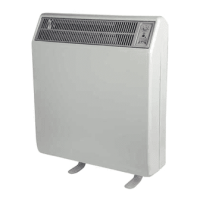
21. Carefully lift the bottom of the front inner skin panel out of the retaining
fl ange at the base of the heater, taking care not to damage the insulation,
hydraulic thermostat probe, heating elements and other vulnerable
components attached to this panel.
22. Remove the internal packing by sliding it up and off the elements, taking
care not to damage the insulation.
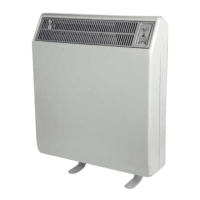
23. Remove one element to allow access for the back row of bricks. On the
CXL24N/CXLS24N remove the element to right of centre, on the CXL18N/
CXLS18N remove the central element and on the CXL12N/CXLS12N
remove the left hand element. Loosen the two screws securing the element
tails in the ceramic block, and lift the element up and out of the heater.
24. Position the bottom rear layer of bricks with the airway restrictions
coincident with the air slots in the base insulation slab. Push the bricks
fi rmly to the back of the heater. Fit the top rear row of bricks, with the
airway restrictions uppermost.