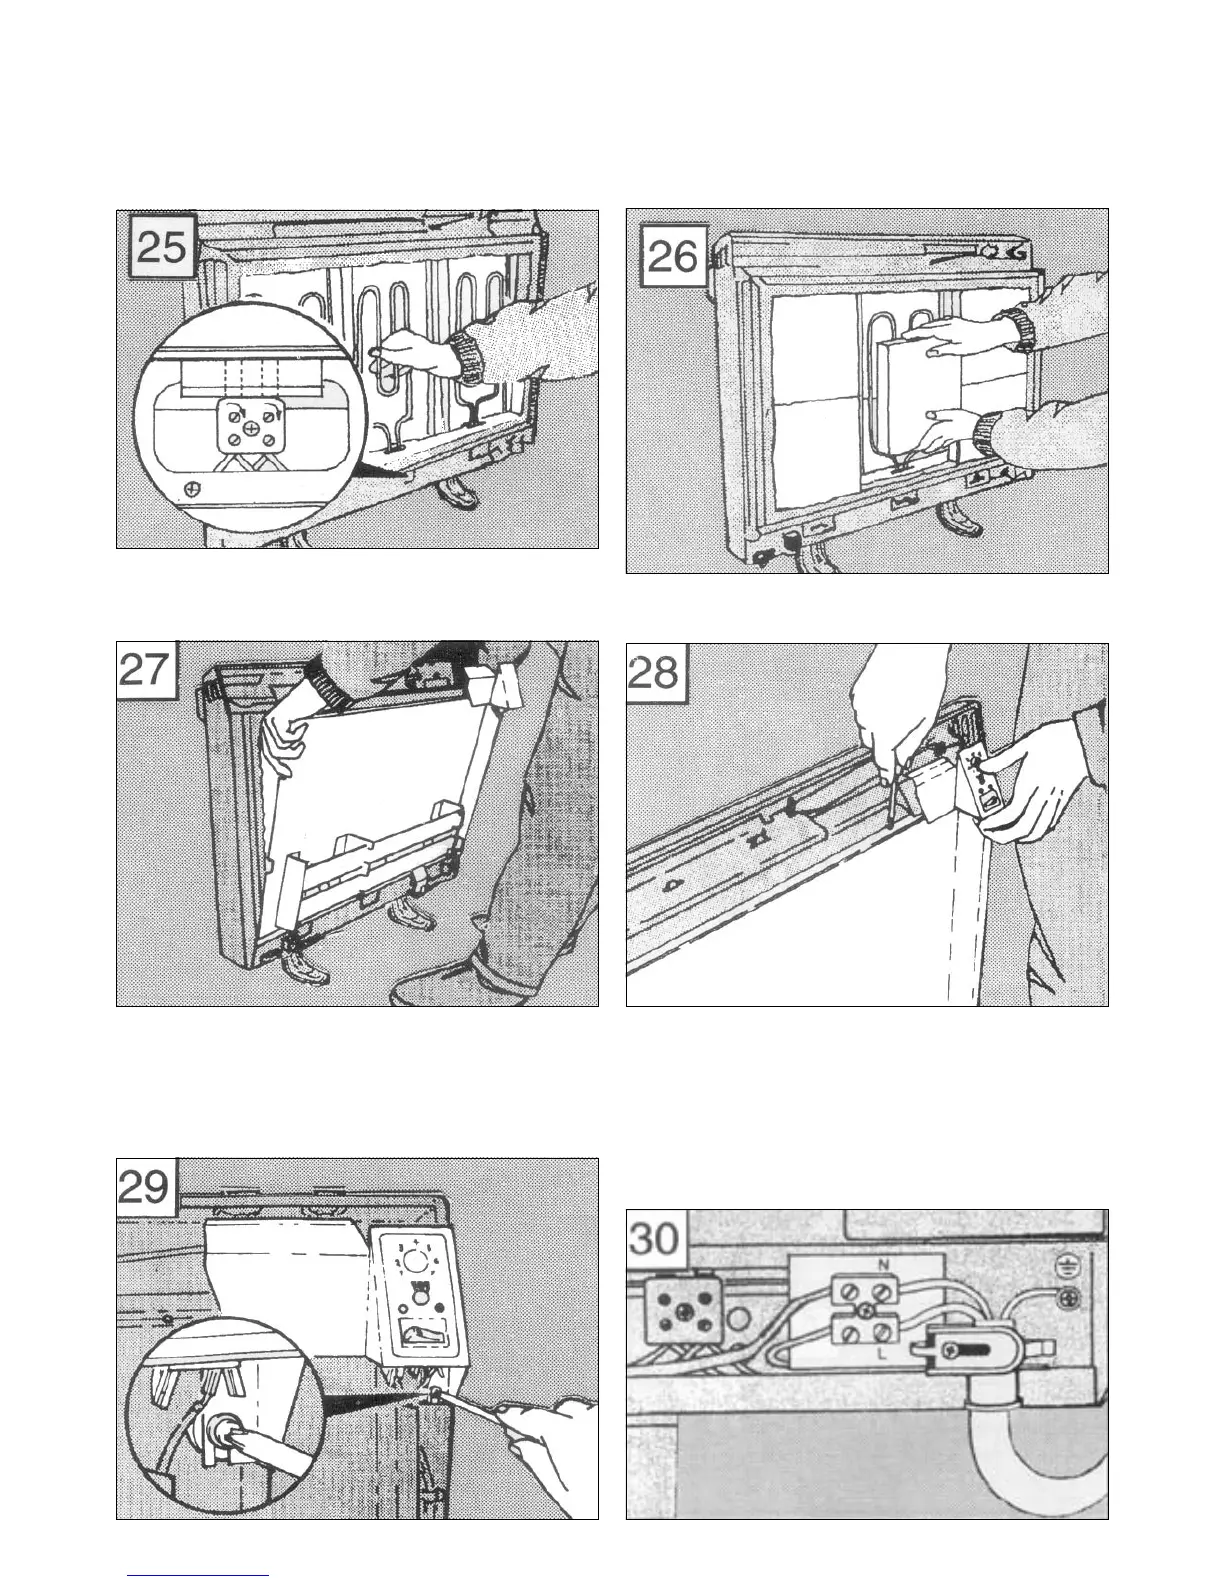
25. Replace the element which had been removed by carefully passing
the ends through the base insulation slots into the terminal blocks below.
Position the insulator on the element end in contact with the terminal block
ceramic as shown, and tighten the connection screws. At this point check
that all element connections are tight.
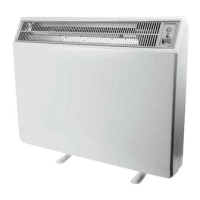
26. Fit the front bricks with the airways facing inwards
27. Re-fi t the front panel/insulation assembly, ensuring the bottom edge
of the panel is located behind the base fl ange.
28. Make sure all screws removed in operation 20 are replaced
securely.
29. Replace the spacer nut, washer and screw removed in 18 and reconnect
the two quick connect terminals removed in 19.
30. Connect the off peak supply to the storage terminal block at the right
side of the base panel.
Replace the convector terminal block and insulation card at the left side
of the base panel, clip wires running across heater and connect peak
supply.
HEAT RESISTING CABLE MUST BE USED.
NOTE: ON NO ACCOUNT SHOULD SURPLUS CABLE BE STUFFED
INSIDE THE HEATER.
WARNING: THIS APPLIANCE MUST BE EARTHED . CHECK ALL
ELECTRICAL CONNECTIONS FOR TIGHTNESS.