Product Features
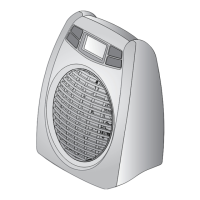
Assembly Instruction
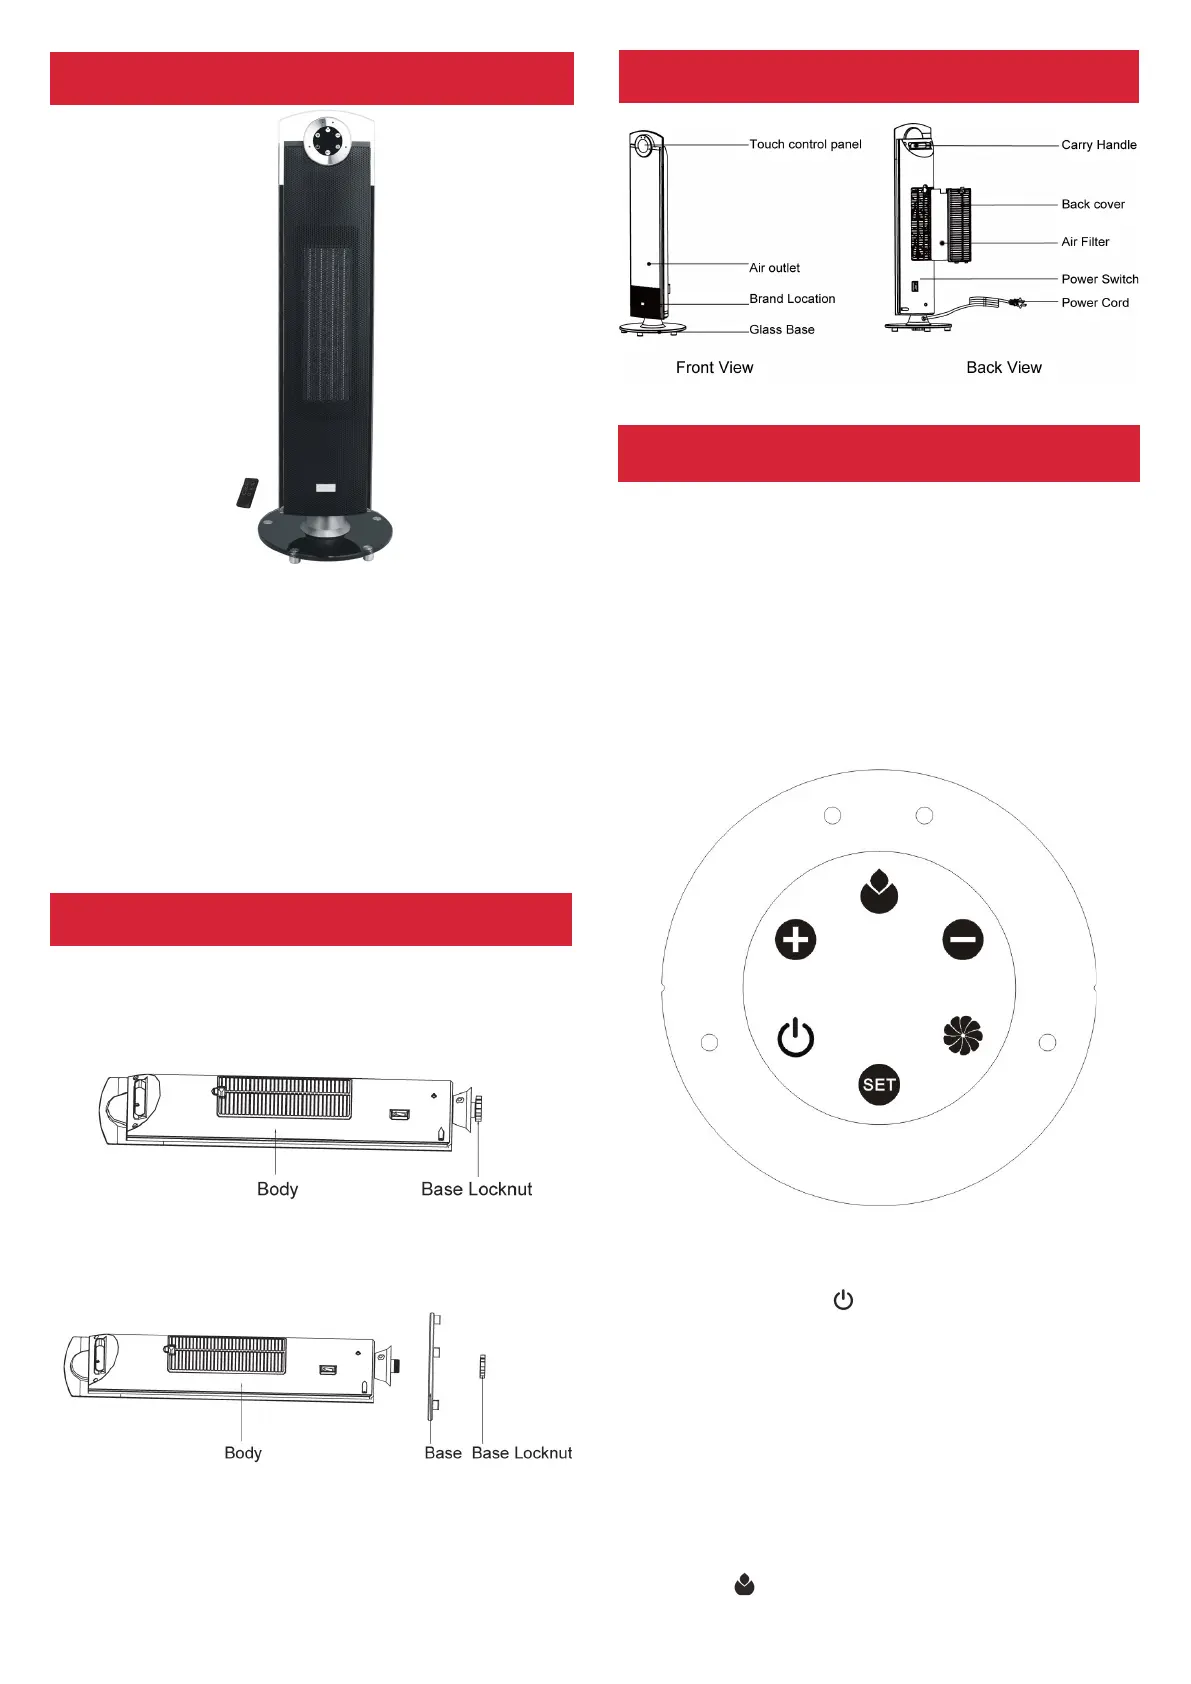
Parts Description
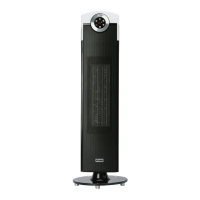
Operating Instruction
2 heat power selections
Touch control panel
Remote control
Timer (1-12 hours)
Oscillation function (76°)
LED function indicators
Overheat protection
Tip-over protection
Removable air lter for easy cleaning
Temperature setting from 15°C to 35°C
Fig. 1
Open the packing, remove the unit and unscrew
to open the base locknut.
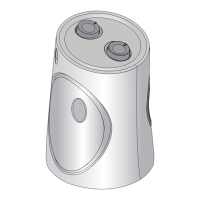
Fig. 2
Fit the glass base onto the bottom of the unit and
securely screw on the base locknut.
Fig. 3
The unit is now assembled and should be placed
upright; always ensure it is placed on a at stable
surface for use.
Plug in the appliance to a power source matching
that on the units rating label.
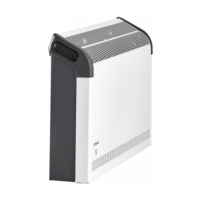
Power switch
The power switch is located below the removable
air lter at the rear of the unit (See Fig. 4)
Press the power switch to “I” position. You should
hear a beep sound; the heater is now ready for
use. Pressing the switch to “0” position turns off
the heater.
Fig. 5
STANDBY
Press the standby “ ” key, the power indicator
light will turn ON. The heater begins operation at
low heat power
(LED indicator on the heating function shows
“LOW”).
Press this key again and all functions will stop.
The LED indicator turns off and the unit is back
HEAT
When the unit is operated at low heating power,
press the “ ” key, the high heating power will be
Fig. 4