MPORTANT - OBJECTS OR CLOTHING MUST NOT BE PLACED
ON THIS HEATER.
Before using the heater ensure that all warnings and instructions
have been read carefully.
To activate the heater simply plug it in. Neon indicating lights
located at the controls area will illuminate when the appliance
is plugged into the mains. This indicates the appliance is
energised and ready for use.
Please note – The element has been coated with a protective
film which will burn off during the first few minutes of use, this
may cause a small amount of fuming. This is quite normal – the
fumes are non-toxic and will quickly disappear.
We recommend that you open a window to ventilate the room
when using the heater for the first time.
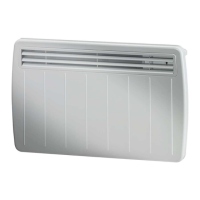
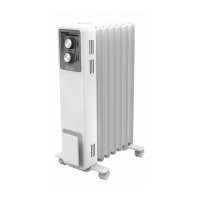
CONTROLS
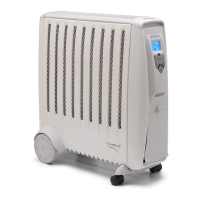
Fig. 3
Thermostat
The Thermostat, see Fig.3 controls the heat output according
to the room temperature. This ensures that the heater will not
produce heat unnecessarily when the room is warm. To set the
temperature you require, turn the thermostat knob clockwise
until the required setting is reached. Alternatively to heat a cold
room quickly, turn the thermostat knob up fully. When the room
has reached the desired temperature, turn the thermostat knob
anti-clockwise until the thermostat just clicks off. The heater will
now automatically operate at this temperature. The thermostat
also has a frost protection setting marked ‘ ‘. This setting is
useful in areas such as garages, to prevent frost damage. If the
thermostat is set to its minimum setting ‘ ’, the heater will
cycle on and off to maintain a temperature of approximately 5°
to help protect against frost.
Note – Should the heater fail to come on when the thermostat
is at a low setting, this may be due to the room temperature
being higher than the thermostat setting.
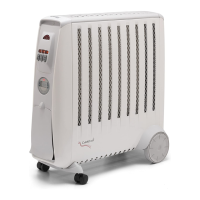
Heat Selector Switches (see Fig.3)
Heat selection is provided via a rotary switch offering four
settings. The heat output can be altered to suit the application,
conditions and for improve the economy of operation.
Available output options are as follows:
Switch setting
Model O I II III
ECR15(Ti(e))
Off 500W 1000W 1500W
ECR20(Ti(e))
Off 600W 1400W 2000W
Model Identifier(s): ECR15 ECR20
Heat output
Nominal heat output Pnom 1.5 2.0 kW
Minimum heat output (indicative)
Pmin 0.5 0.6 kW
Maximum continuous heat output
Pmax,c 1.5 2.0 kW
Auxiliary electricity Consumption
At nominal heat output elmax 0.0 0.0 kW
At minimum heat output elmin 0.0 0.0 kW
In standby mode elSB 0.0 0.0 kW
Type of heat output/ room temperature control
With mechanical thermostat room temperature control Yes
Contact details
UK: Glen Dimplex UK Ltd., Millbrook House, Grange Drive, Hedge
End, Southampton SO30 2DF
ROI: Glen Dimplex Europe Limited, Airport Road, Cloghran,
County Dublin, K67 VE08
Operation
This appliance incorporates a number of safety devices. In
addition to the ‘Important Safety Advice’ section your attention
is drawn to the following;
Tilt Switch
The tilt switch will prevent the heater from working if it is
accidentally tipped over on its side.
If the radiator is tipped over while it is hot, disconnect the
power and allow it to cool, then stand the radiator back upright.
Reconnect the power - normal operation should be resumed.
Safety Overheat Protection
The heater is fitted with a temperature limiter which will reduce
the output of the heater should it overheat for any reason. The
product will return to normal operation after the cause of the
over heating has been rectified.
Storage
If the radiator is not required for long periods, for example
during the summer, it should be stored in a dry place and
preferably covered to prevent the accumulation of dirt and
dust. The supply cord should be neatly coiled around the cable
wrap, see Fig. 2
IMPORTANT
The heater must be kept plugged in at the mains to retain the
time and the programmed settings. If unplugged from the
mains, resetting the time and the programmed settings will
be necessary.
Cleaning
WARNING - ALWAYS DISCONNECT THE POWER SUPPLY
BEFORE CLEANING THE HEATER.
Do not use detergents, abrasive cleaning powder or polish of
any kind on the body of the heater.
Allow the heater to cool, then wipe with a dry cloth to remove
dust and a damp cloth (not wet) to clean off stains. Be careful
not to allow moisture in to the heater.
Safety Features
Additional
 Loading...